Also known as, the day Christmas crafting turned its back on me.
I almost didn’t post this. Because frankly, these DIY snow globes totally blow. But then I thought, “You know what, it’s my job to watch out for fellow crafters out there. Make sure they take no wrong turns in craft life! Lead them in the right silicone glue vs. hot glue direction! Guide them far far away from glitter land!” So here we are. Theee worst Christmas craft you’ll witness this season. Heck, this year. HECK, this lifetime.
By the way, I’m starting a new support group. DIY – DON’T IT YOURSELF. You on board?
If I cry multiple times during this post, just talk amongst yourselves.
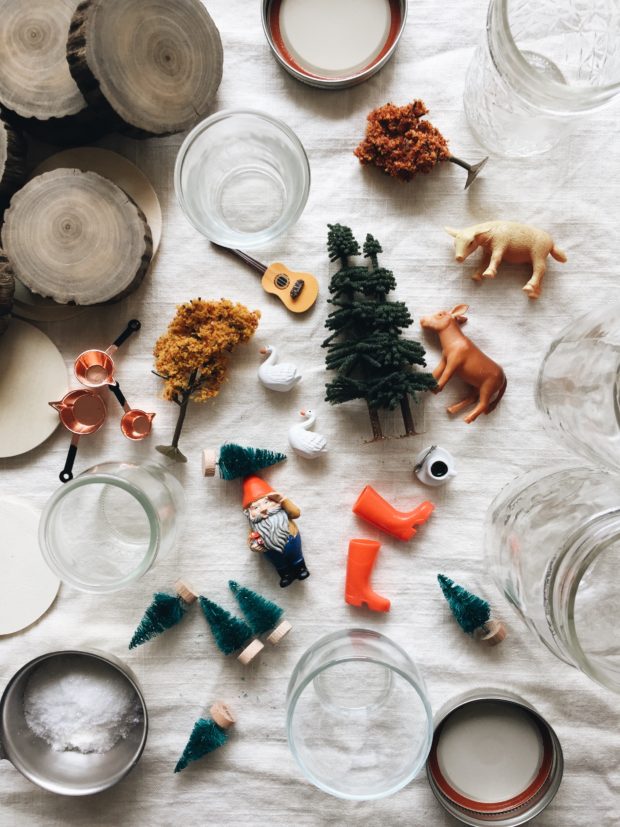
I had such great intentions for these snow globes! Visions of charming little wonderlands enveloped in a magical sparkly world. Like copper pots, rubber boots and coffee cups. Hahahaha! What, it’s cute.
I did a little research, sure. These aren’t hard, not at all. But somewhere along the lines I took a few wrong turns. Let’s start at the very beginning. A very good place to start. (<–name that movie.)
First, you’ll collect miniature thingies and doodads. This is the fun part! What goes inside of the globe that you’ll eventually detest and want to throw in a lake. You can find bags of tiny farm animals and knick knacks at any craft store. While you’re there, pick up a few mason jars, jam jars, votive candle holders, etc. Take a moment to love yourself right now. Because later on this will all change.
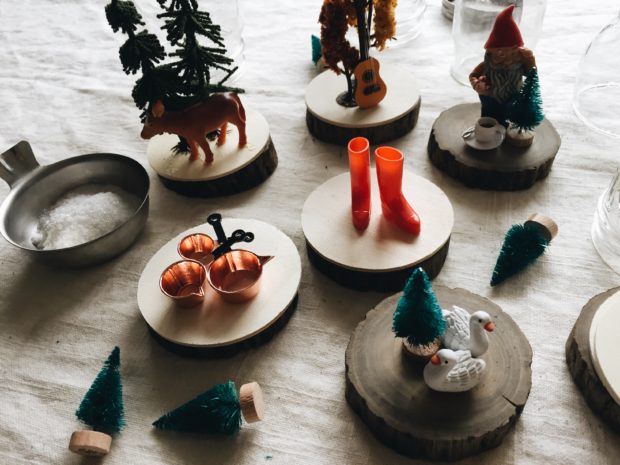
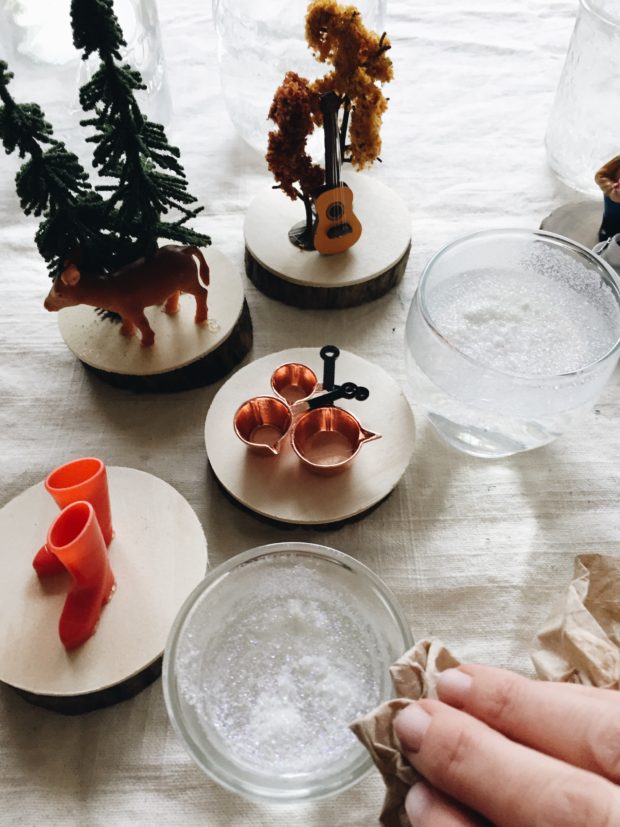
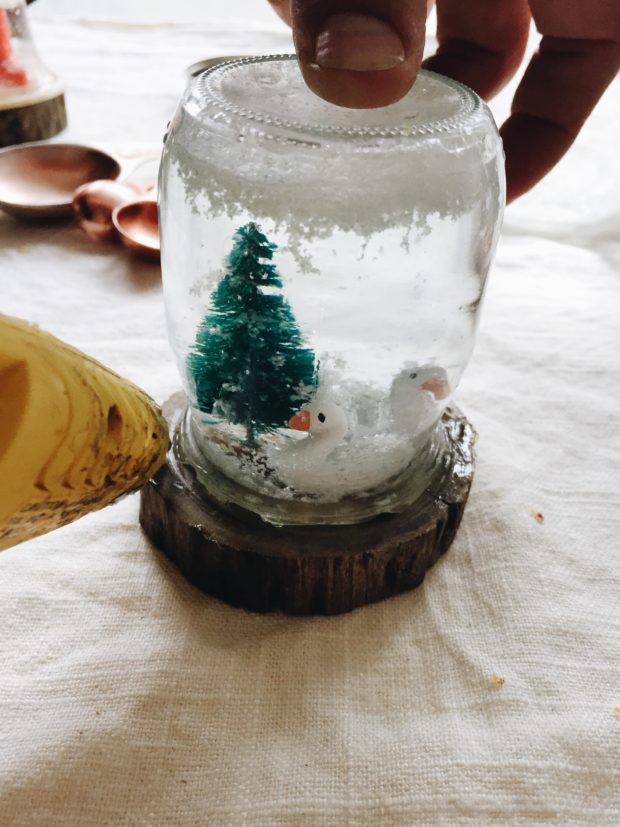
I wanted my globes to have a homey slash rustic feel, so I hot glued some basic wooden circles to some other wooden coasters that Aaron made all the forevers ago. This was my base. Or so it was supposed to be.
Other crafters used the lids of the mason jars, which was then glued to a base of their choice. I skipped the lid part. This might have been my first wrong turn. That and new shampoo, but I’m not going to put that on you.
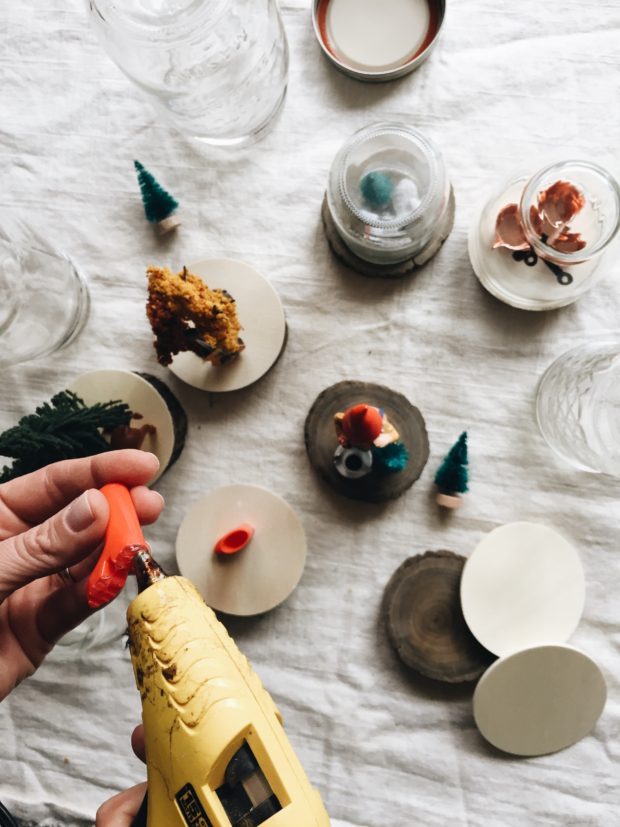
I then hot glued the various little thingies to the wooden bases. Things were going so well! I was happy. Gleeful. Chipper. Naive like a baby deer to the darkness ahead.
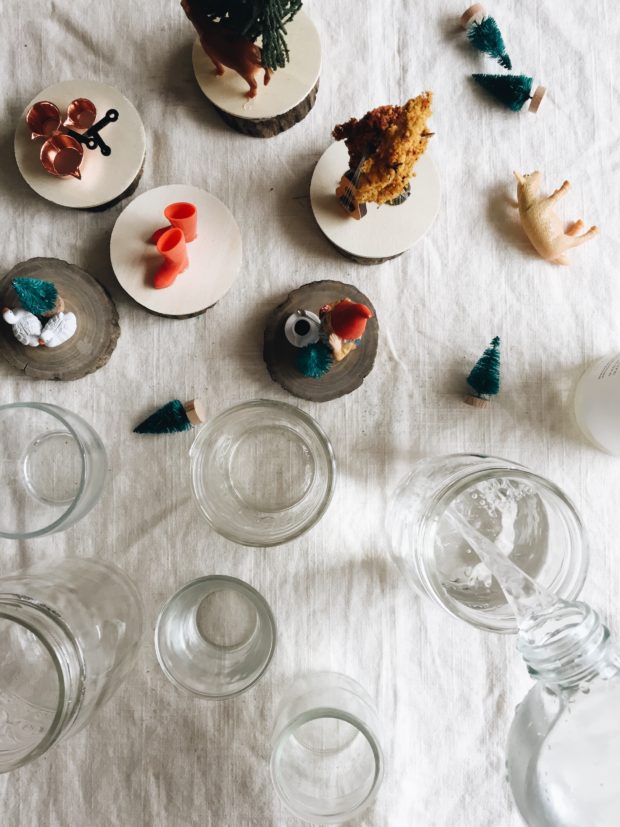
Then I poured water into the jars. Aaron kept nagging, “I think you should fill it all the way up, Bev. You don’t want air at the top of the jars.” I was like, “AARON, are you the crafter here? No. The mass from the little toys are going to take up that space. It’s science and physics and hand me a chip.”
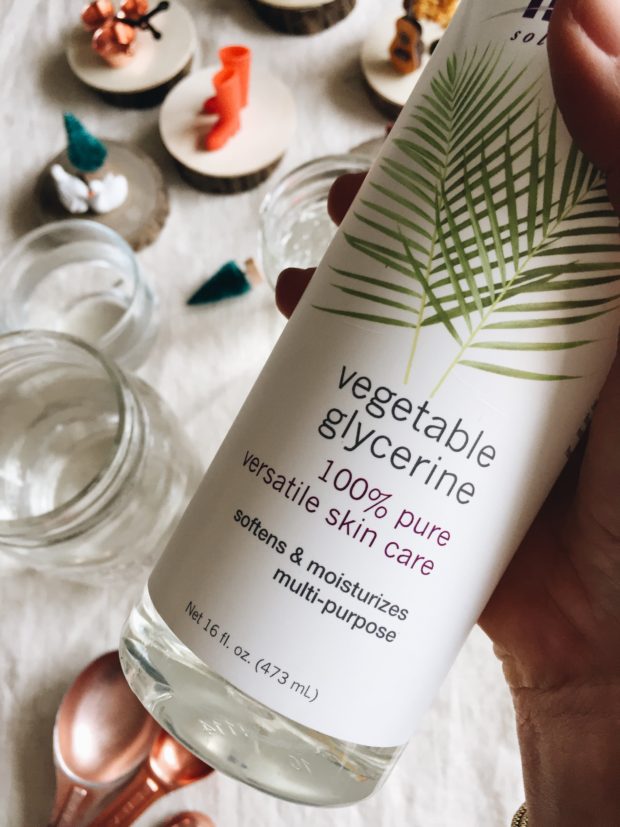
When you do or don’t make these awful things, be sure and add a little bit of glycerine to the water. This will add that thickness that slows down the snow glitter as it falls around its wonderland. You know, the snow glitter that’s supposed to actually fall and not float to the top of the blasted globes because the store lady said it would work out just fine and you had nothing to worry about. Right, that snow glitter.
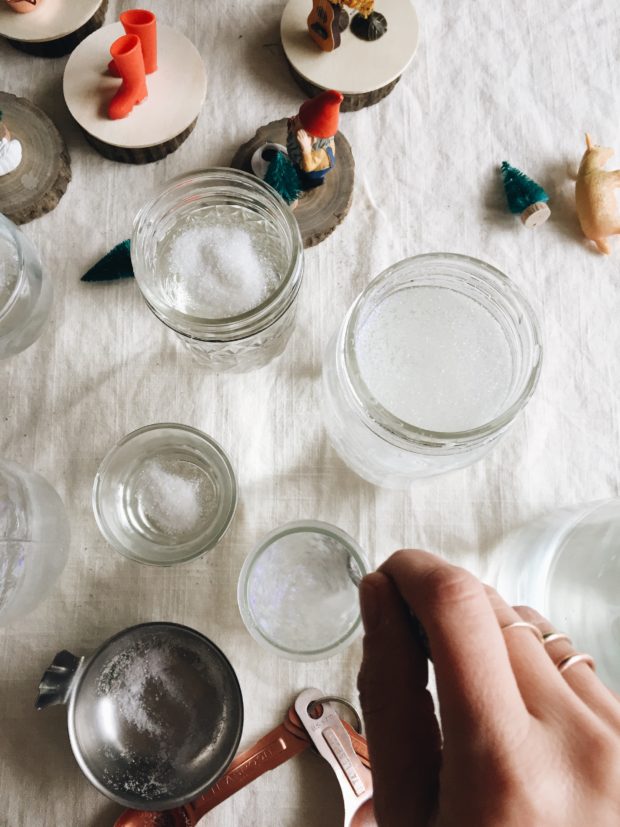
Then add said demon snow glitter to each jar. And watch it float to the top. What you call the store lady under your breath is up to you.
You can also start crying right now, just to get a head start on things.
So now it’s time to attach each base to the jars.
Oh! How long did you let the hot-glued toys dry to your bases? Five minutes? That should be long enough. They won’t come loose in the water. There’s no way! You used hot glue, when other websites and Aaron said to use silicon glue. You’re fiiiiine.
Just wipe down the rims with a paper towel, because you’re about to run your hot glue gun over the rim. Don’t worry, glue won’t drip down into the water and completely dry by the time you make it around the vase. There won’t be strings of violent profanity shooting from your mouth. Naw, you’re good.
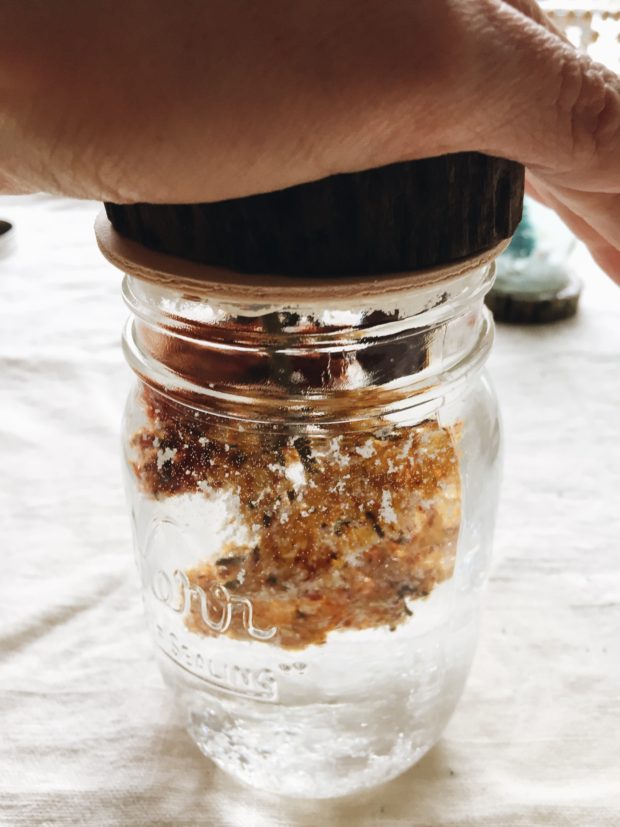
Once you get the glue on the rim, which took three agonizing tries that shortened your life by three years, quickly place the base on top of each jar. Hold it there. Count to five. Breathe in and out. Dream a little dream for me.
See that beautiful autumn tree in that jar? It definitely won’t flake apart and turn into nasty tree sludge and float to the top of the jar within five seconds. Because see, you thought about toys that hold up well in water and don’t break down. You went over that in your head. You’re set!
Now, flip the jar over so that all the water you just poured in can leak out like a tiny Roman fountain onto your linen tablecloth and shattered self esteem. Call your husband in so that he can take the hot glue gun (and future blame) and quickly run it around the rim again, to seal up the leaks and holes from your crappy decisions.
Remember the head start on crying from earlier? It’s coming in handy right about now.
All done!
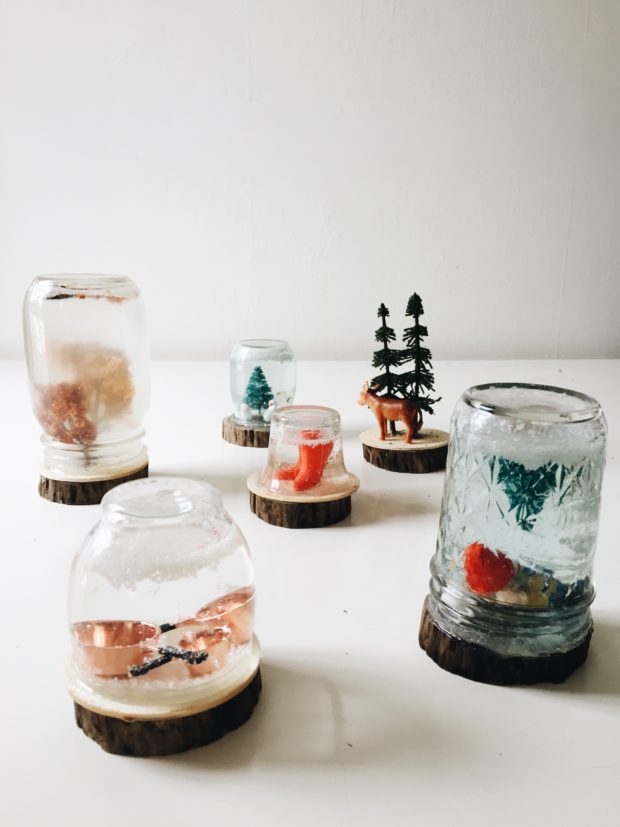
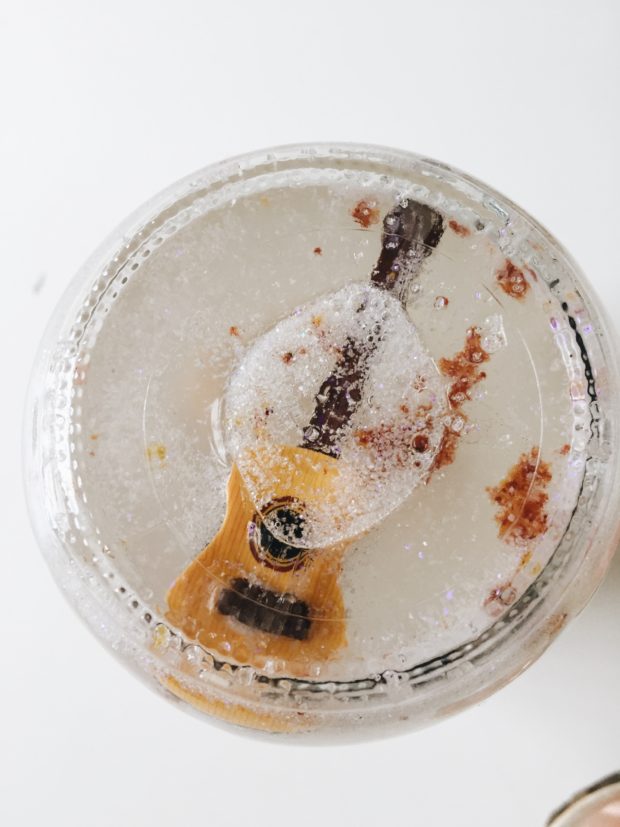
Well, besides the fact that my gnome is face down in a pond of his own tears, the dye from the tiny green trees turned the water blue, there’s air at the top of the red rubber boots (zip it, Aaron!), the furry autumn trees reacted to the water, turning it into a mix of dirty dishwater and swamp scum, one tiny green tree came came loose and is attempting to impale the gnome, the coffee cup is loose and upside down, the guitar has floated to the top. Most of the snow glitter is sitting at the top of each globe and flipping me off, the nose from the baby deer in the back was glued a li – hold on. Oh wait. Aaron just told me that’s a cow. The cow’s nose in the back jutted out a little too far, causing the jar not to fit over it. Both swans came loose and flew the coop after about 20 seconds. At least the copper pots are in still in tac- nope, there they go. ET TU, copper pots?
Maybe use the jar lids as your base? Maybe use silicone glue instead of hot glue? Maybe just don’t make these. ALL IN FAVOR SAY AYE.
Or or or! Just glue cute little winterland scenes to some wooden bases and leave it at that. My baby cow/deer with its pine trees is sitting on the mantel, just owning it.
Have you made this terrible craft before? What did I do wrong? Was it the glue? Was it the lid? WAS IT MY HAIR?
Don’t It Yourself. I’m making shirts.

79 Responses to How To Make the Worst DIY Snow Globes Ever.
Trackbacks/Pingbacks