WARNING: You are about to experience an onslaught of nostril photos. Proceed with caution.
This is the thing. I’m supercalifraglsdflksjfld awful at selfie photos. Like, bad. But sooooo many of you have asked how I style my waves, so I decided, what the heck! Post a tutorial on it! And by tutorial I mean, a non-hair blogger’s attempt at showing you my hair by way of awkward photos of dry knuckles, neck moles and rogue toilet paper roles on the bathroom counter. Y. . . yay?
So here we go. How I style my hair! In three . . . two . . .oh gawd.
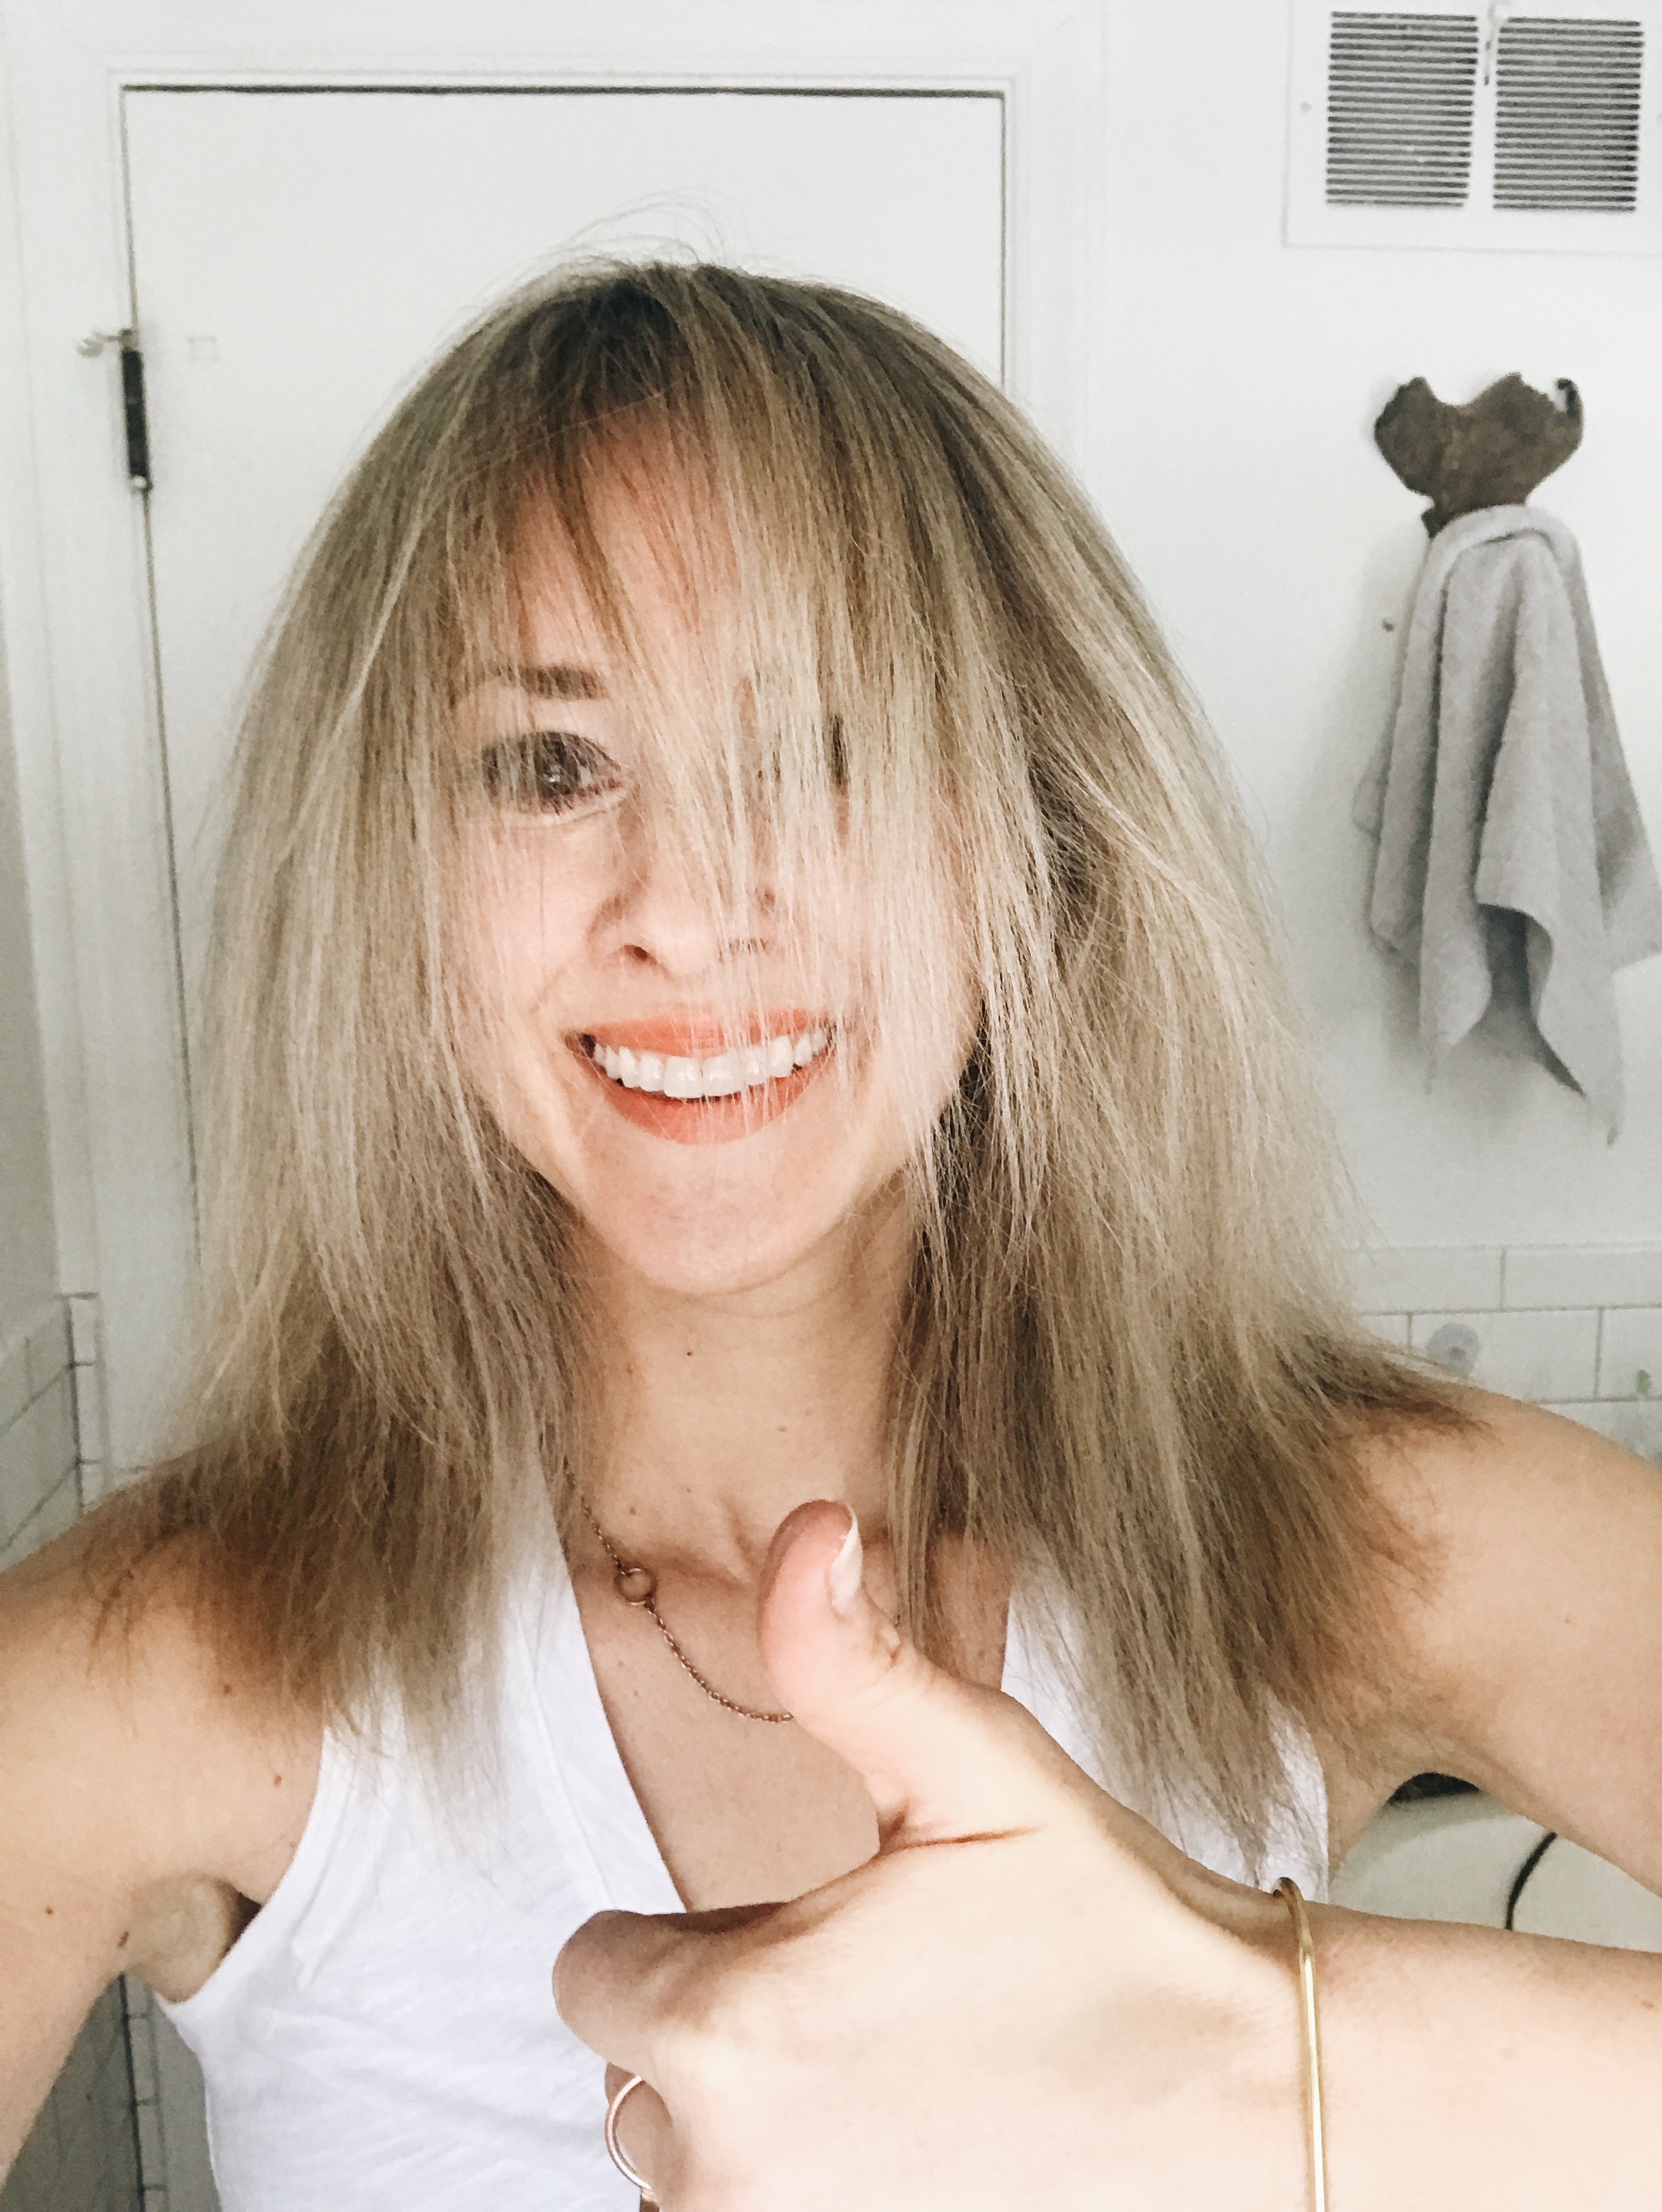
This is what it looks like right after I blow dry it. Frizzy, giant, a circus act. I WILL say, I recently upgraded my blow dryer to this babe, and it’s definitely helped cut down on the frizz, and how long it takes to dry my hair. I’m making life progress, you guys!
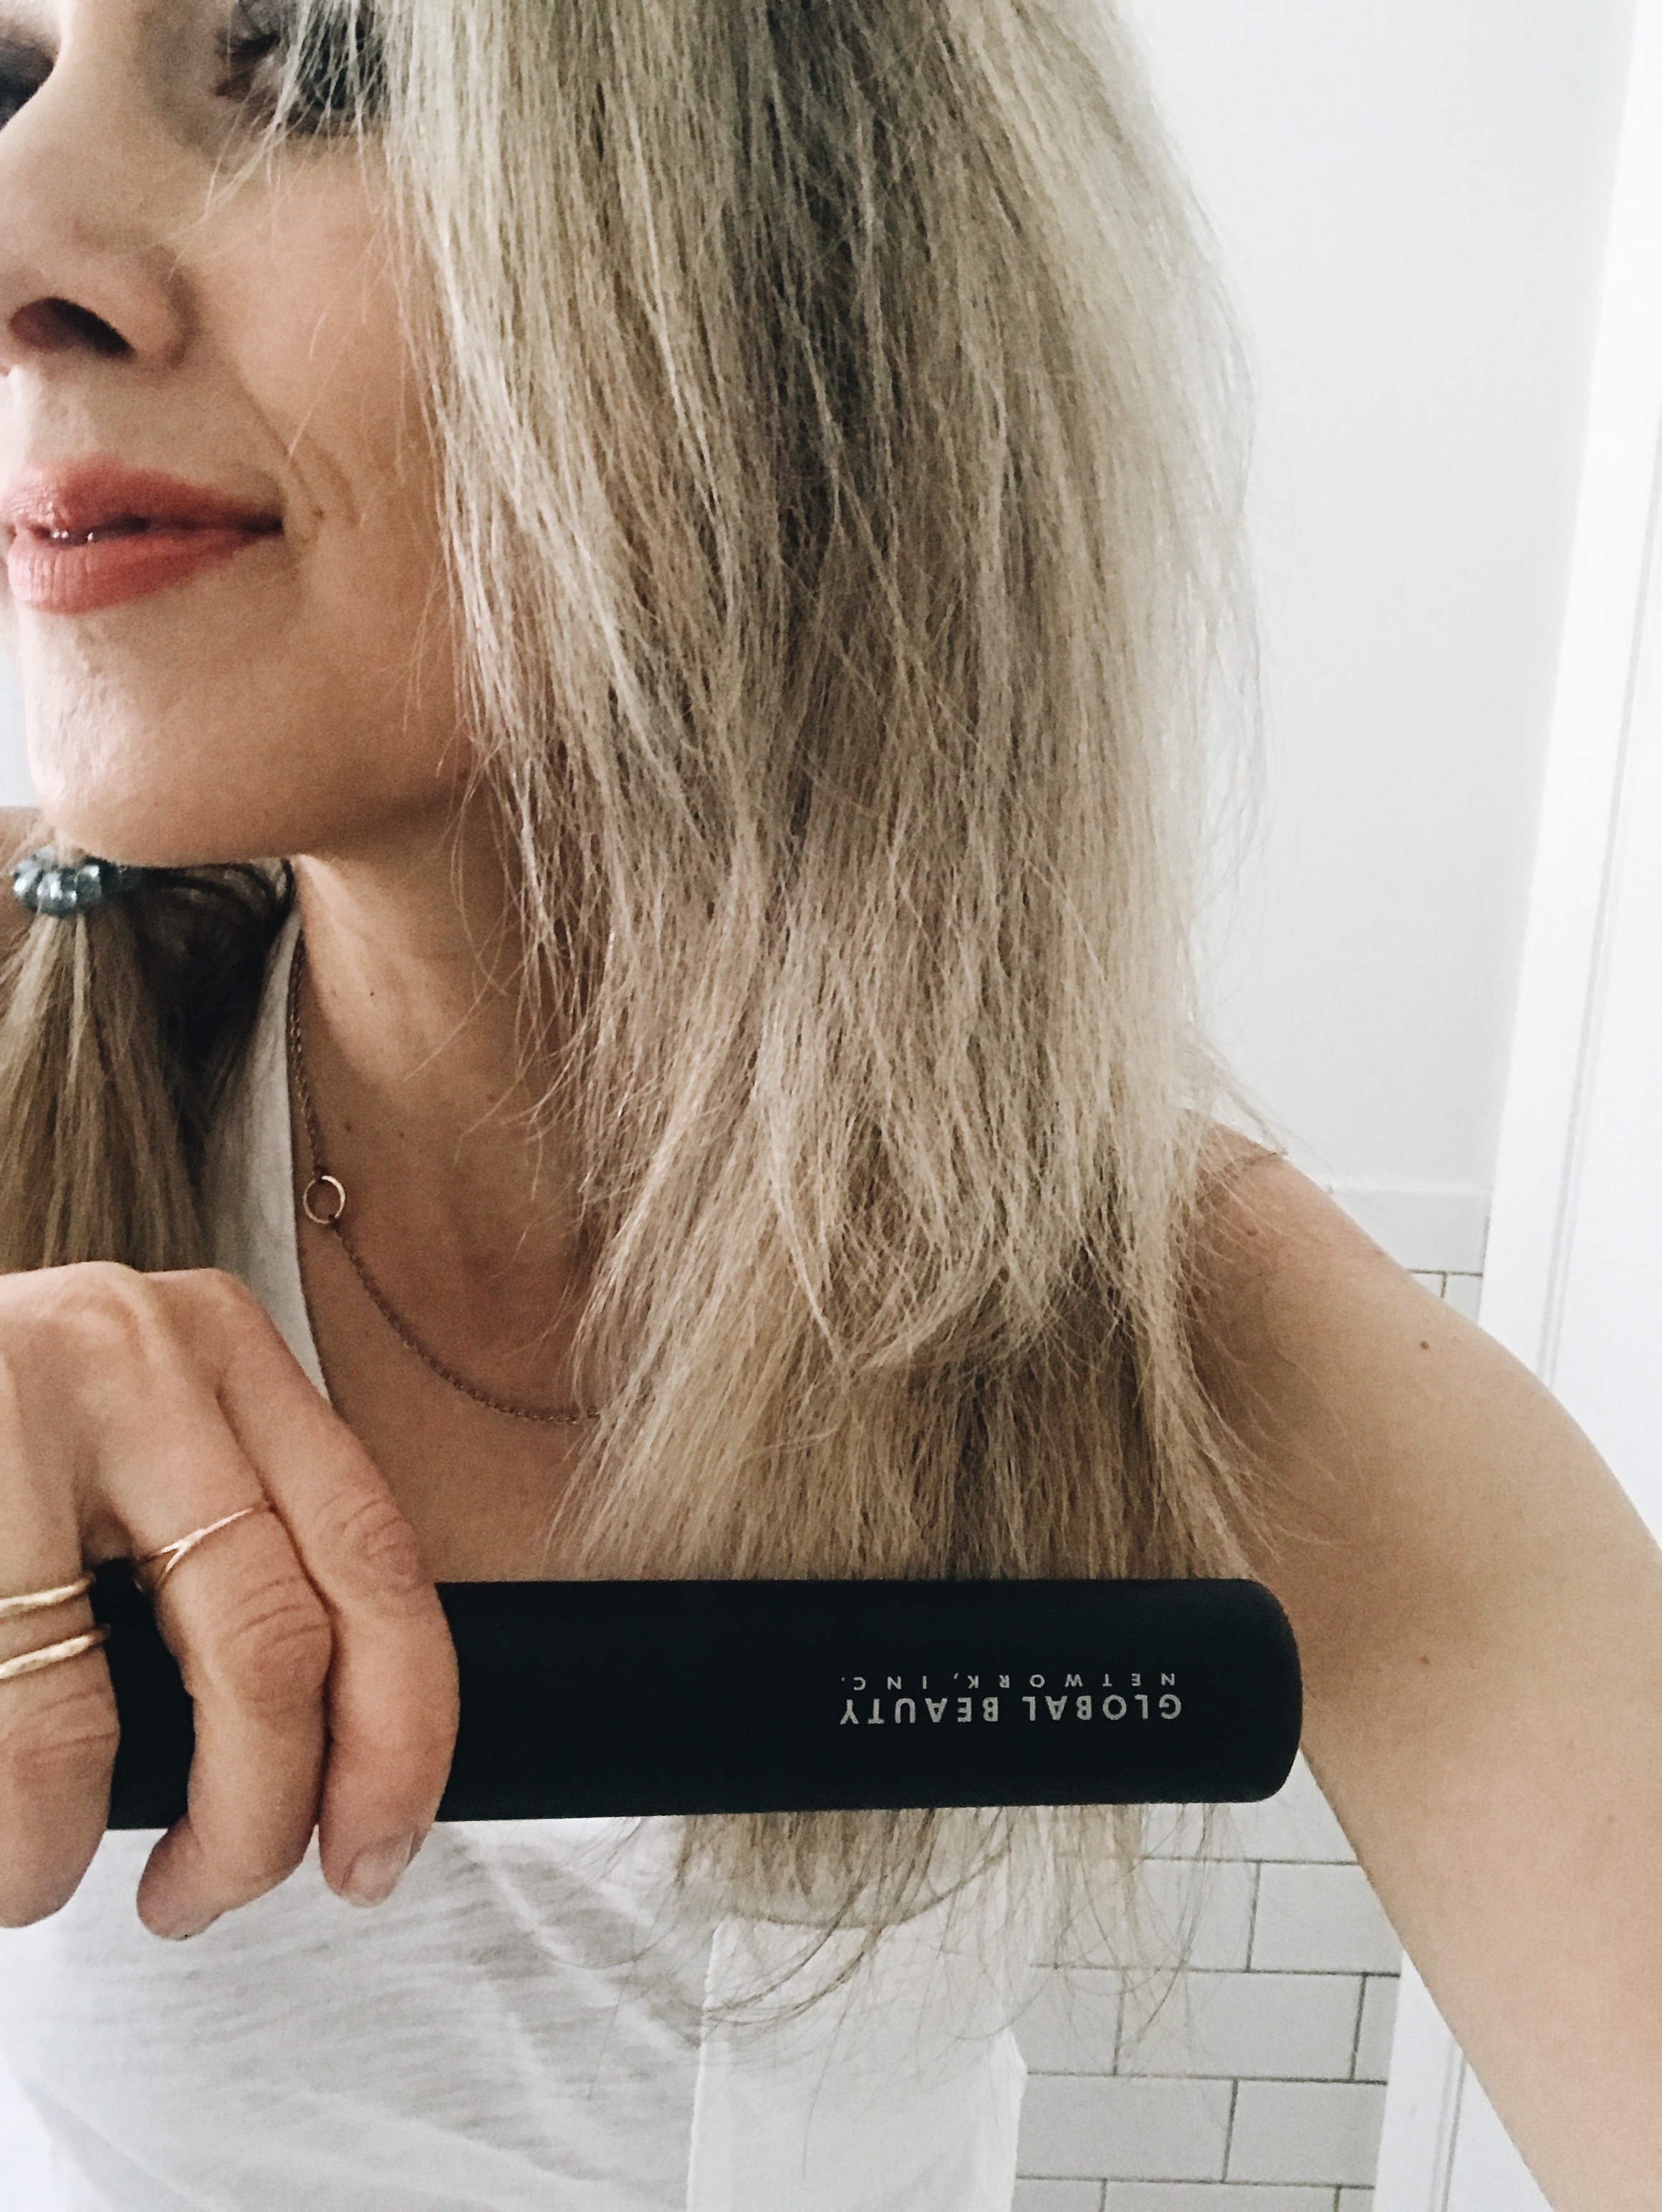
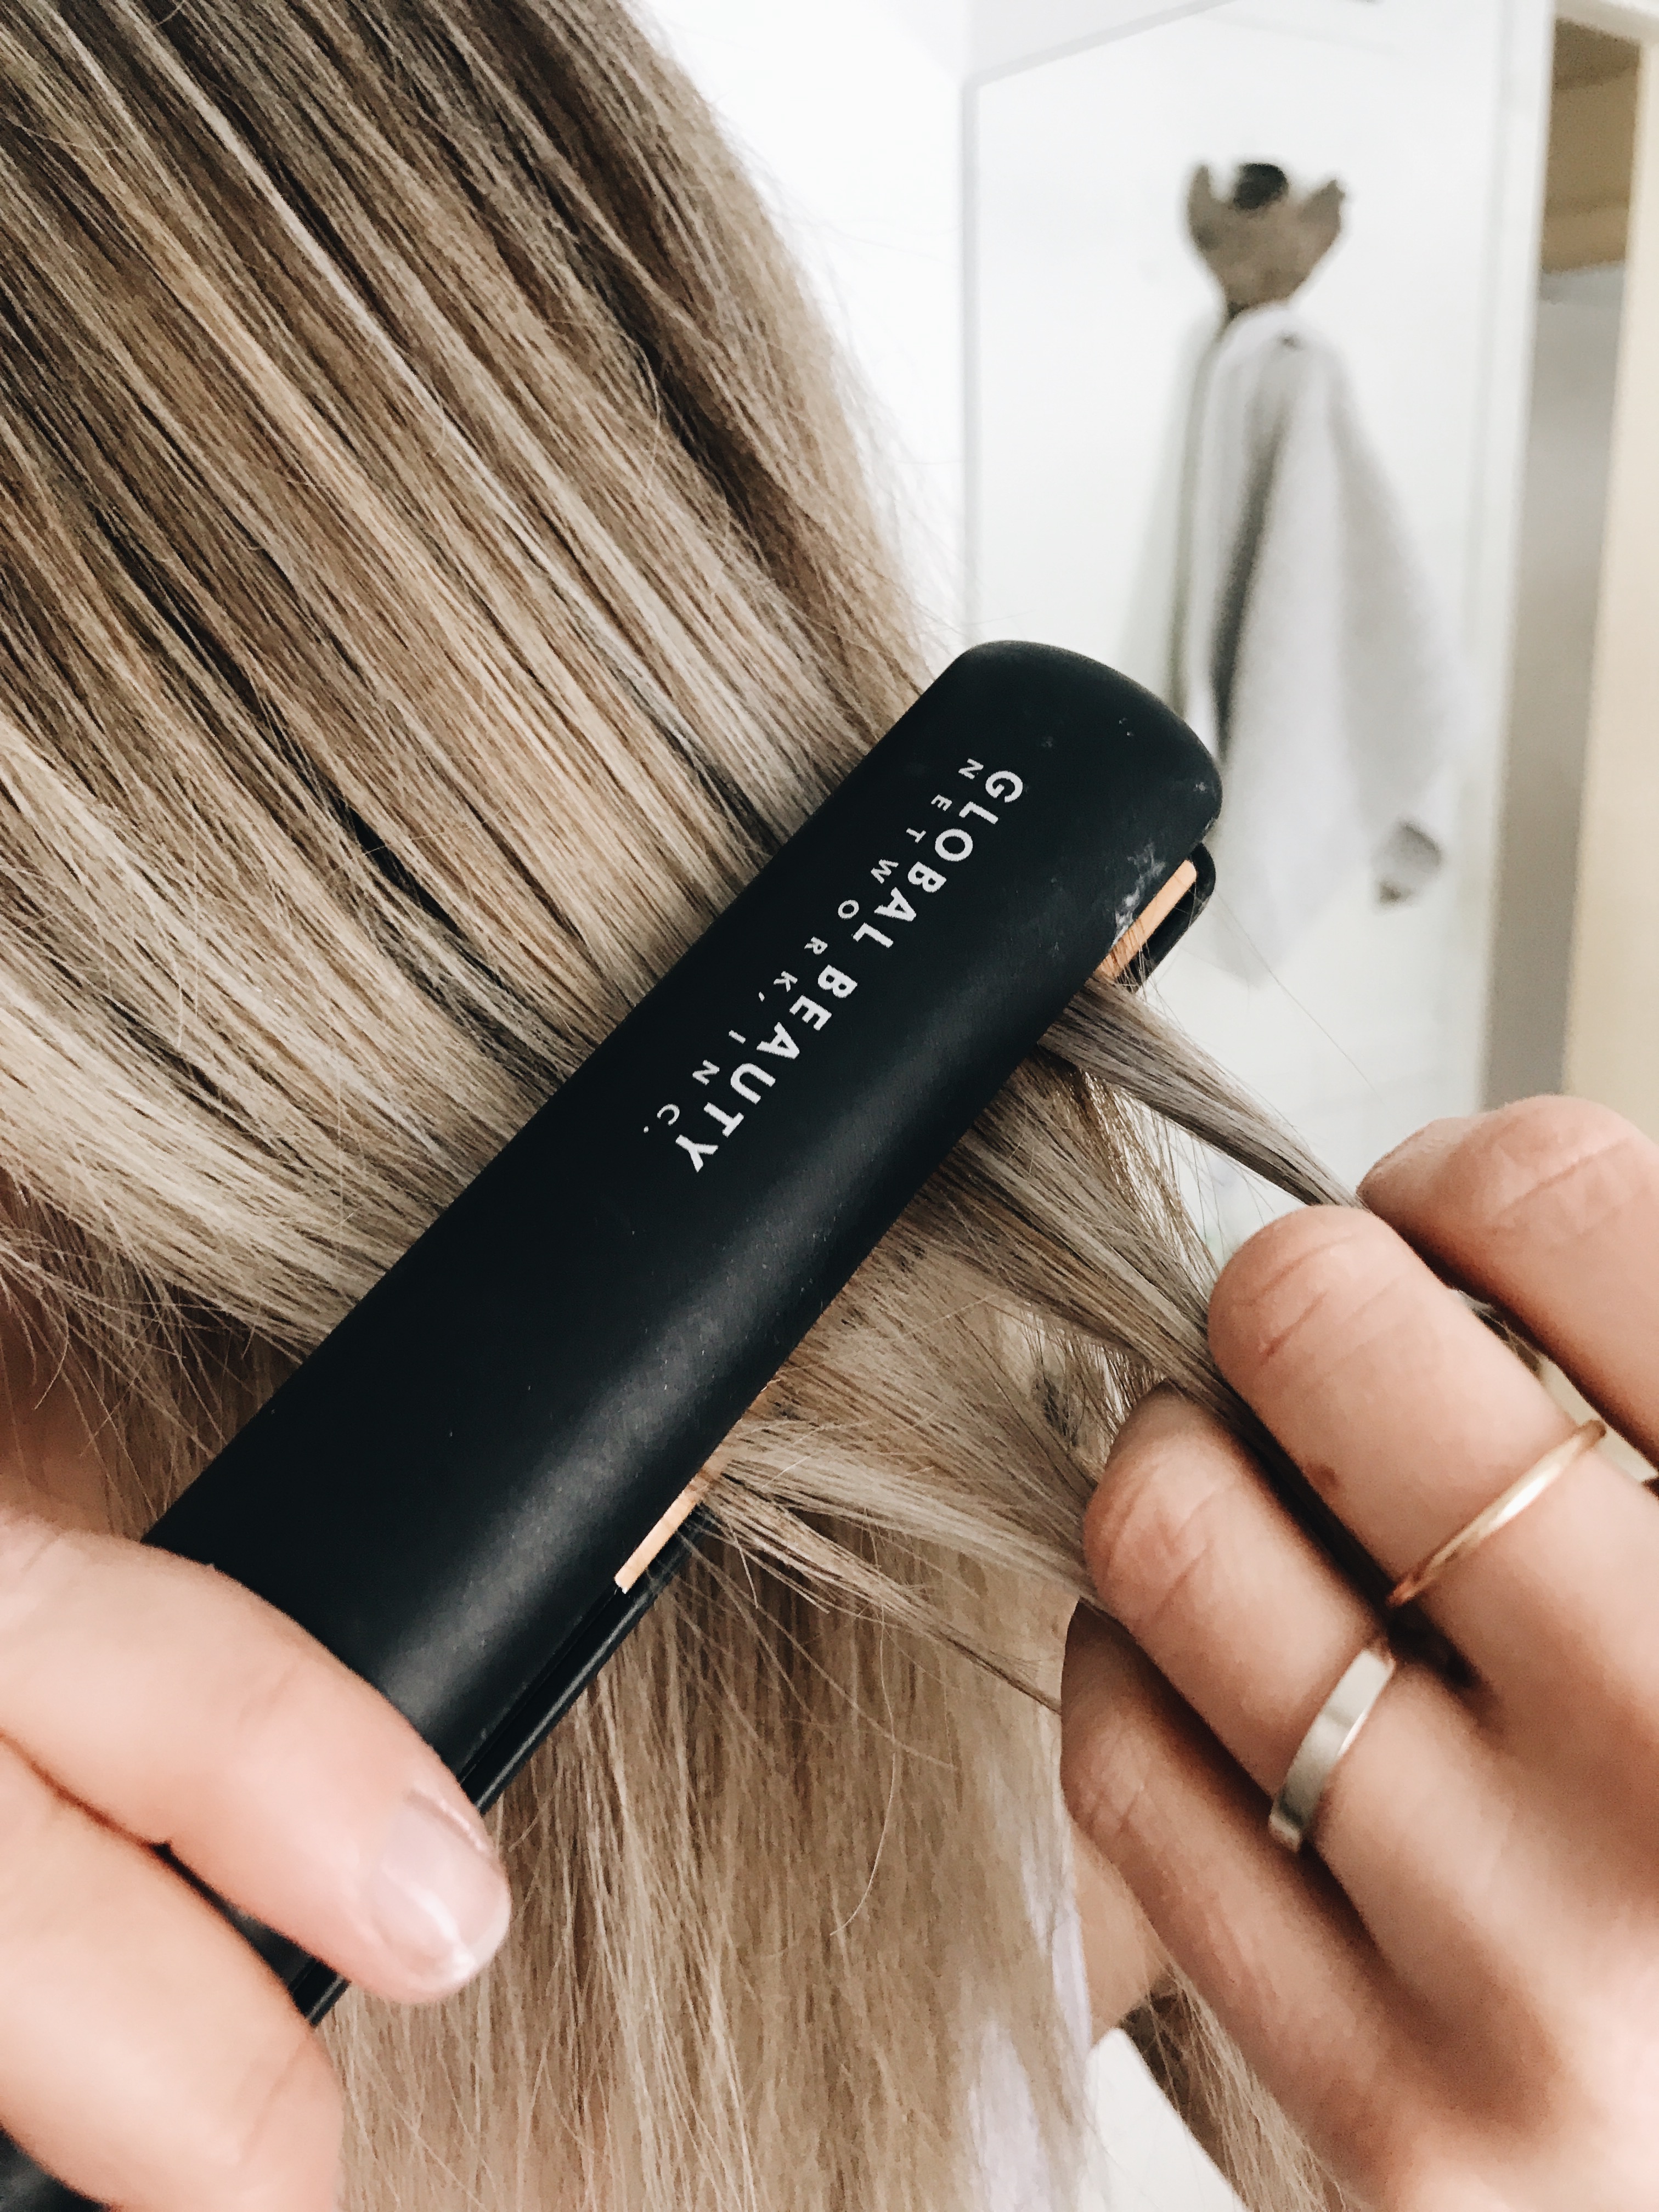
So first I straighten it. Which seems counterproductive, I know. But you have to add the chic first! Then the waves. I straighten out as much bulk as I can all over. Especially the ends. You want those slick blunt ends at the bottom of your waves. But we’ll get to that.
And yep yep, I use a Chi straightener. I’ve tried multiple other brands, and this’n here just does the trick. CHIC TRICK. Ahahahaha!
Oh.
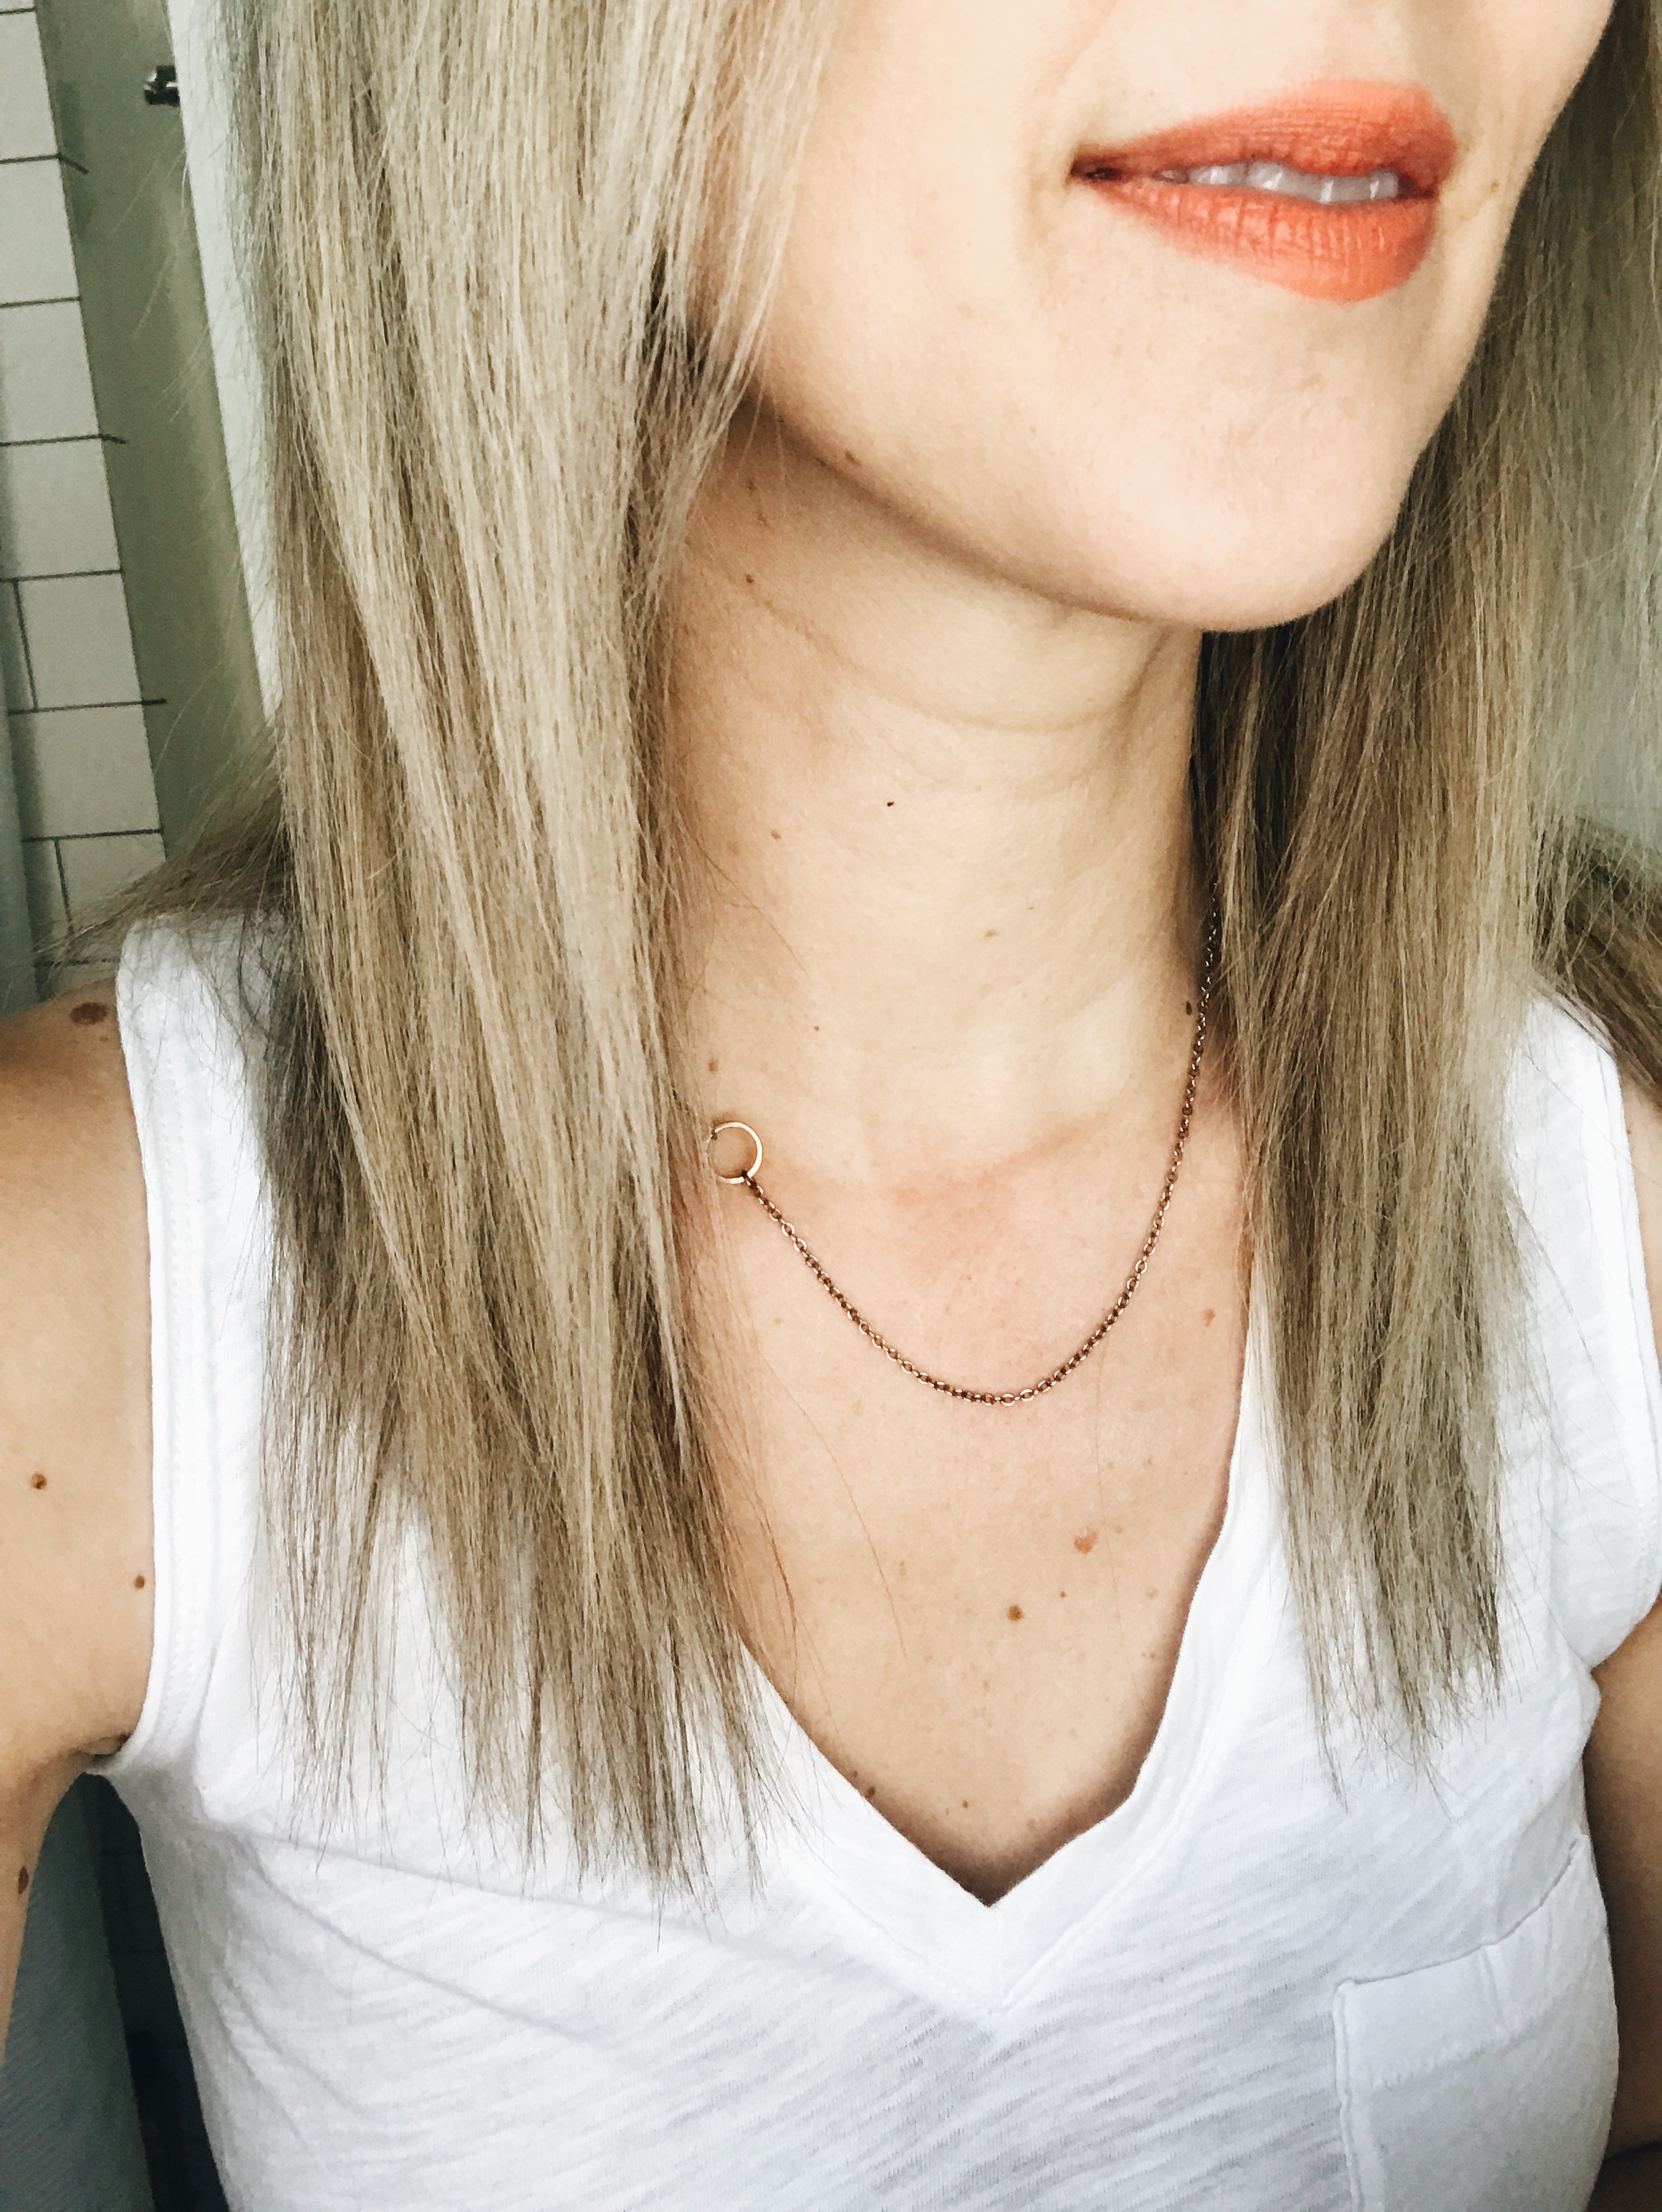
Post straighten! I need a trim.
Theeeeen my second step is to add a little bit of junk back to it. Because my hair, if it’s too clean and smooth, won’t hold the curl. So what I do is smile really big at my shower curtain because this is a special hair moment like no other, and spritz spritz spritz through my under hairs. AND YES, there are two bottles of Kenra 25 on the counter. I can ‘splain. One was almost empty, so I was using that one up before I started on the next. SO BACK OFF.
Just kidding I love you don’t leave me.
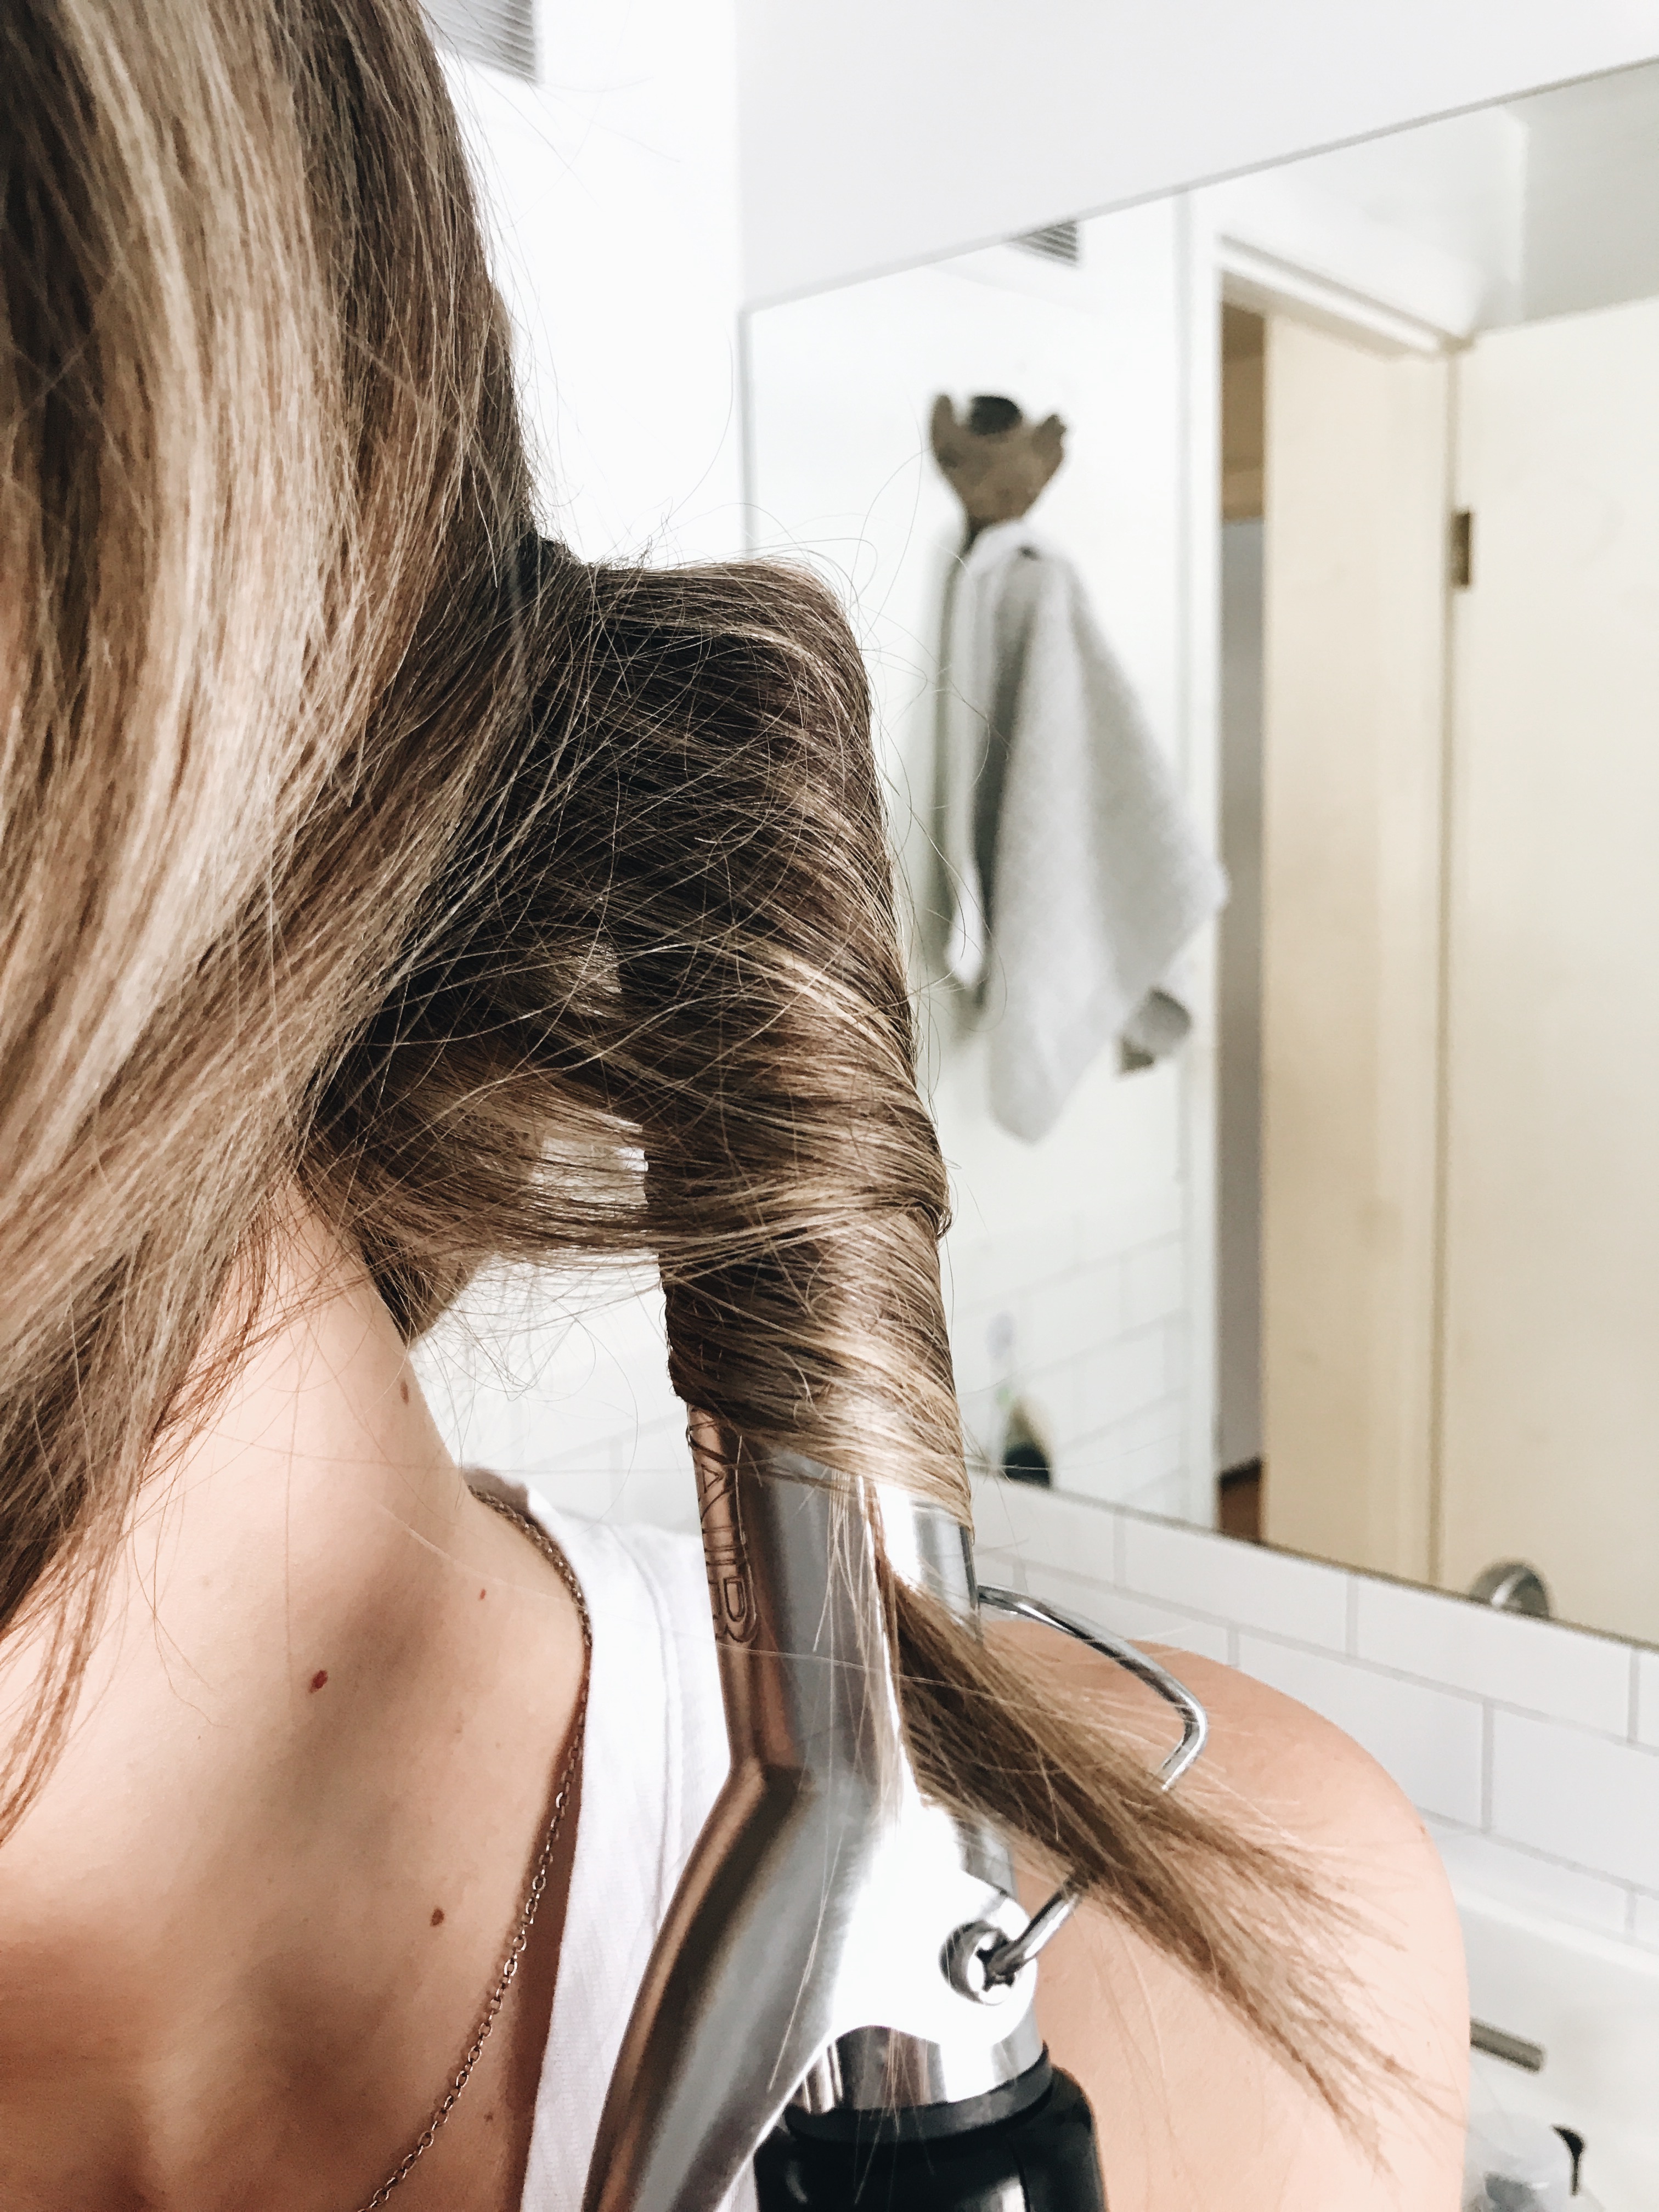
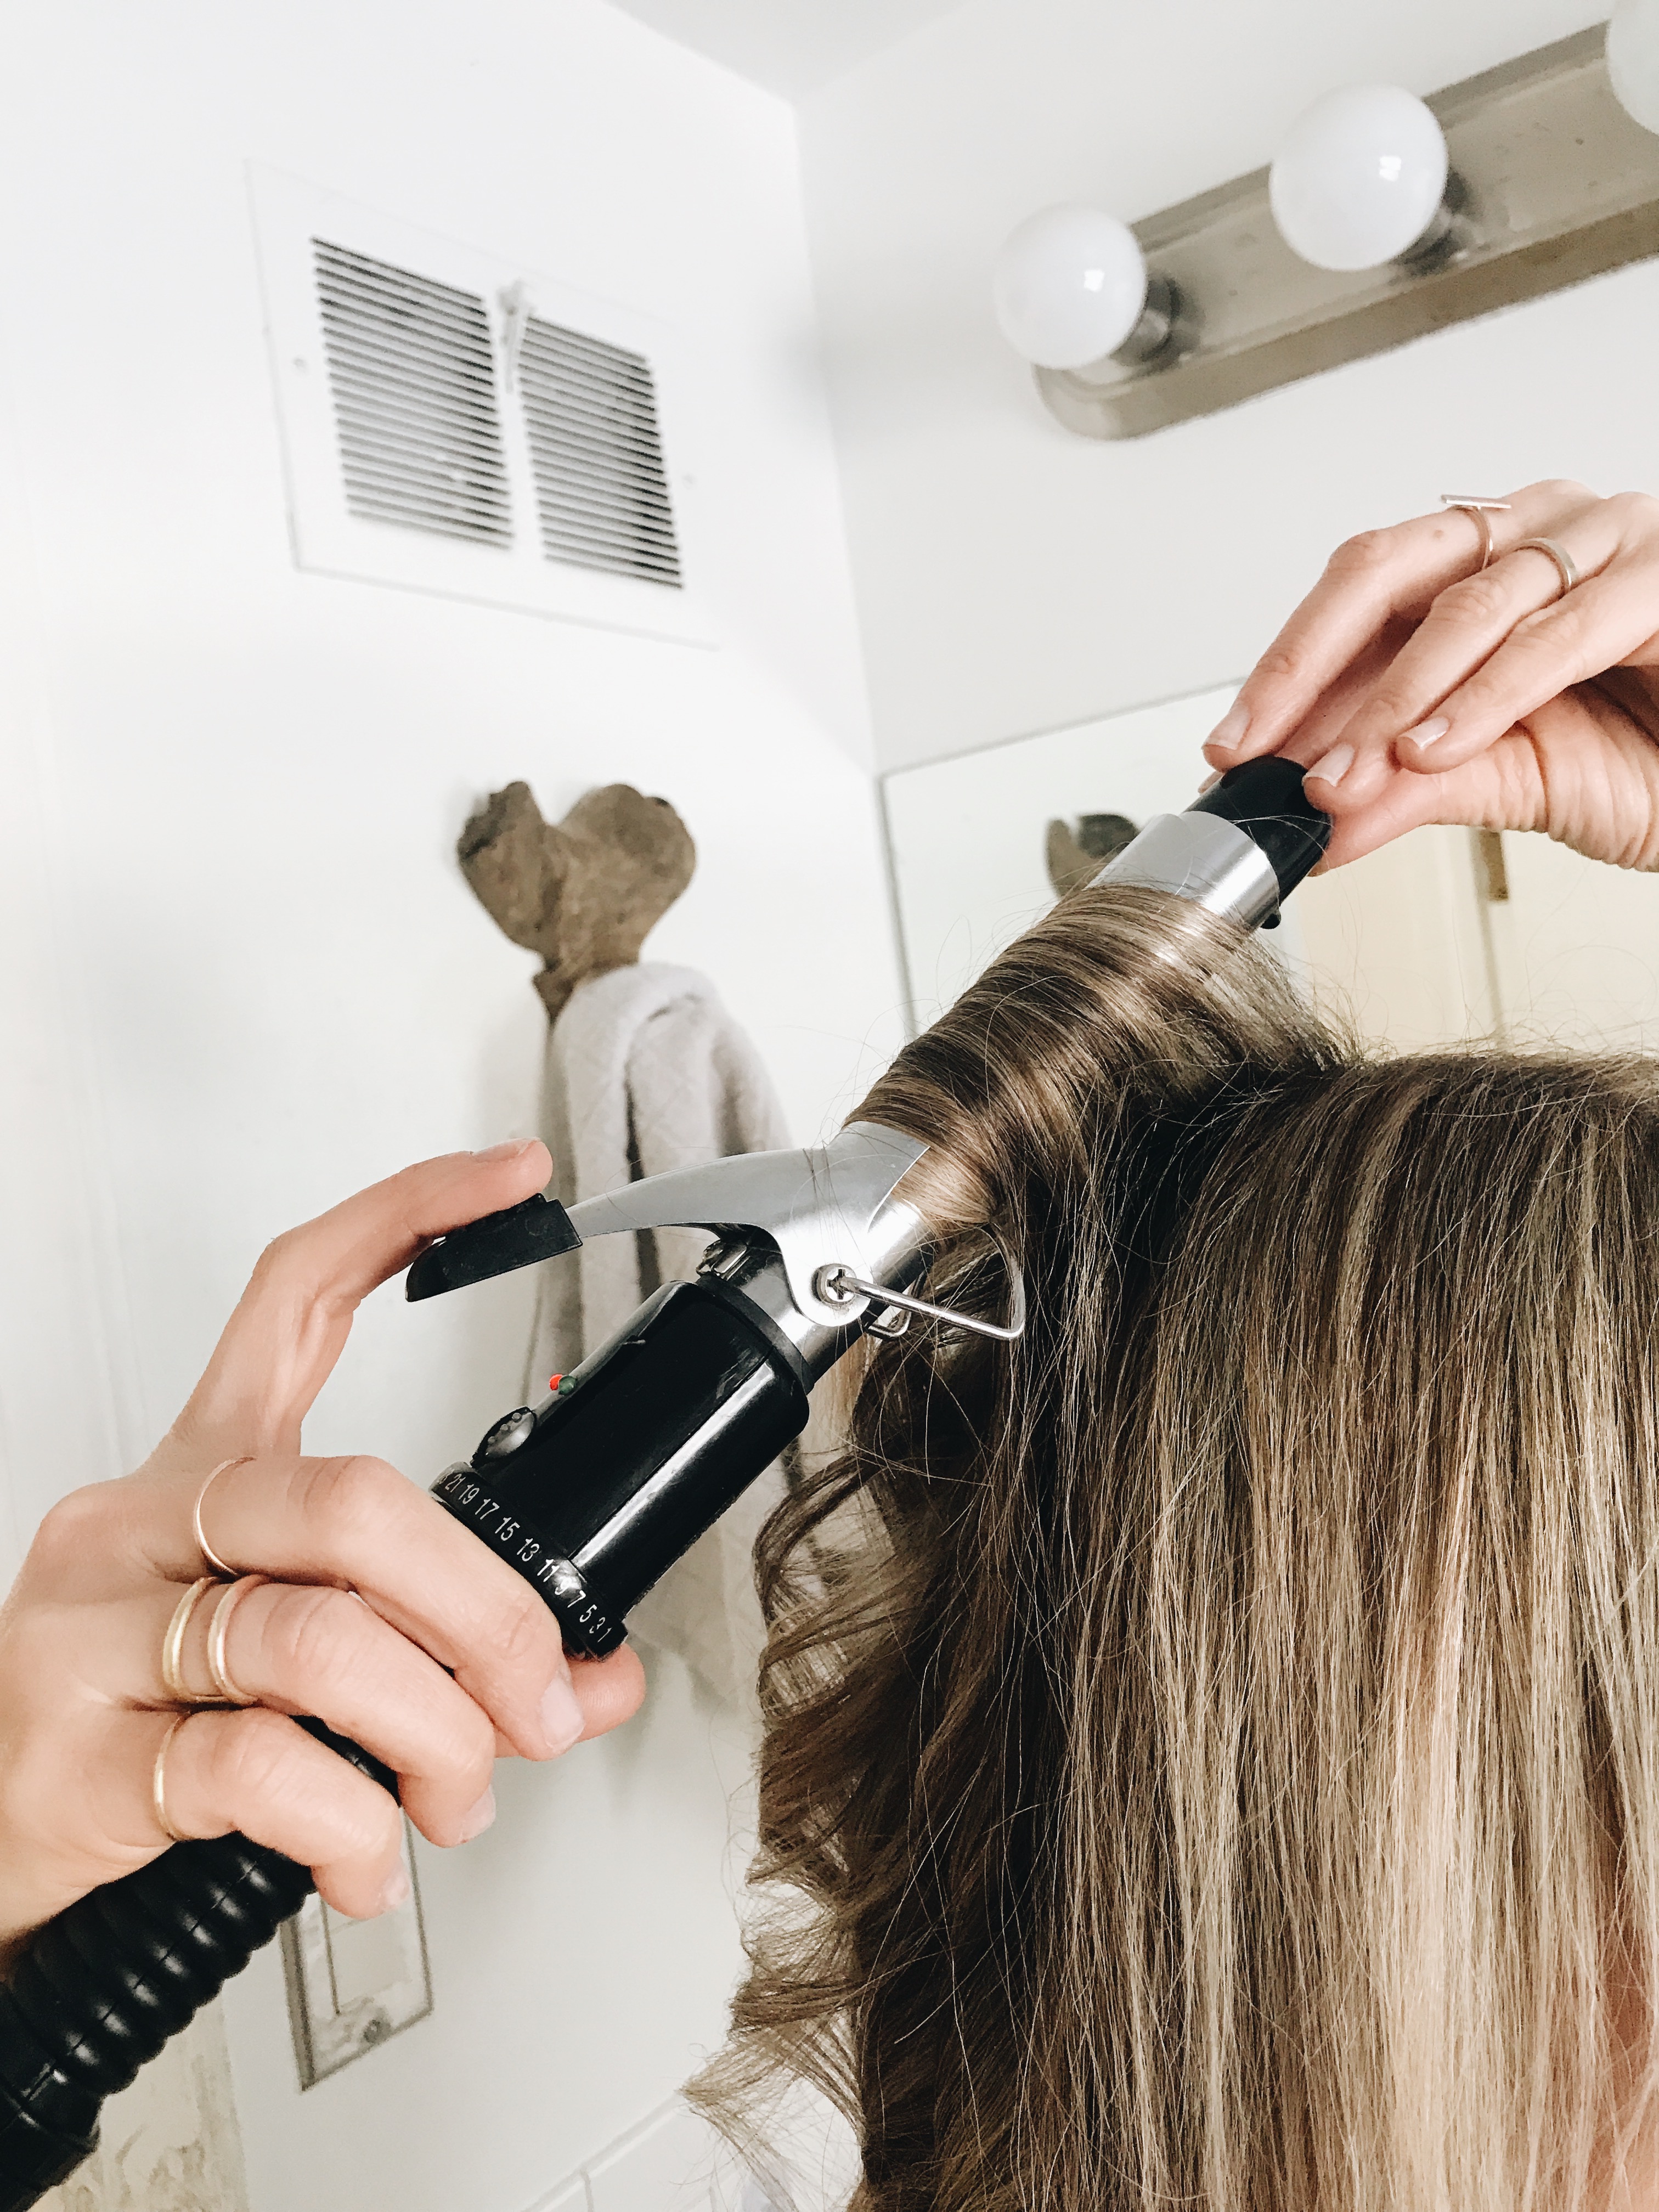
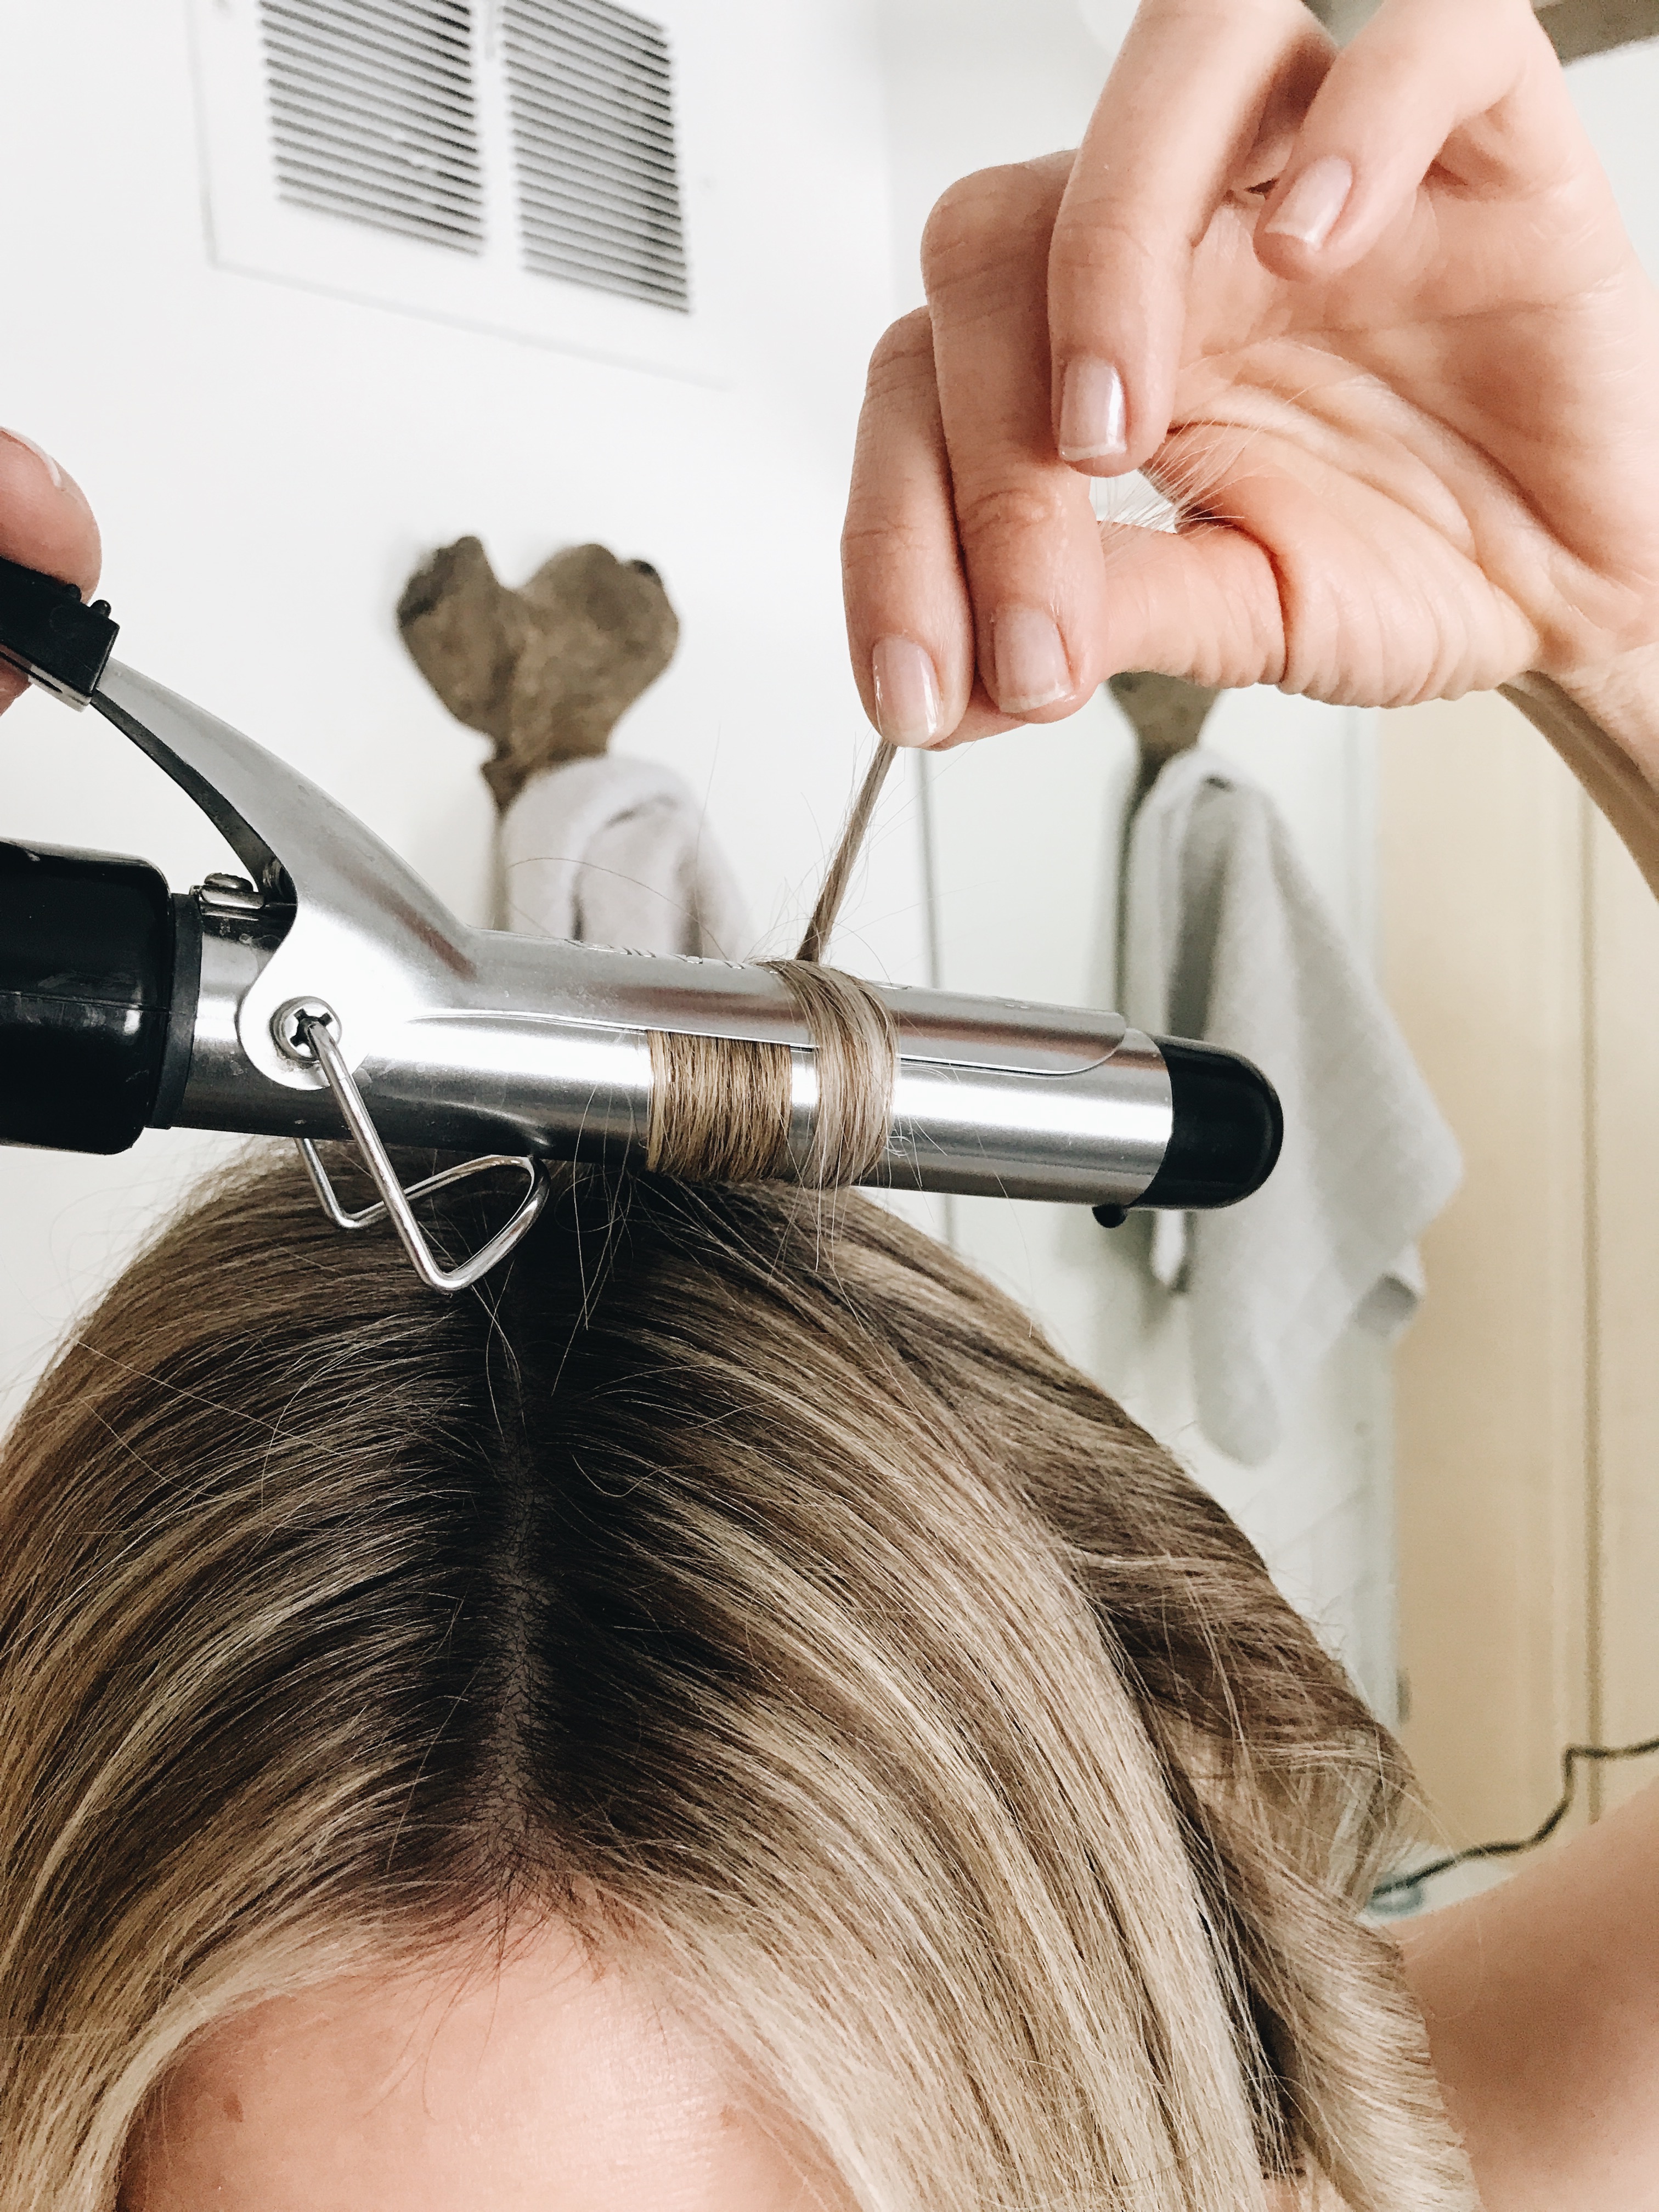
Divide your hair up the back into two pigtails. Loosely tie one with a hair tie while you work one side of your head. Then start with your under back hairs. Curl away from your face, but LEAVE THE ENDS ALONE. Sorry to yell at you. Don’t touch those ends, man! They want to be free to do what they want at any old time.
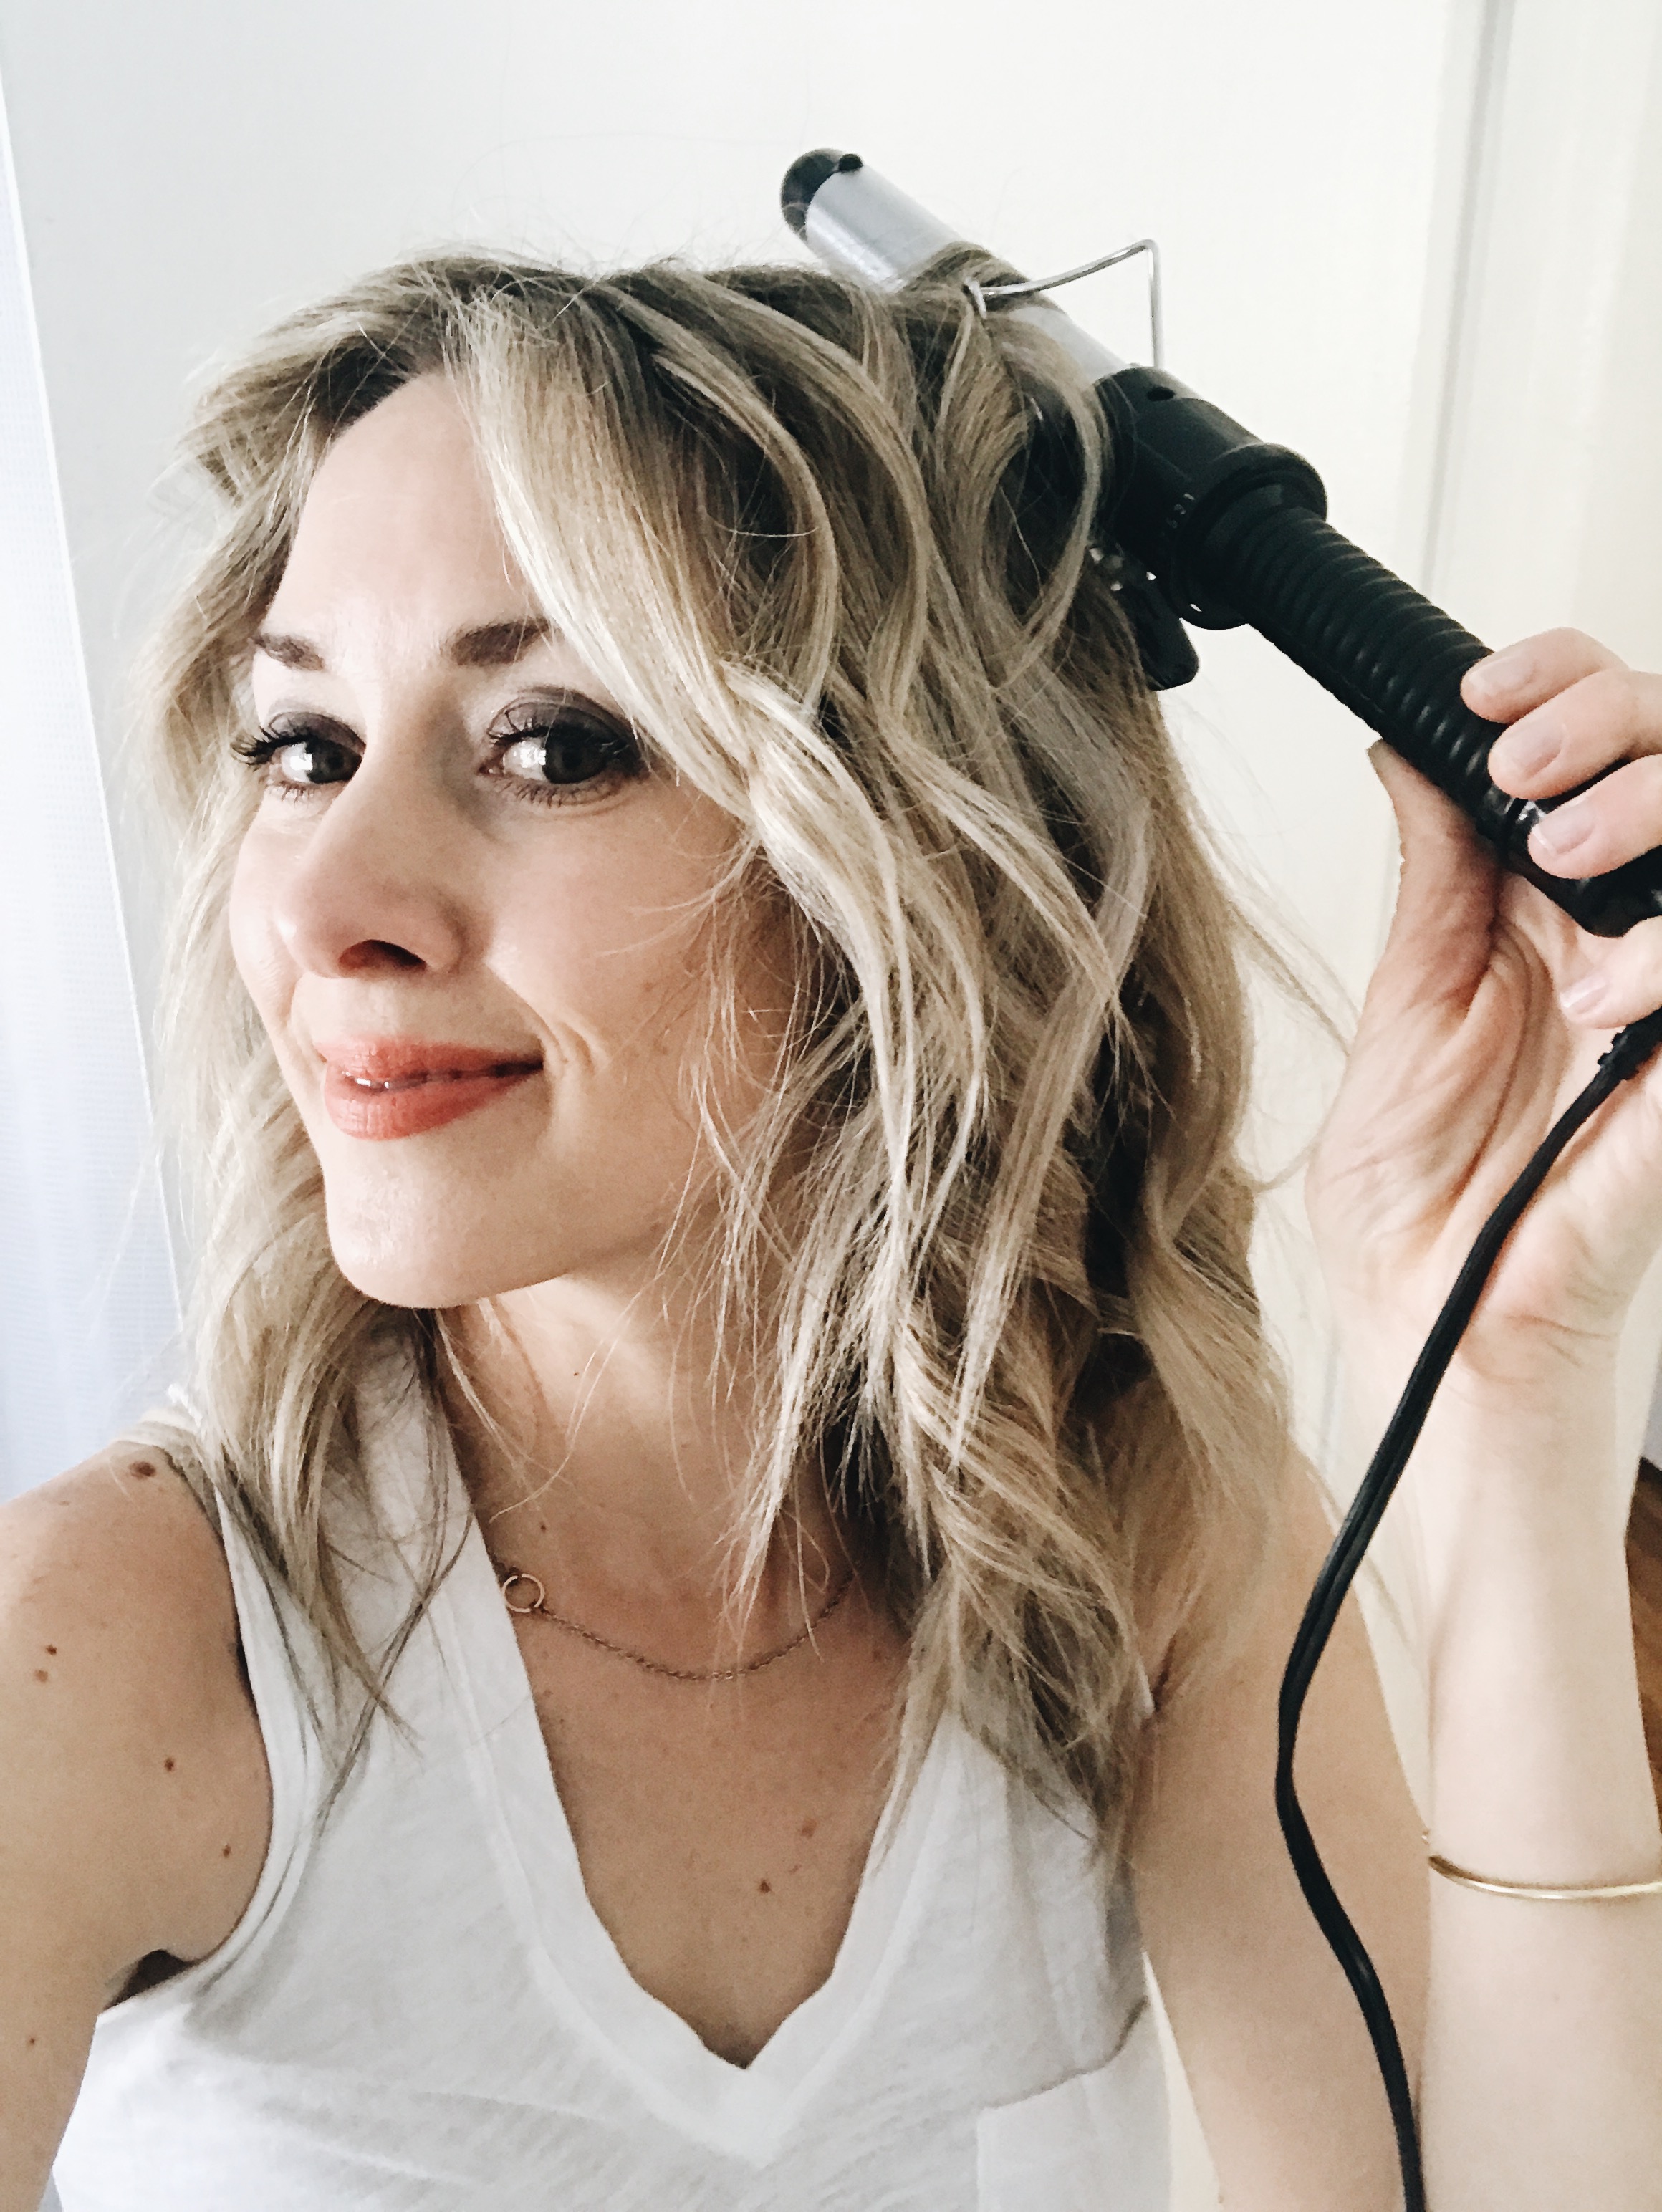
Keep working small chunks of hair on that side (I switched sides because this photo was better, hahahaha! oh.) until you’ve finished the whole side.
This is what it looks like when you’re halfway through one side. You’re about . . . 87 minutes in at this point.
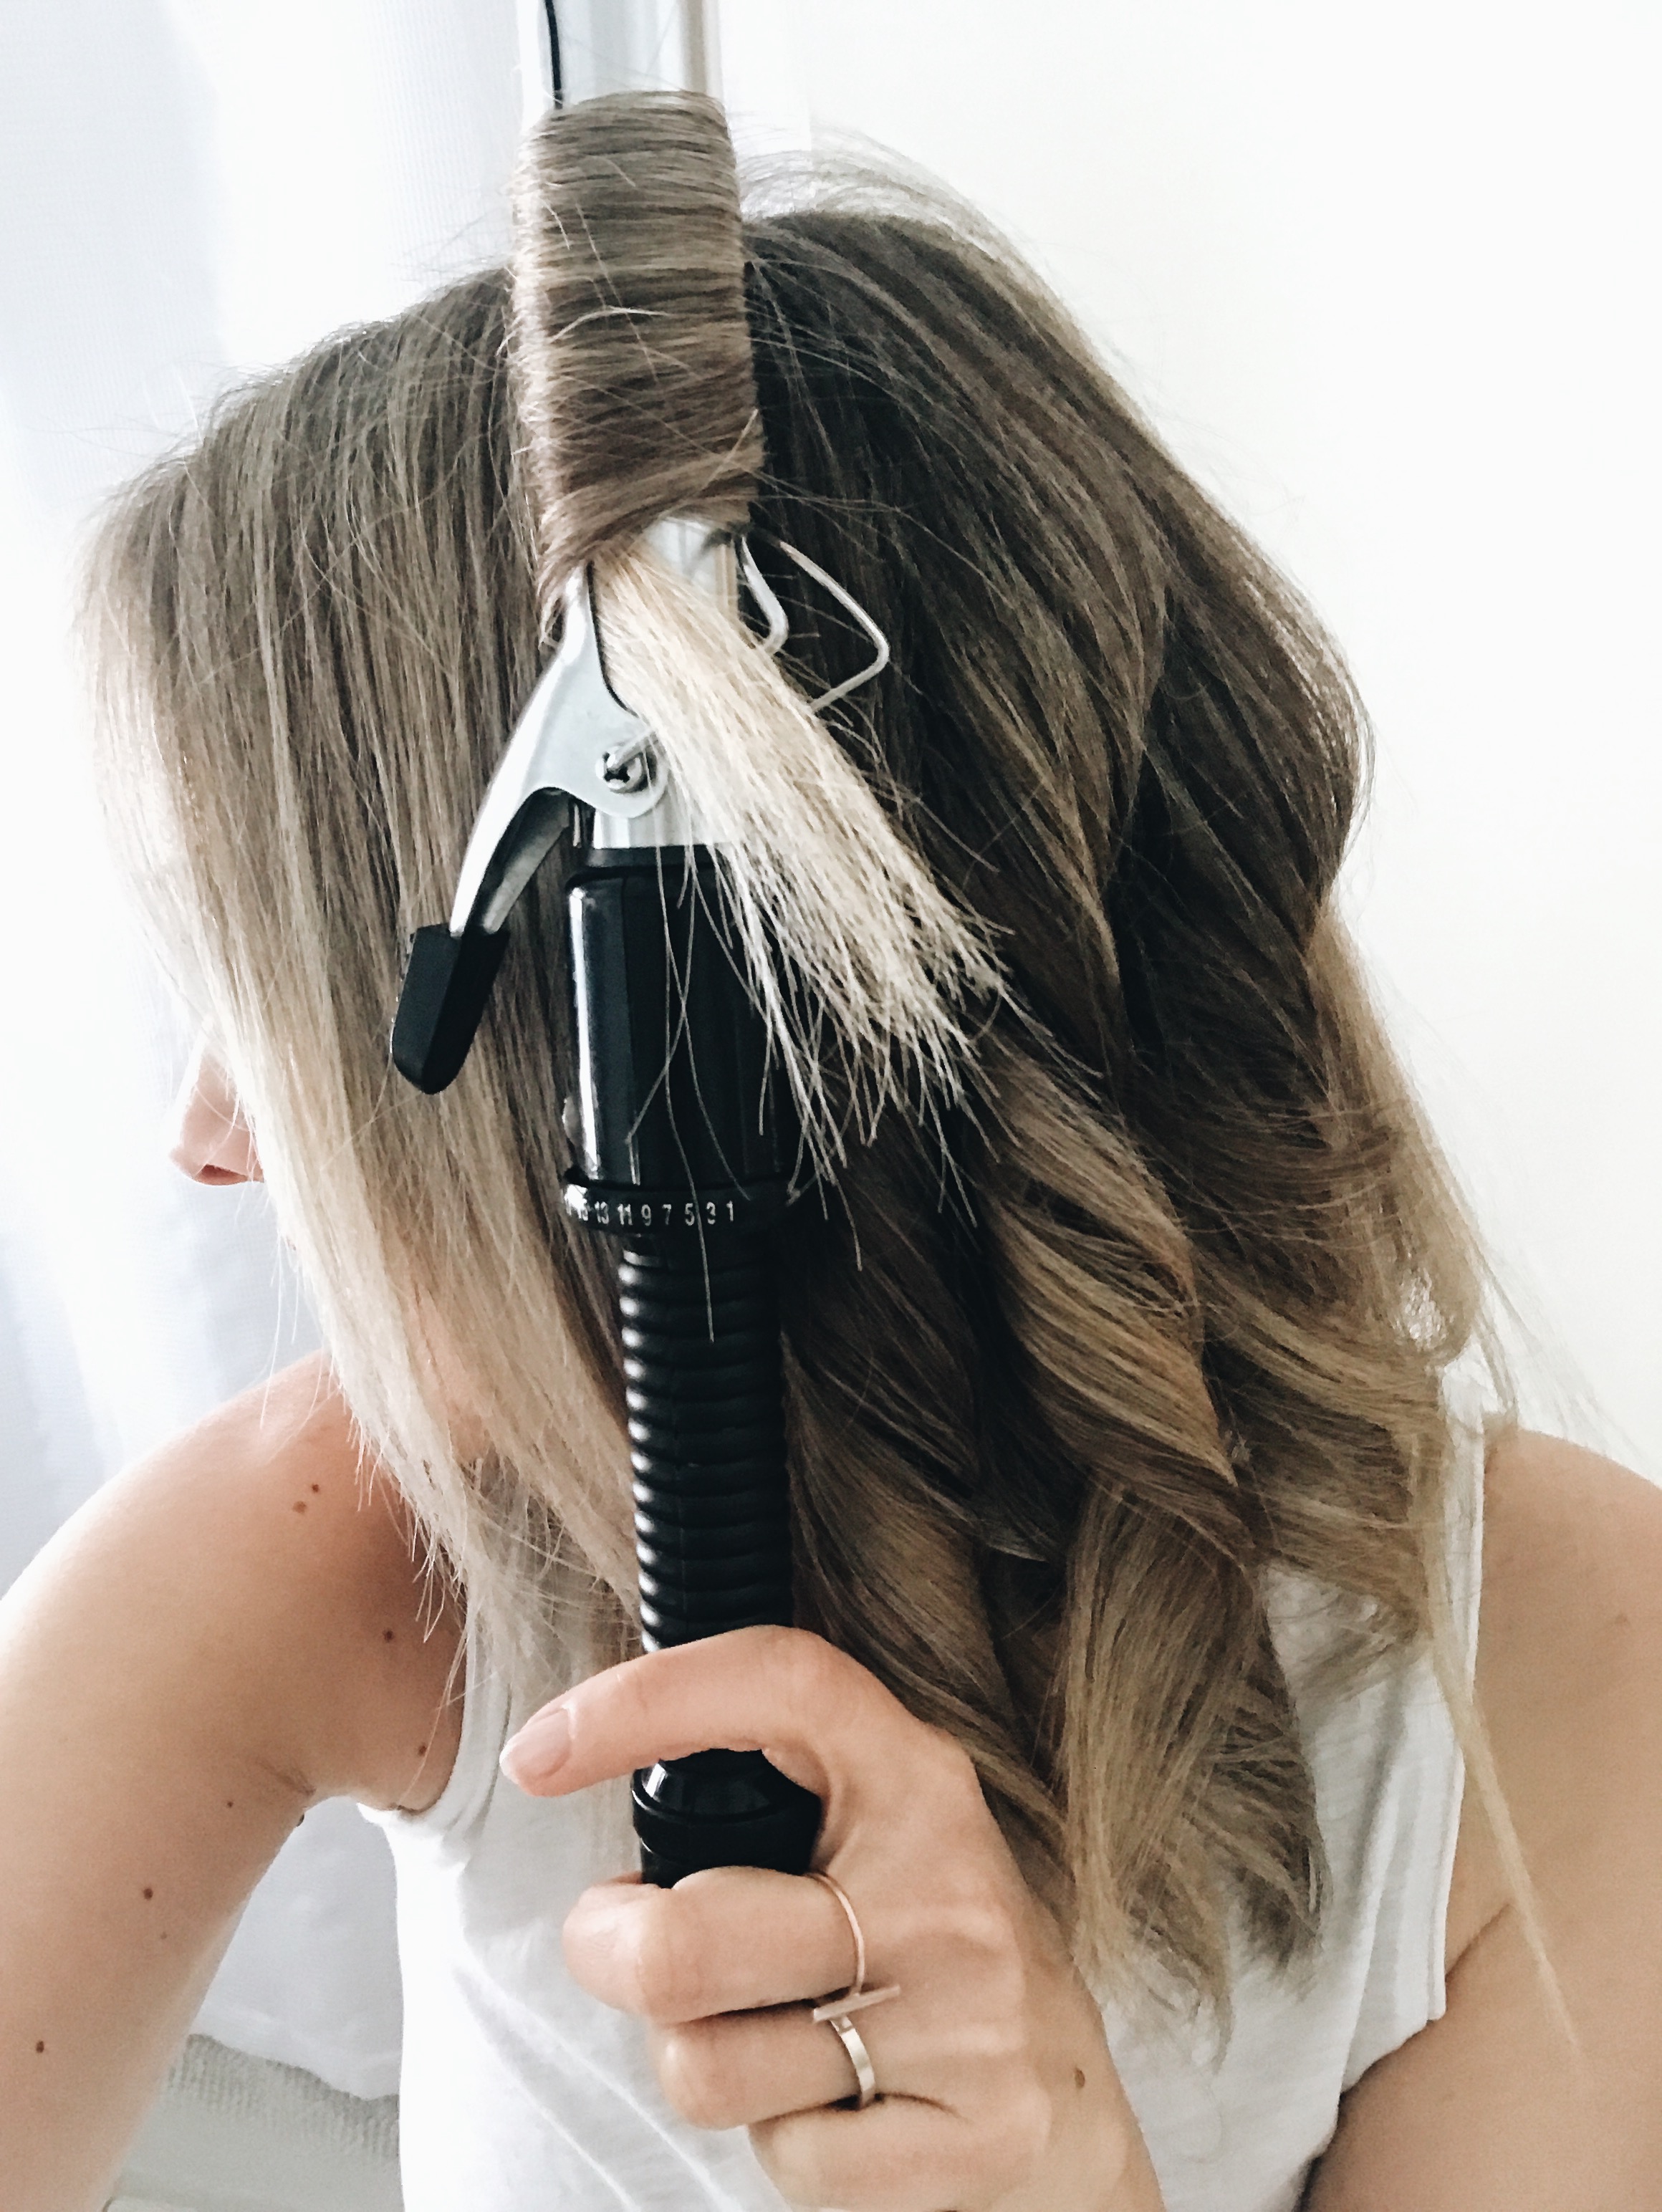
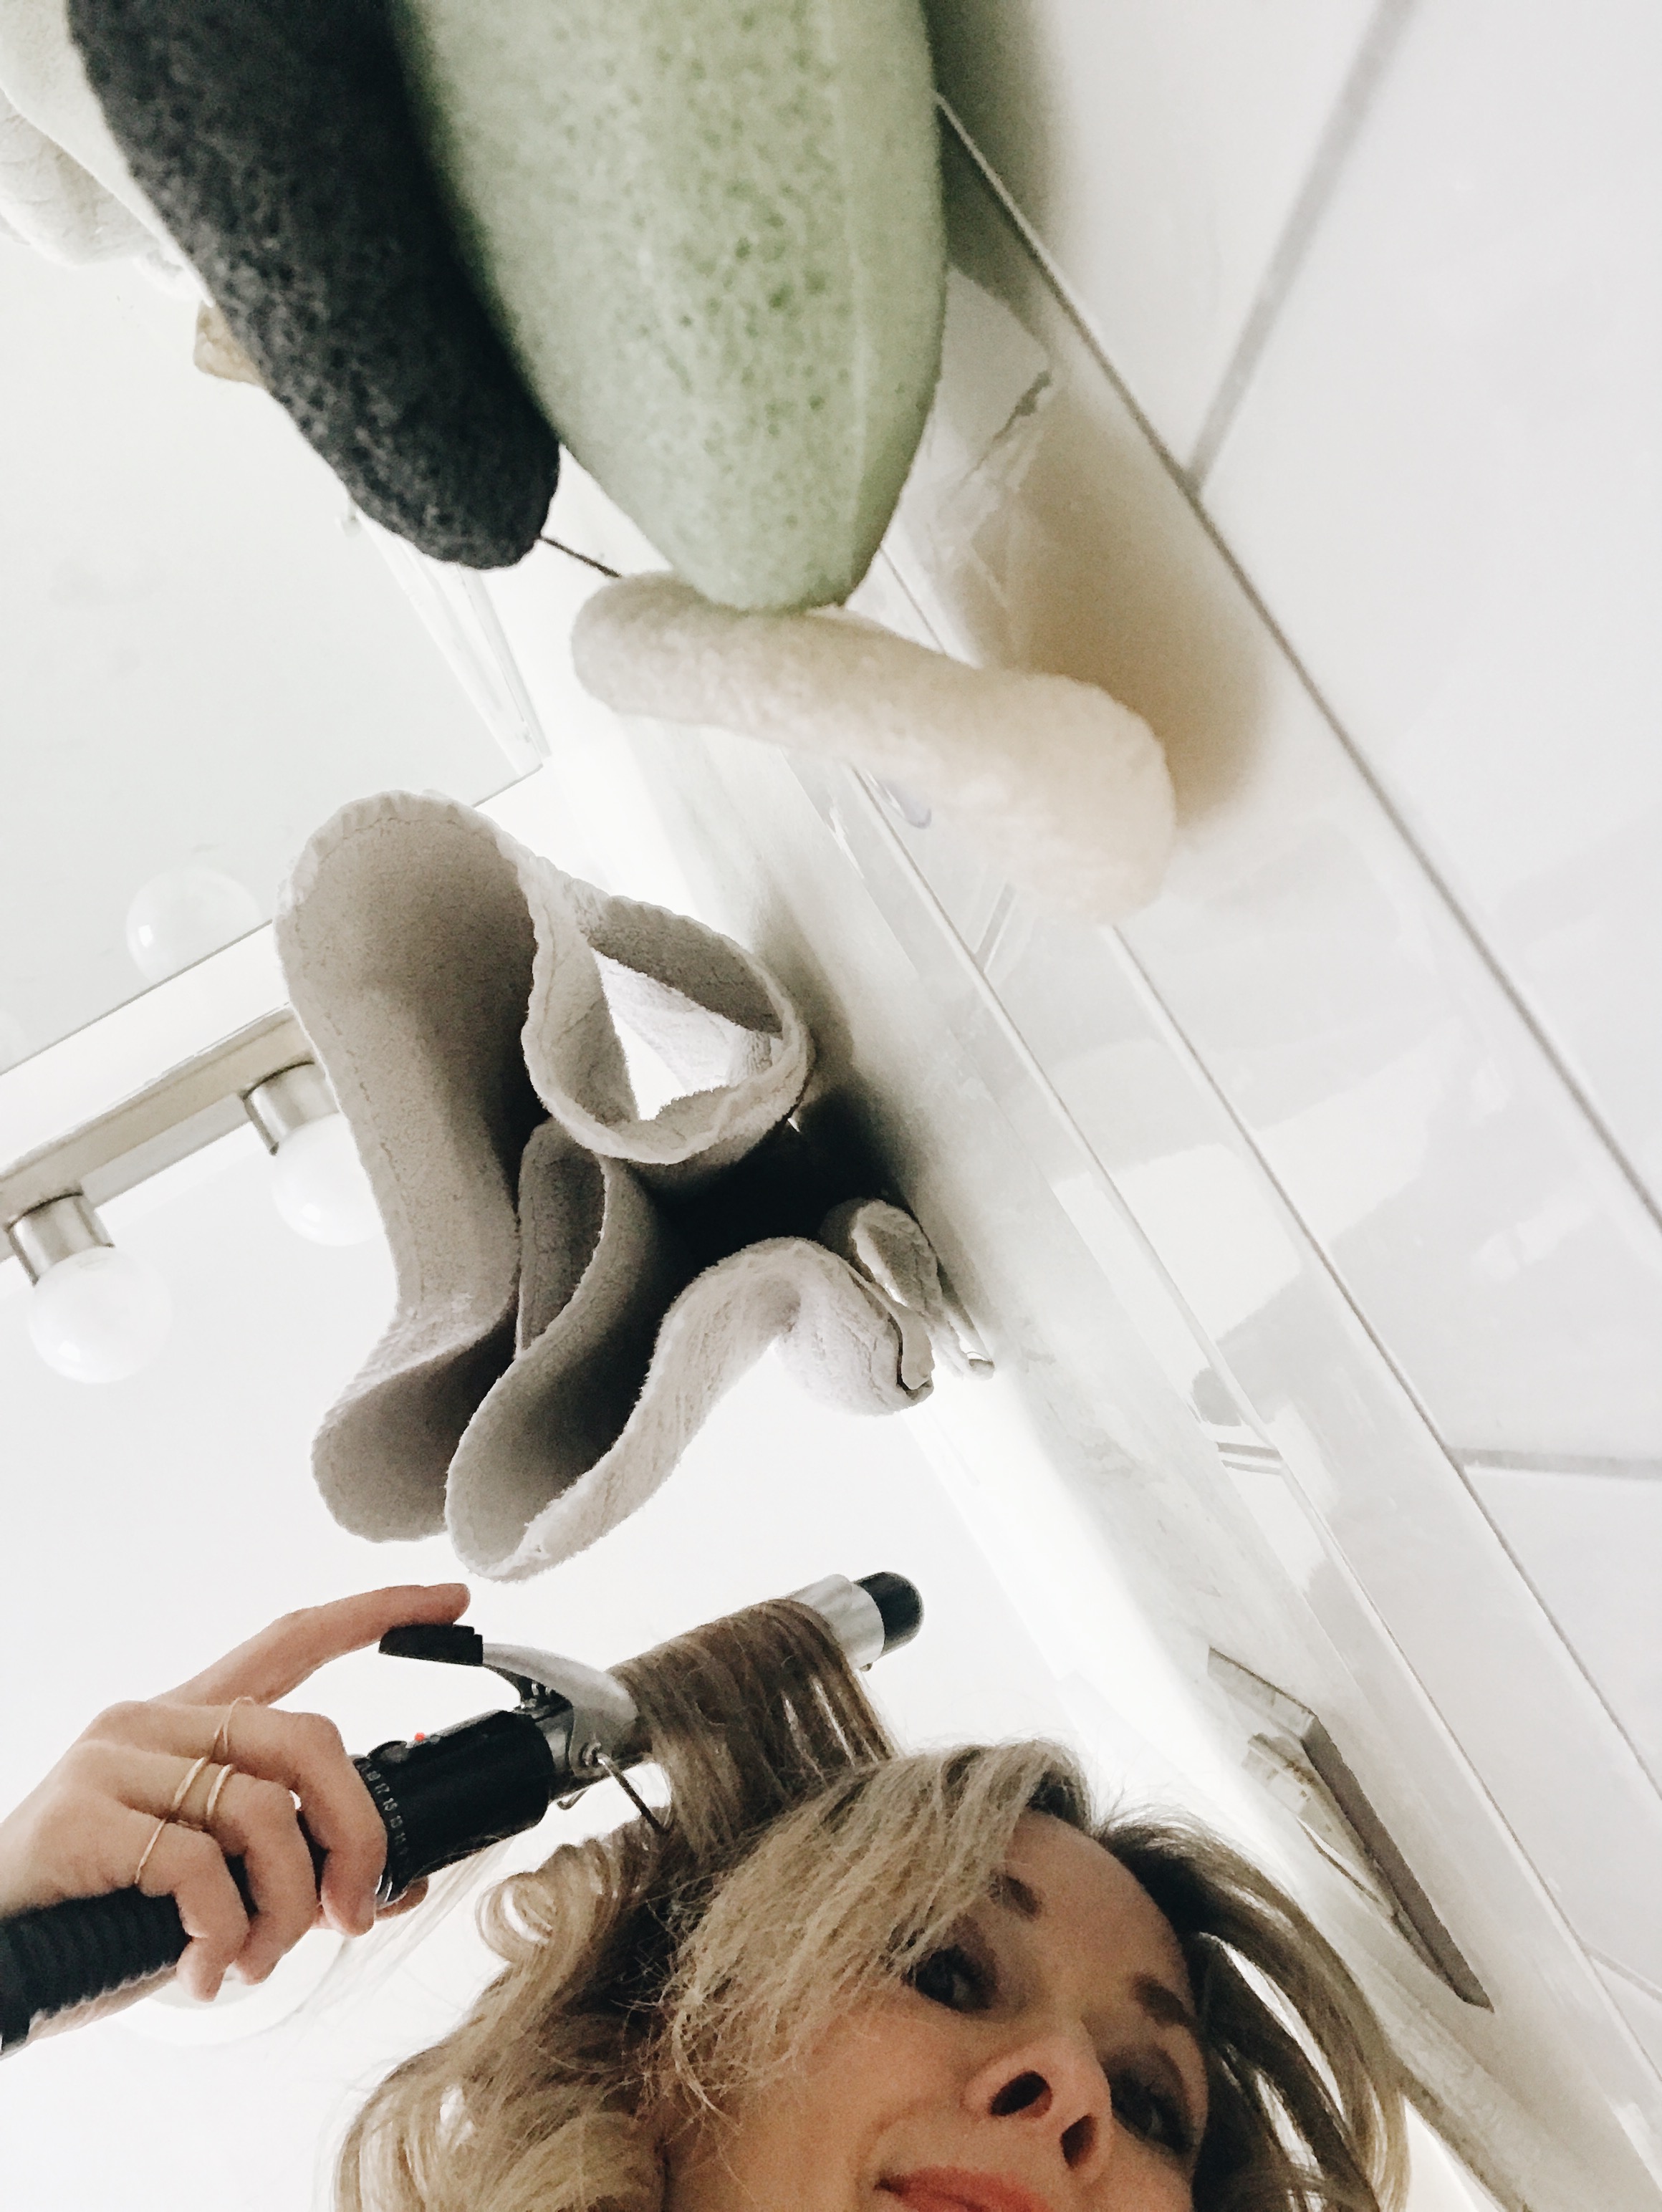
NOW, as you’re making your way closer to your face, take some smaller chunks along the top of your head, and curl those TOWARD your face. This will add a little bit of dimension to the waves. My hair salon gal taught me this long ago! She’s 31 and tiny and has zero jowls.
Listen, I warned you about the nostrils.
Once I’ve made my way all over my head, I like to go back on top and re-curl a few chunks that are falling faster than others. Spritz it a few more times while you let the curls cool. Key step!! LET THOSE CURLS COOL, MAN.
Then once the curls have cooled (curls cooled cooled curls curled cools cools curled), you can either violently shake your head to loosen them all, or just run your fingers through the curls to relax them.
I had a photo of me shaking my head, but I looked completely psycho, so. No.
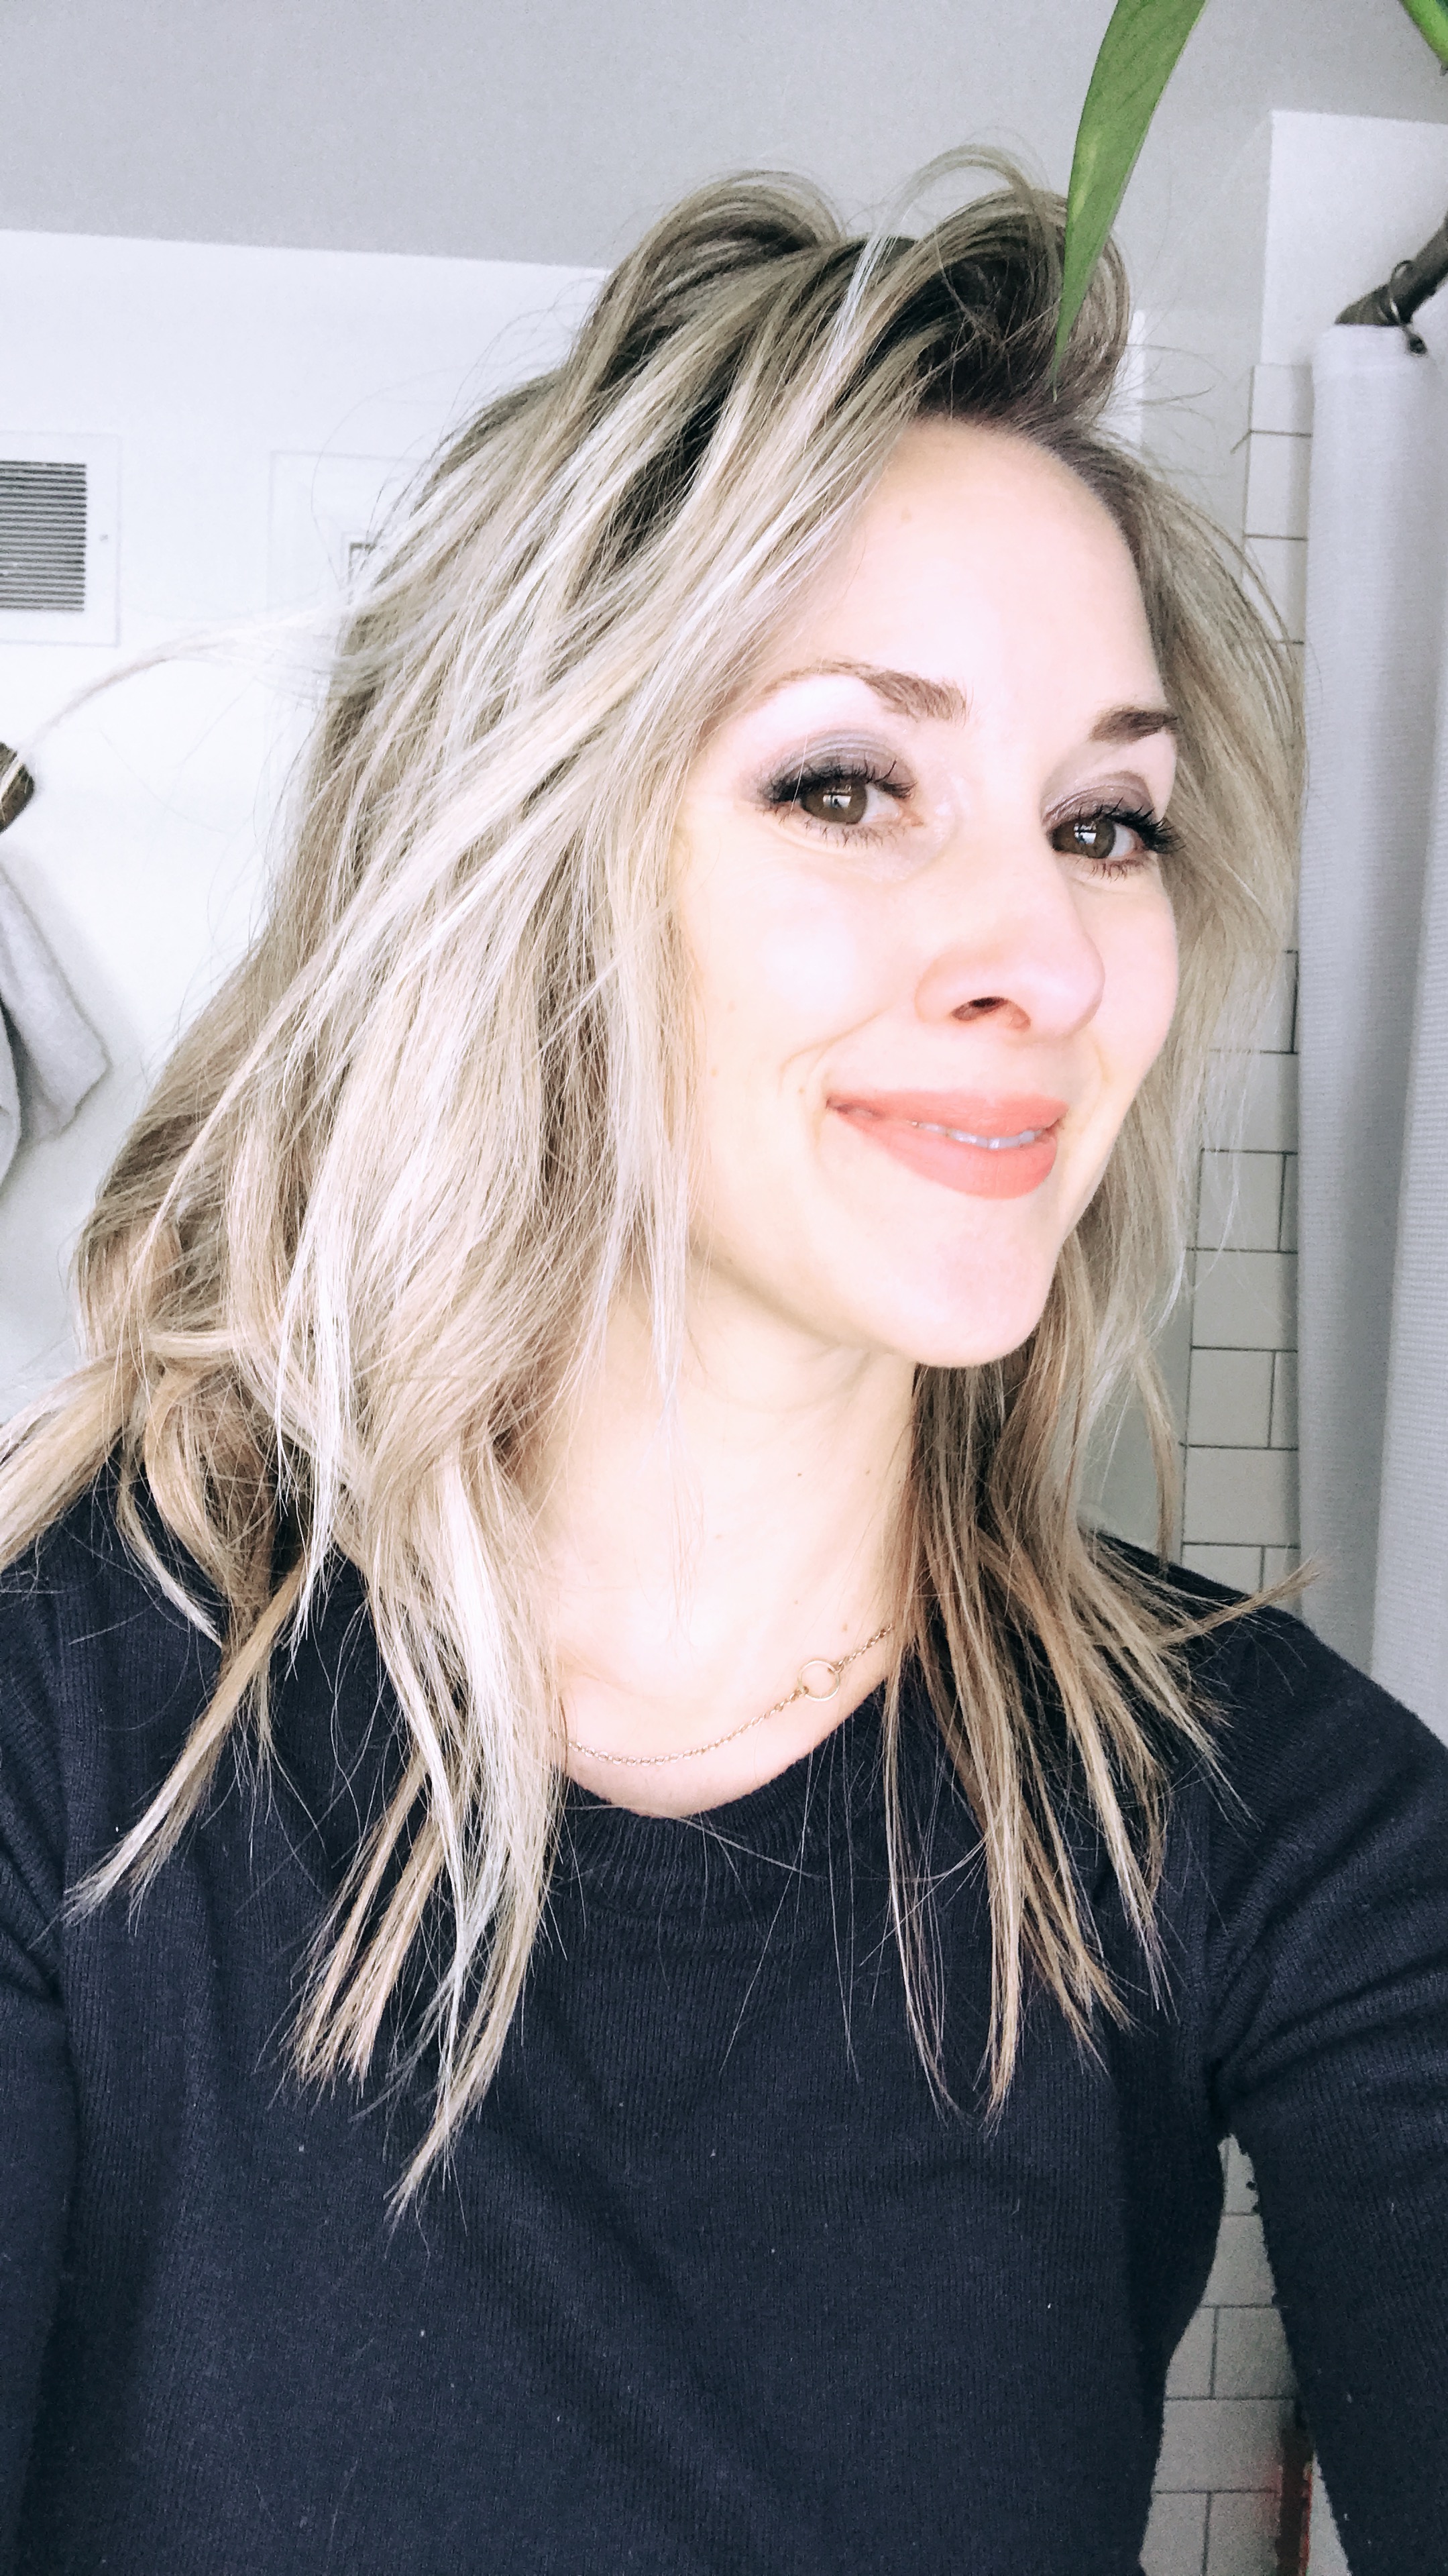
And we’re done!
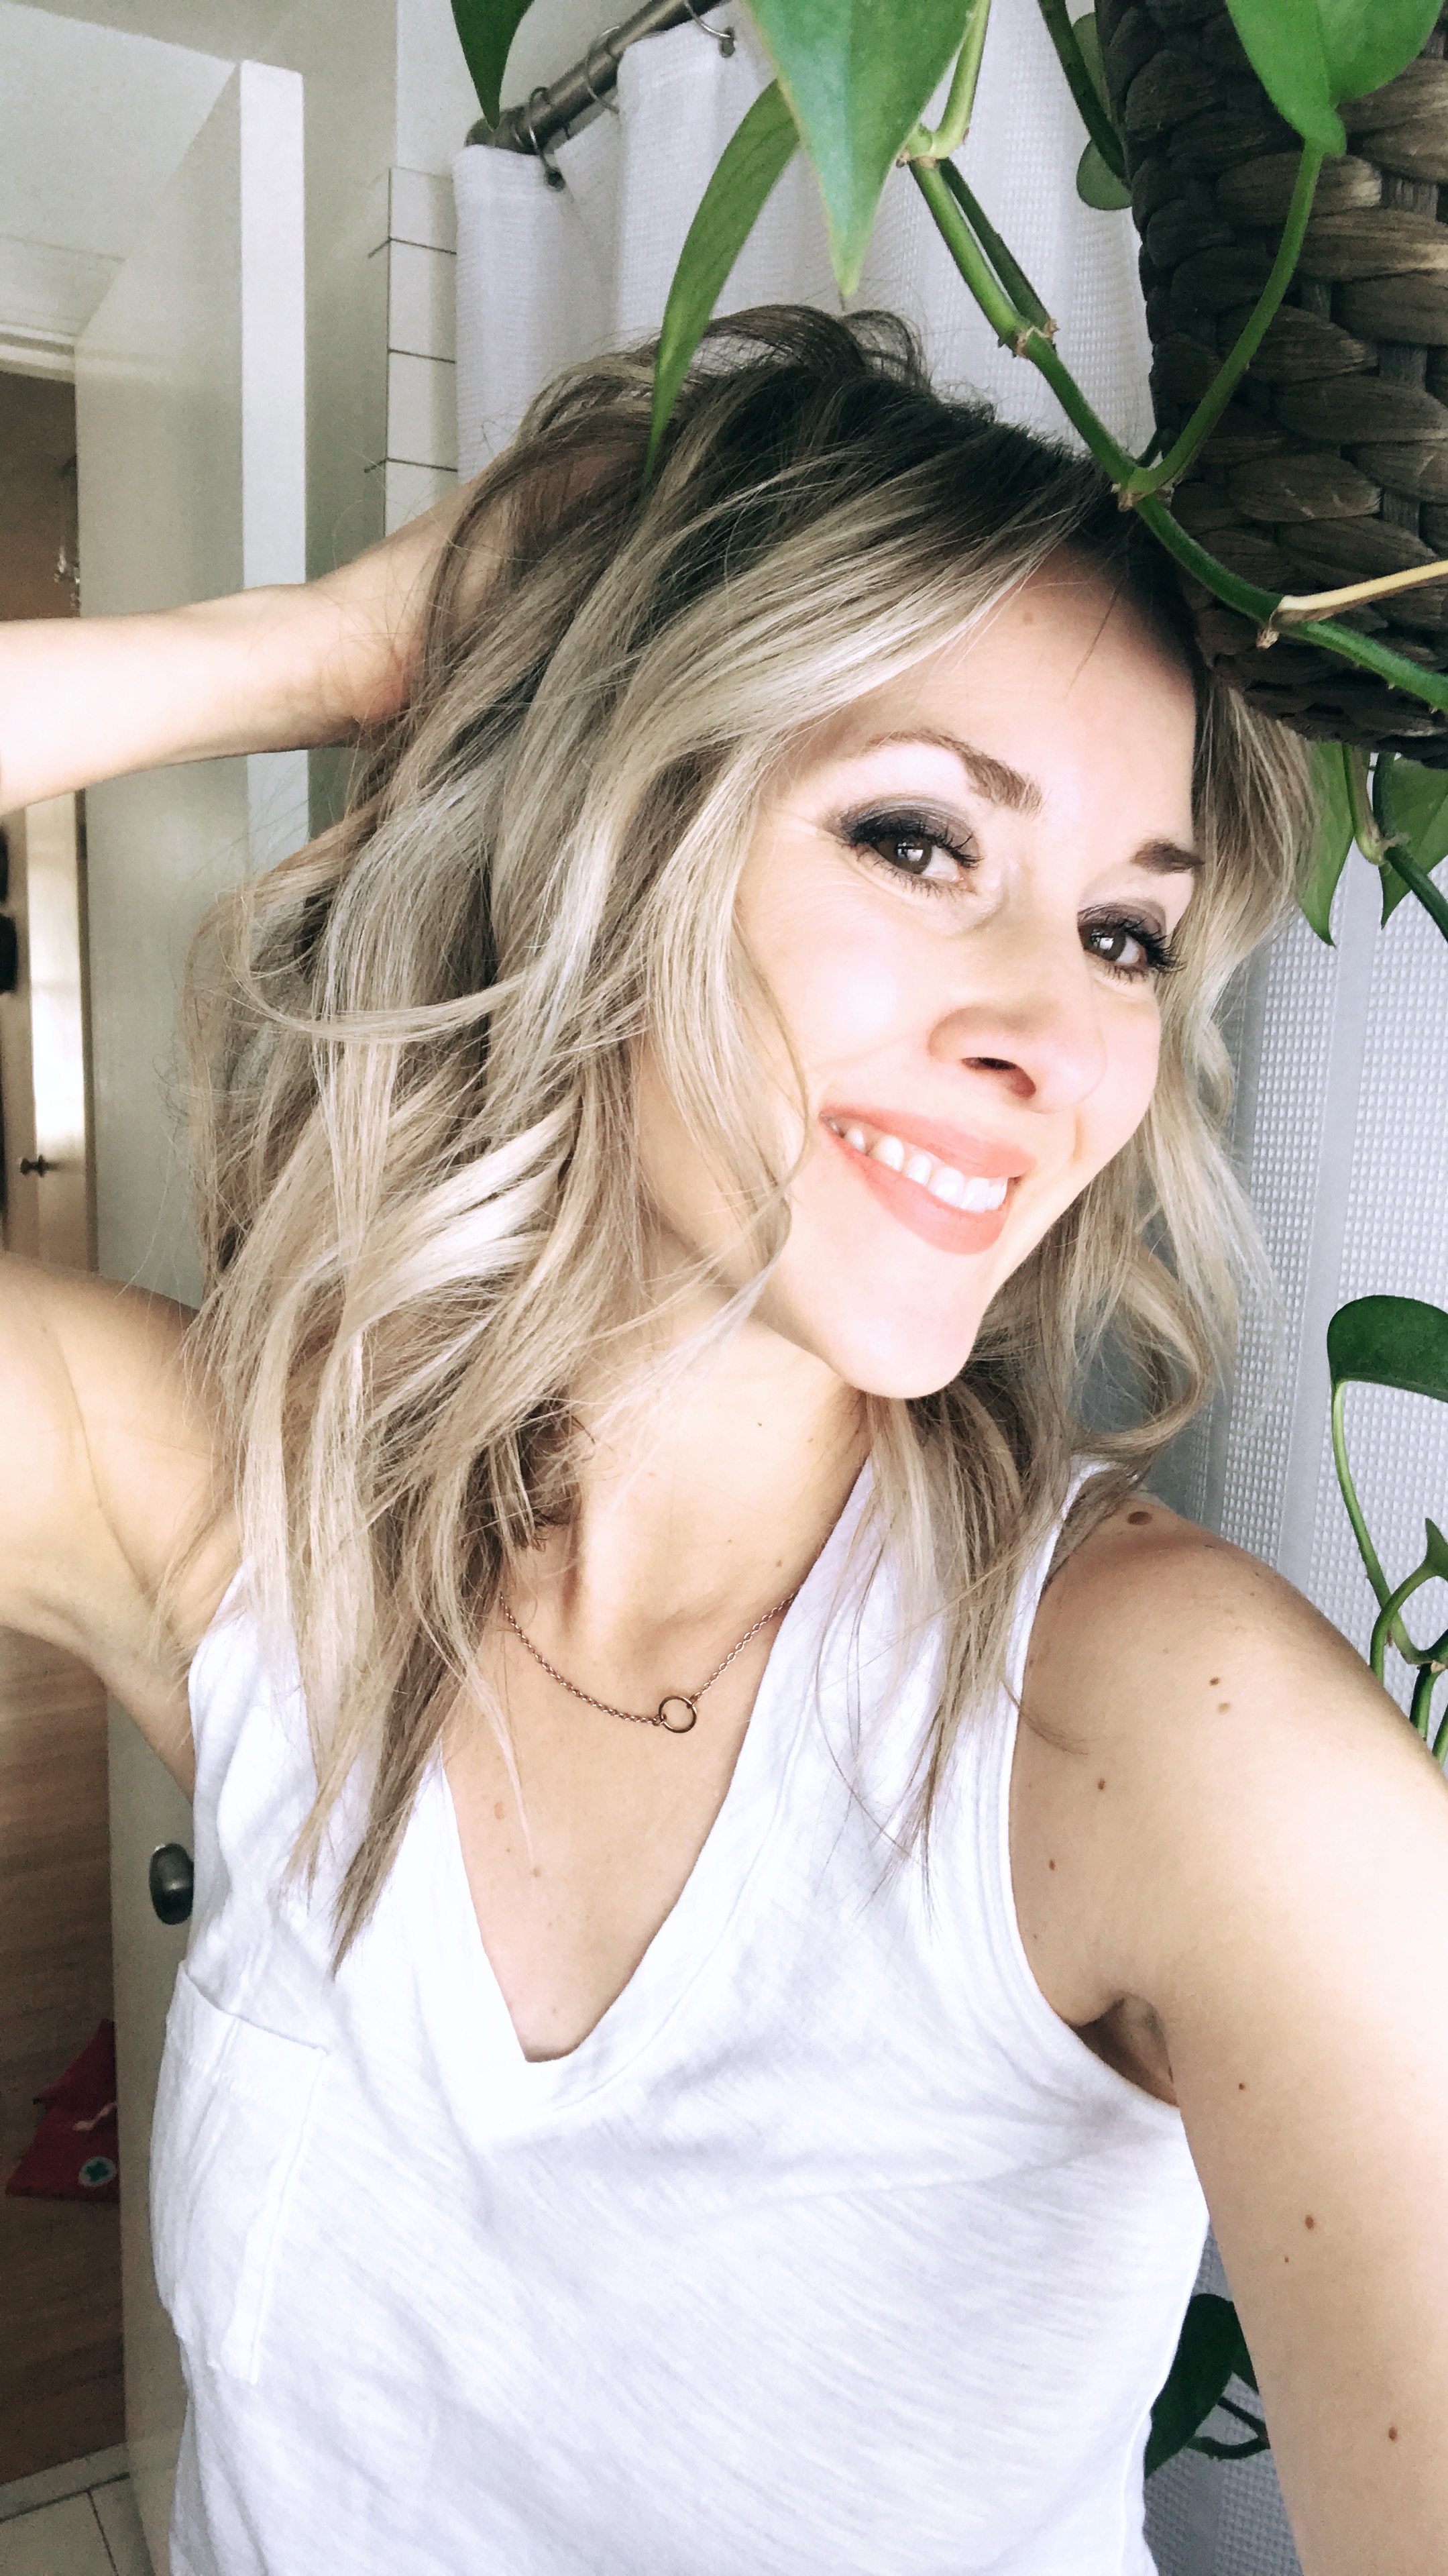
This photo makes me giggle. It reminds me of those scammy mall creepsters in the ’80s that made you pay 5 billion dollars for a crappy GLAMOUR SHOT. I loved those. I never had one. My mom was like, GUESS AGAIN. But my friend Heather got one and I was fiercely jealous. She had one of those metallic cone hair tie thingies with a crimped volcano of crispy hair glory exploding out the top like lava. It was pure magic. Her bangs alone could have had their own Facebook page.
The side! See how those straight ends make such a difference?
Also, make sure you give a high-level cheese chuckle at your shower tile, too. This helps the hair stay in place.
Don’t quote me on that.
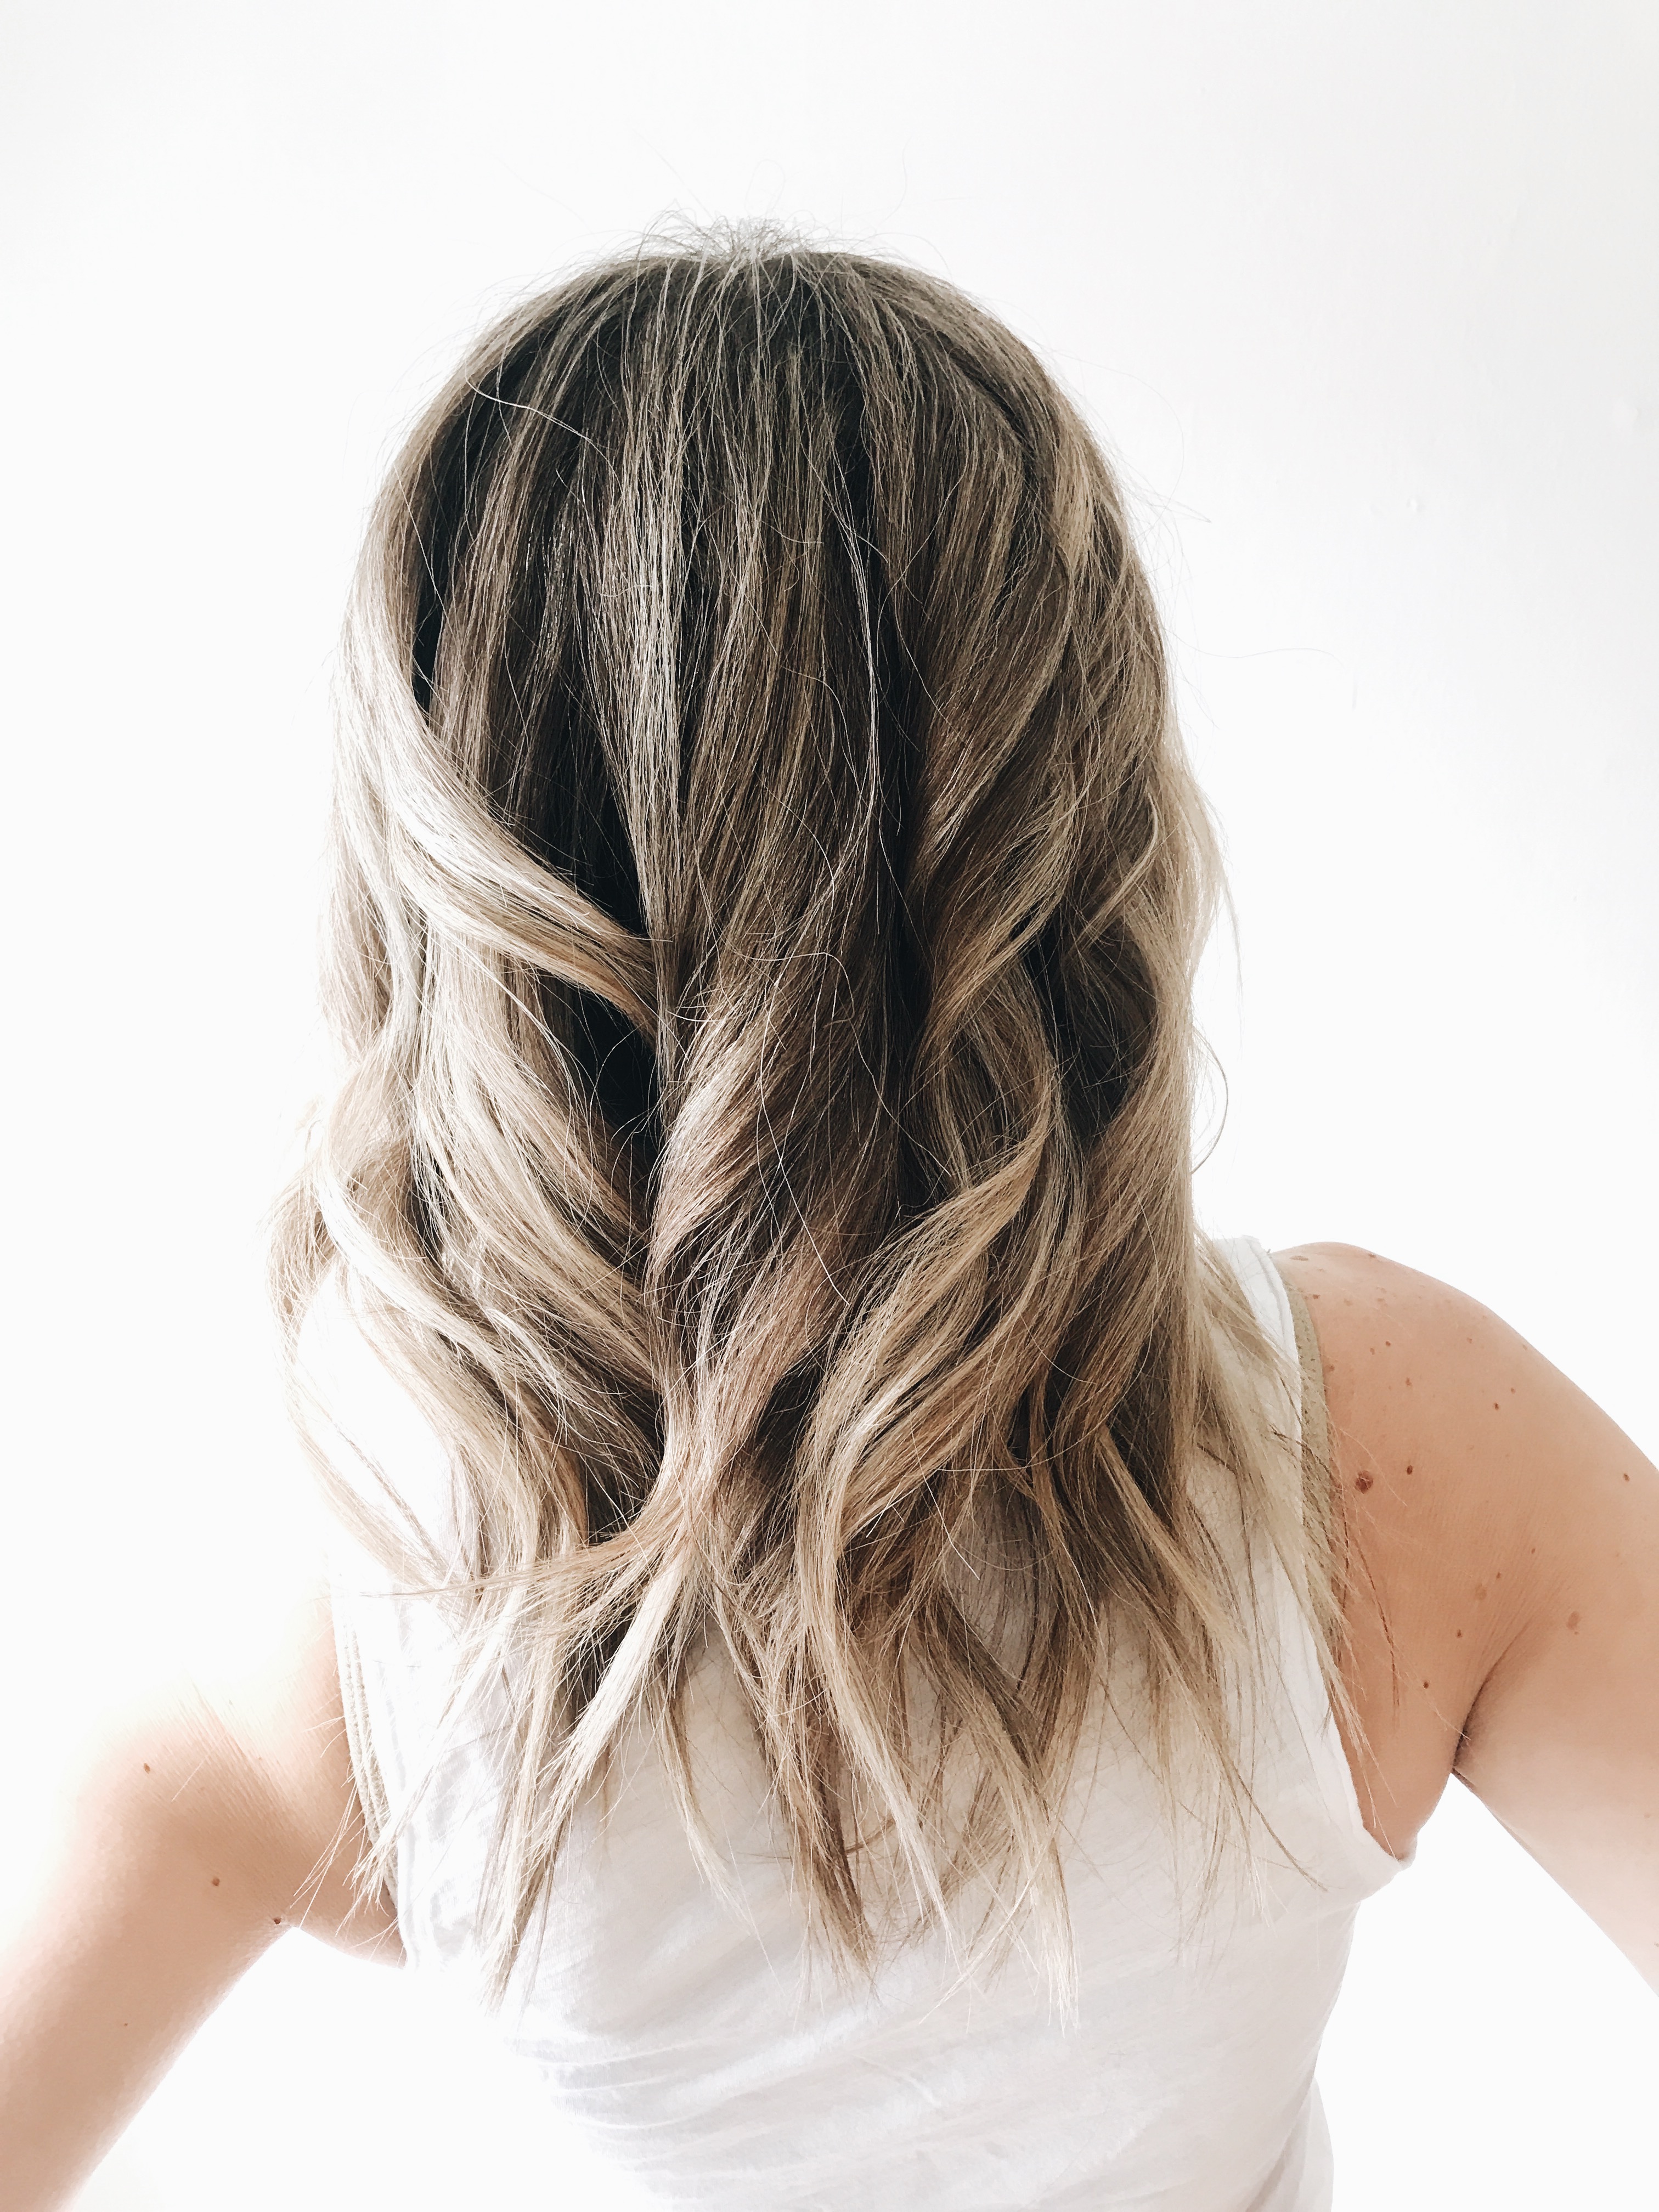
The back! I even went back and took some of the outer crown chunks and gave them another go after I saw this photo. Oh! Let’s start a band called Outer Crown Chunks.
We suck.
The waves will relax over time, so make sure you put on an excessively-loaded lint-flecked sweater and flip your bangs over for a fun, slick, updated ’90s vibe.
Oh it’s not updated?
. . .Oh.
THE END.
More tips, if you’re not completely sick of this just yet.
- I always add a little bit of coconut oil to the ends and roots of my hair, where I want extra shine.
- That thing on the wall that you’re all curious about – it’s a driftwood towel holder made by Aaron. YES it’s weird and I’m obsessed with it.
- The white tank is Madewell! And it’s my new life.
- The necklace is Etsy.
- The rings are Madewell, Nisolo and Fine Life Co!
- The curling iron in a 1-inch Conair.
- I only wash my hair once a week. (no, seriously) And I’d say this style is BEST (for me) days 2-4. Then after that it’s the beloved topknot.
- No nostrils were harmed during the making of this blog post.




37 Responses to How I Get My Waves. My Hair Waves.
Trackbacks/Pingbacks