‘Tis the season for cheeseboards! And by that I mean it’s always the season for cheeseboards.
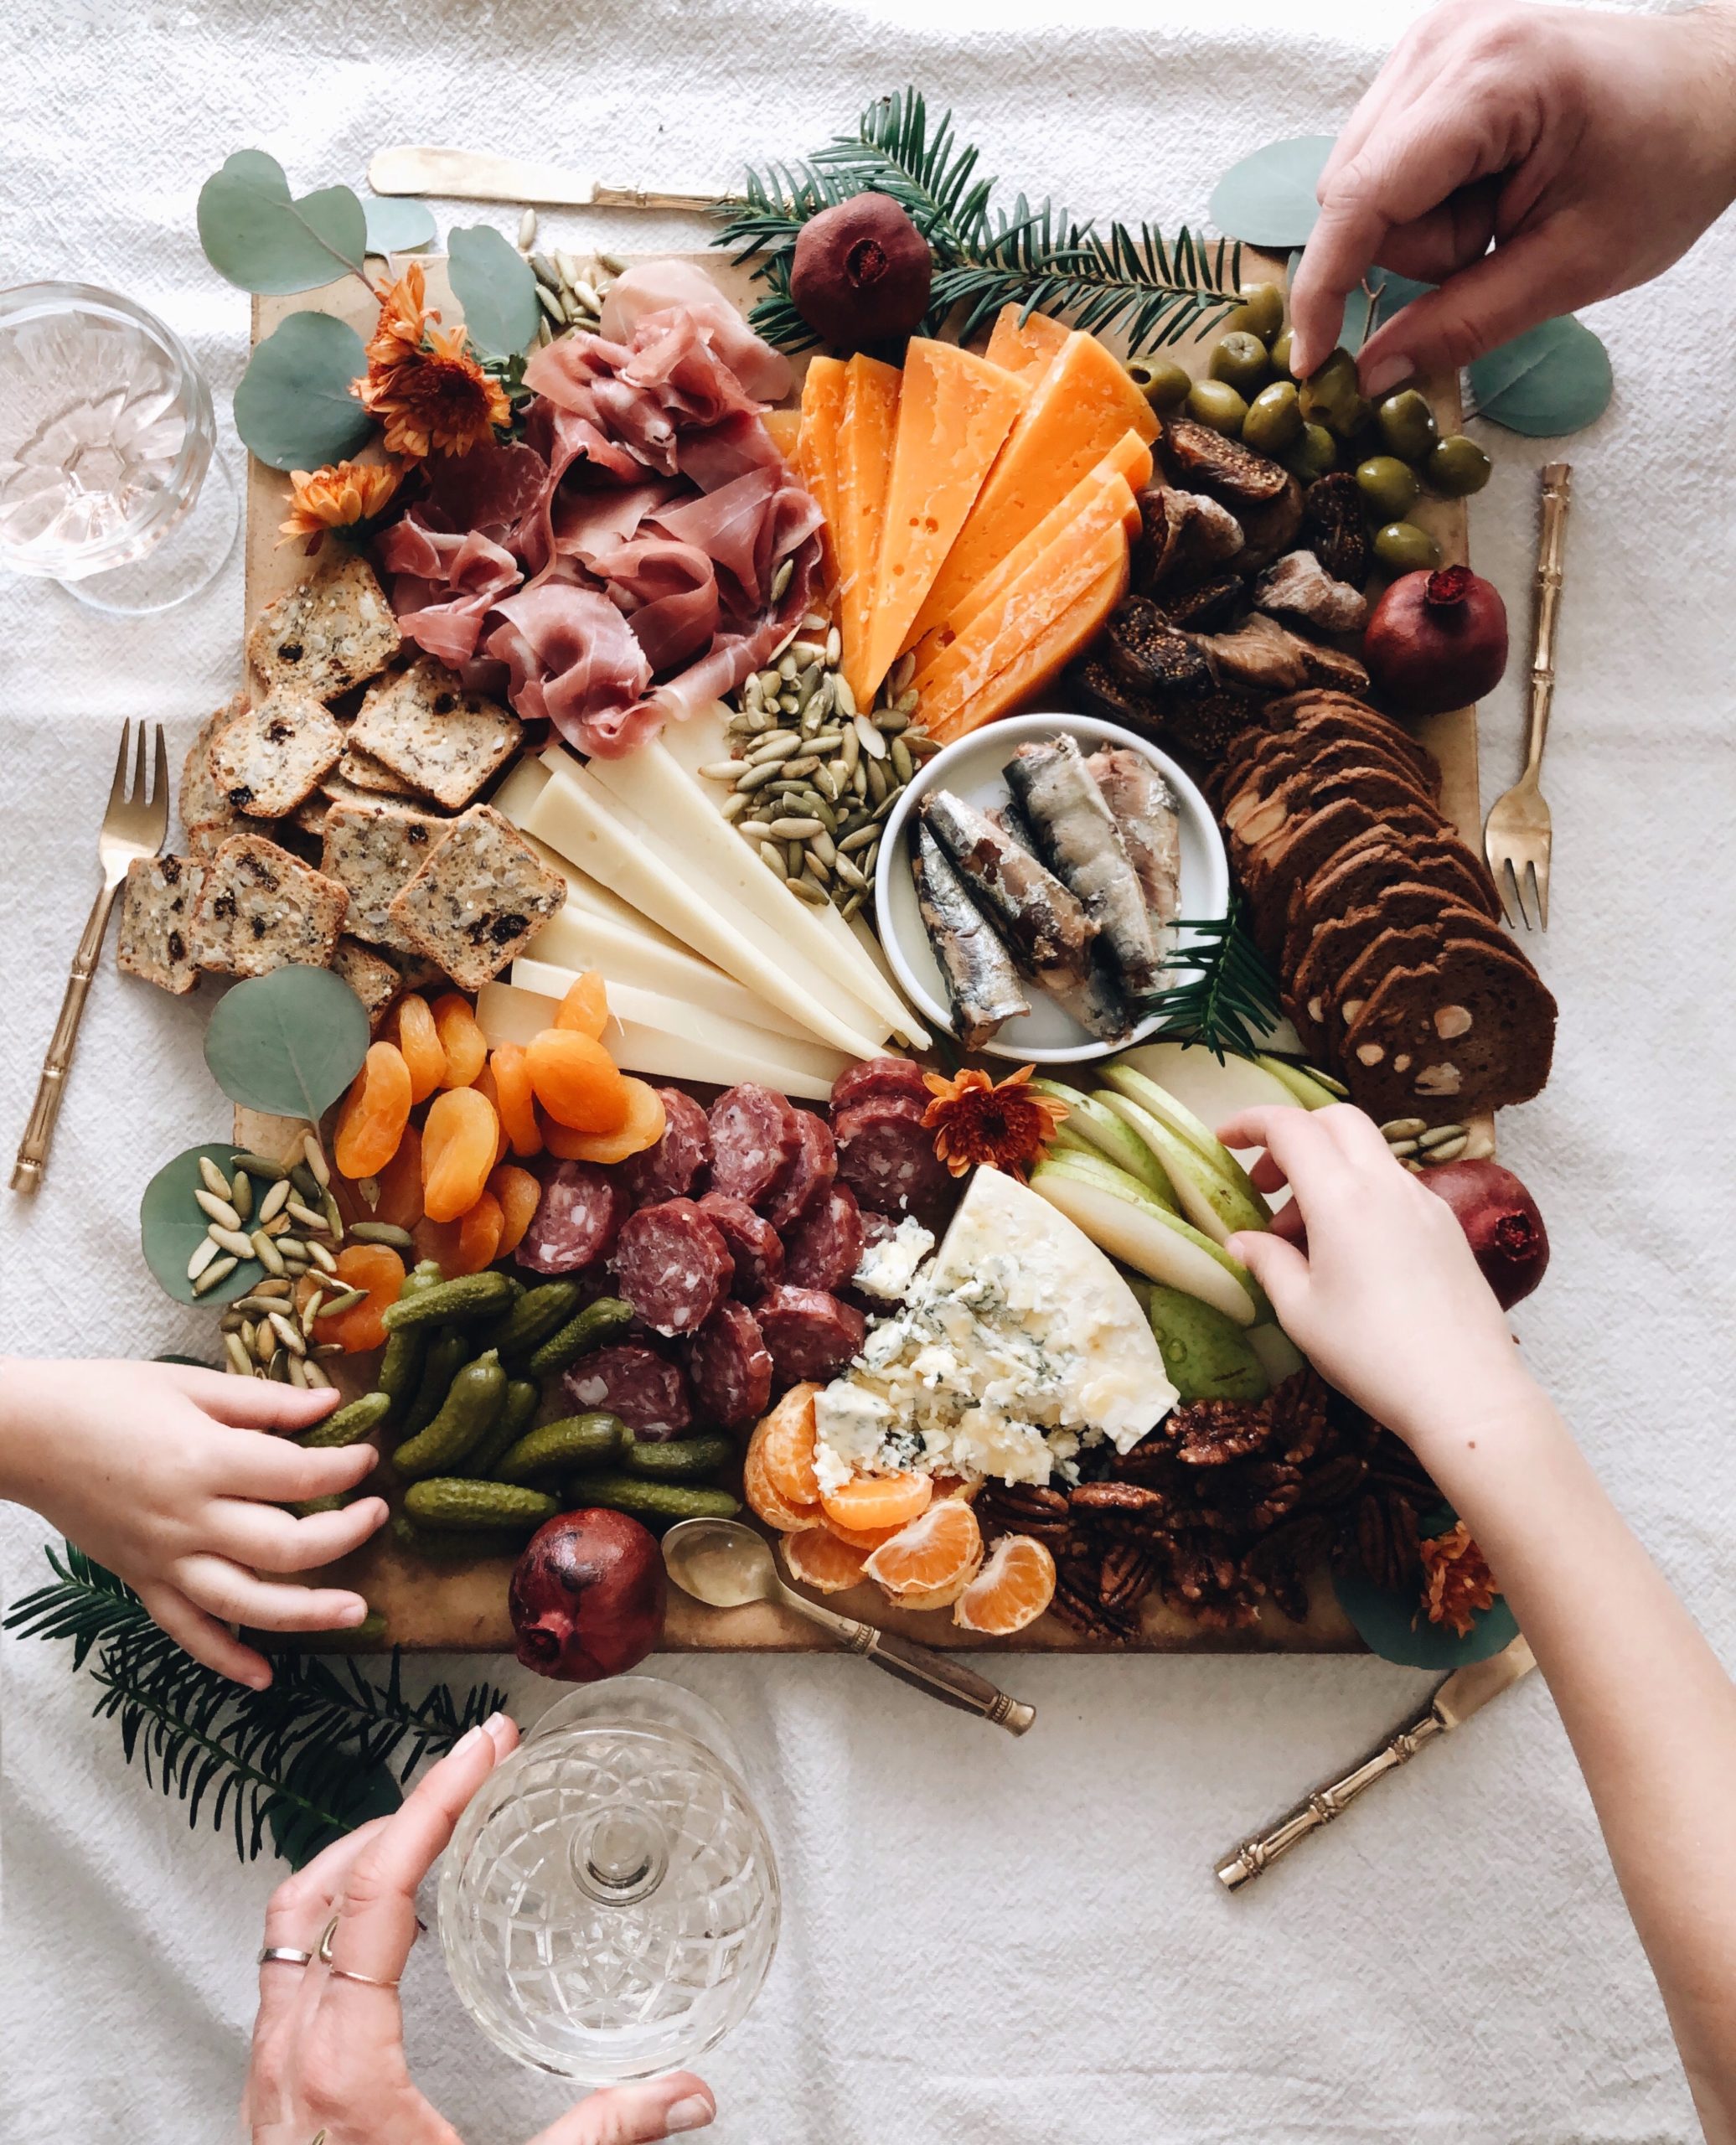
But espeeeeecially now. (insert jingle bells and giant turkeys and Santa hats and Cousin Eddie in a black dickie.)
Thanksgiving is NEXT WEEK, you guys (I still don’t see how this is possible since last week was the Fourth of July), so it’s time to set out the platters and boards and trays and get our fast and furious nibble on. You don’t have to tell anyone I phrased it like that just now.
I want to walk you through how I put a cheeseboard together. And I know you know how to do this, but you’d be surprised how many have asked for a lil’ step-by-step demo of the noggin path to getting it to look the way it looks in the end. So that’s what I’m here for! To lead you down my noggin path.
Nogginpathnogginpathnogginpath.
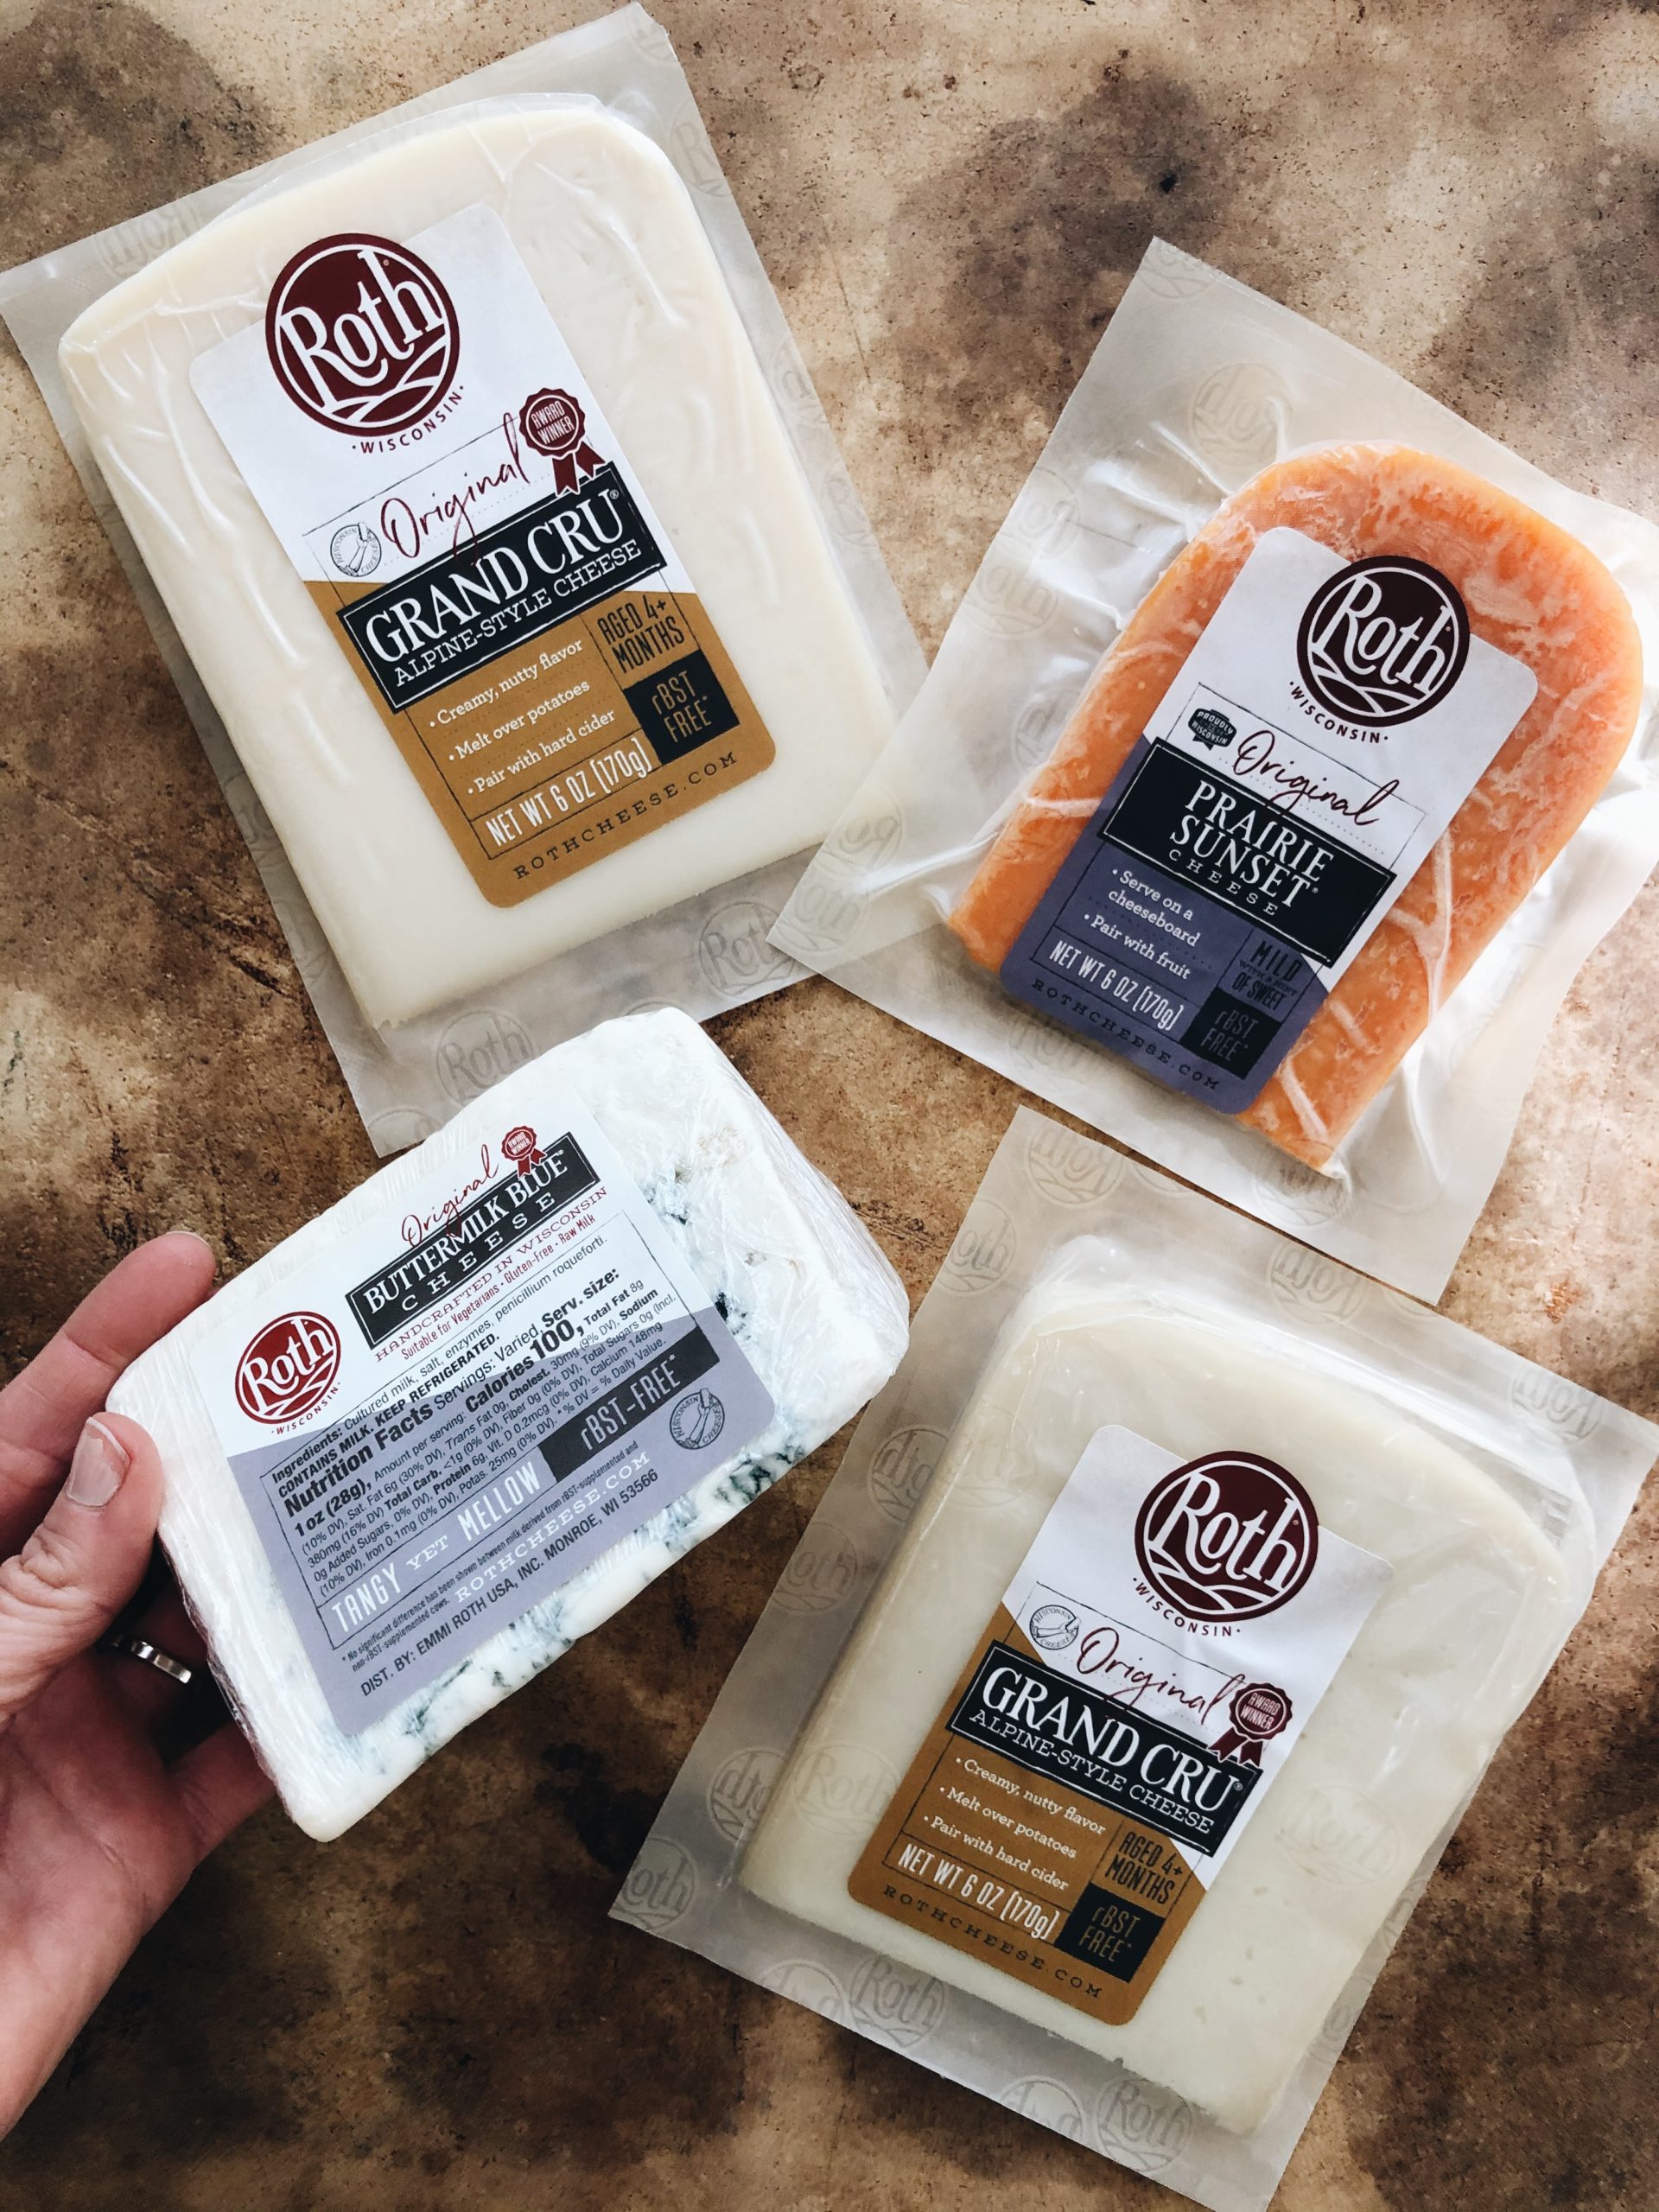
Today’s board is allllll about my lover, Roth Cheese. Especially their Grand Cru. Dear heavenly faces, if you’ve not yet climbed aboard the Grand Cru wagon, what are we even doing here? It’s honestly the staple cheese I go for when putting together a cheeseboard. Alpine-style, nutty but with a subtle creaminess to it, it is just perfection. Just surrender.
I’m also including Roth’s Prairie Sunset, which is equally glorious with its cheddar-meets-gouda flavor and deep orange color, just like a sunset! See what they did there?
And lastly, I’m including Roth’s Buttermilk Blue, which is honestly going to make you blue cheese crazed if you’re not already. Mellow yet bold, its creamy tanginess will absolutely have you swooning. And inhaling. And looking like a complete maniac, but it’s a cheeseboard so clearly it’s allowed.
Let’s build!
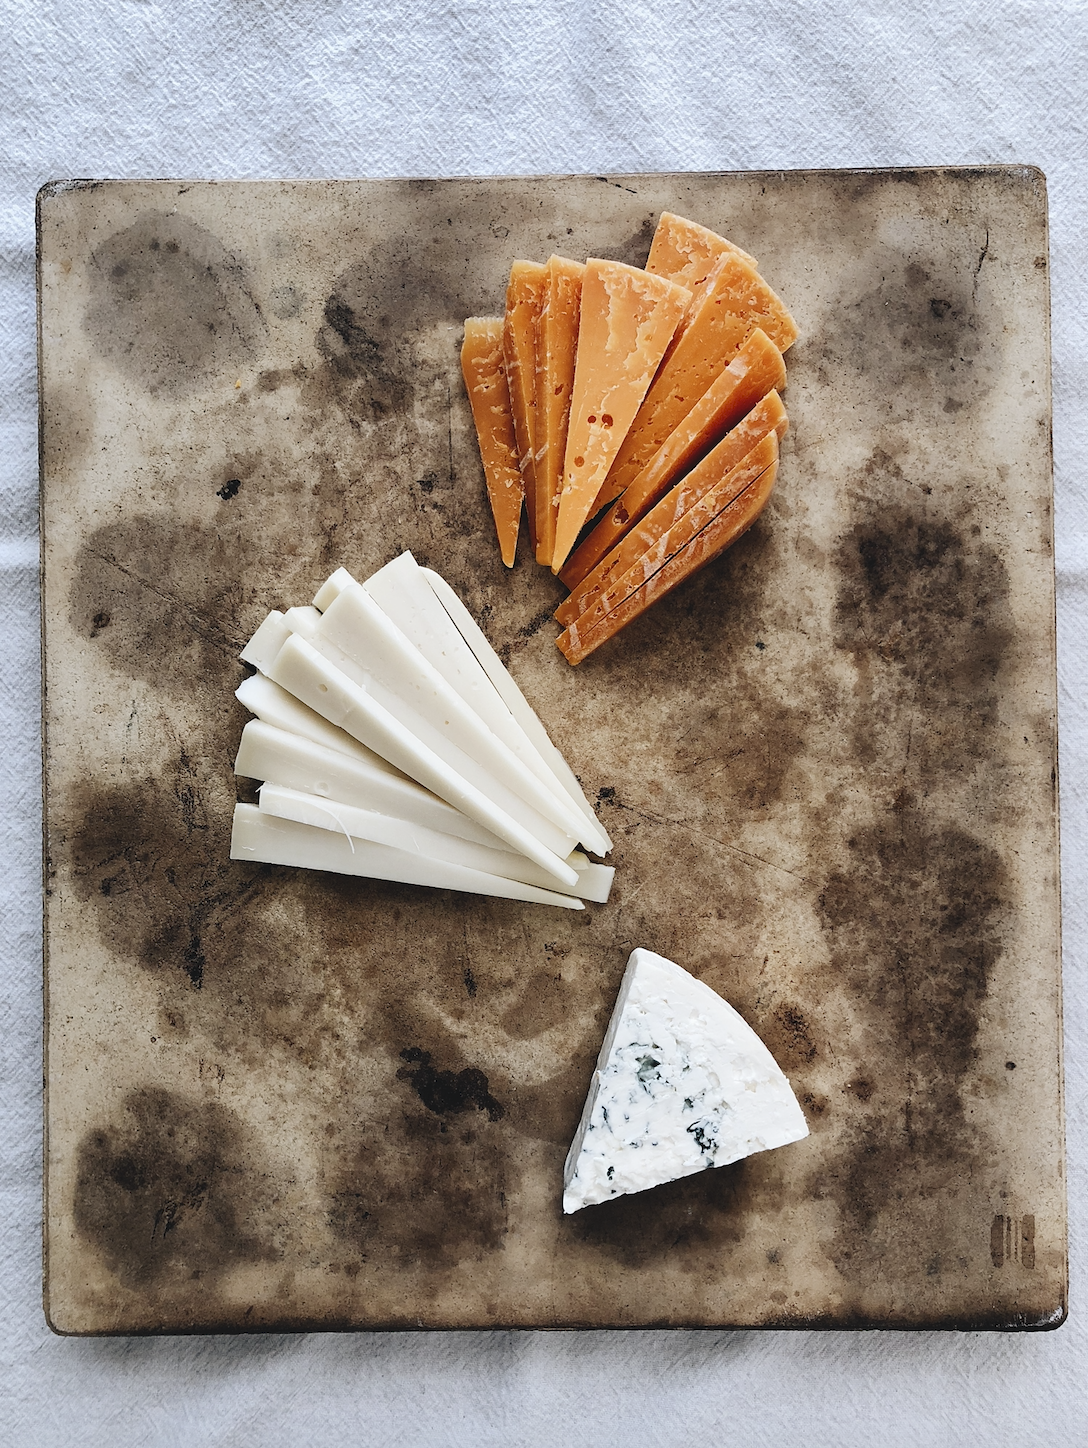
I always start with the cheeses. Priorities. And seriously, how you create a cheeseboard is ALL YOU, BOO. There’s are no hardcore rules behind this, but I’m showing you the non-intimidating route that won’t have you sweating your pits off and yanking out every last one of your head hairs.
First, create a little zig zag of cheese in the center of your board. And yes this is actually a pizza stone. I didn’t have a board big enough for what I was trying to achieve with this Fall Harvest bid-neh! It’s fine.
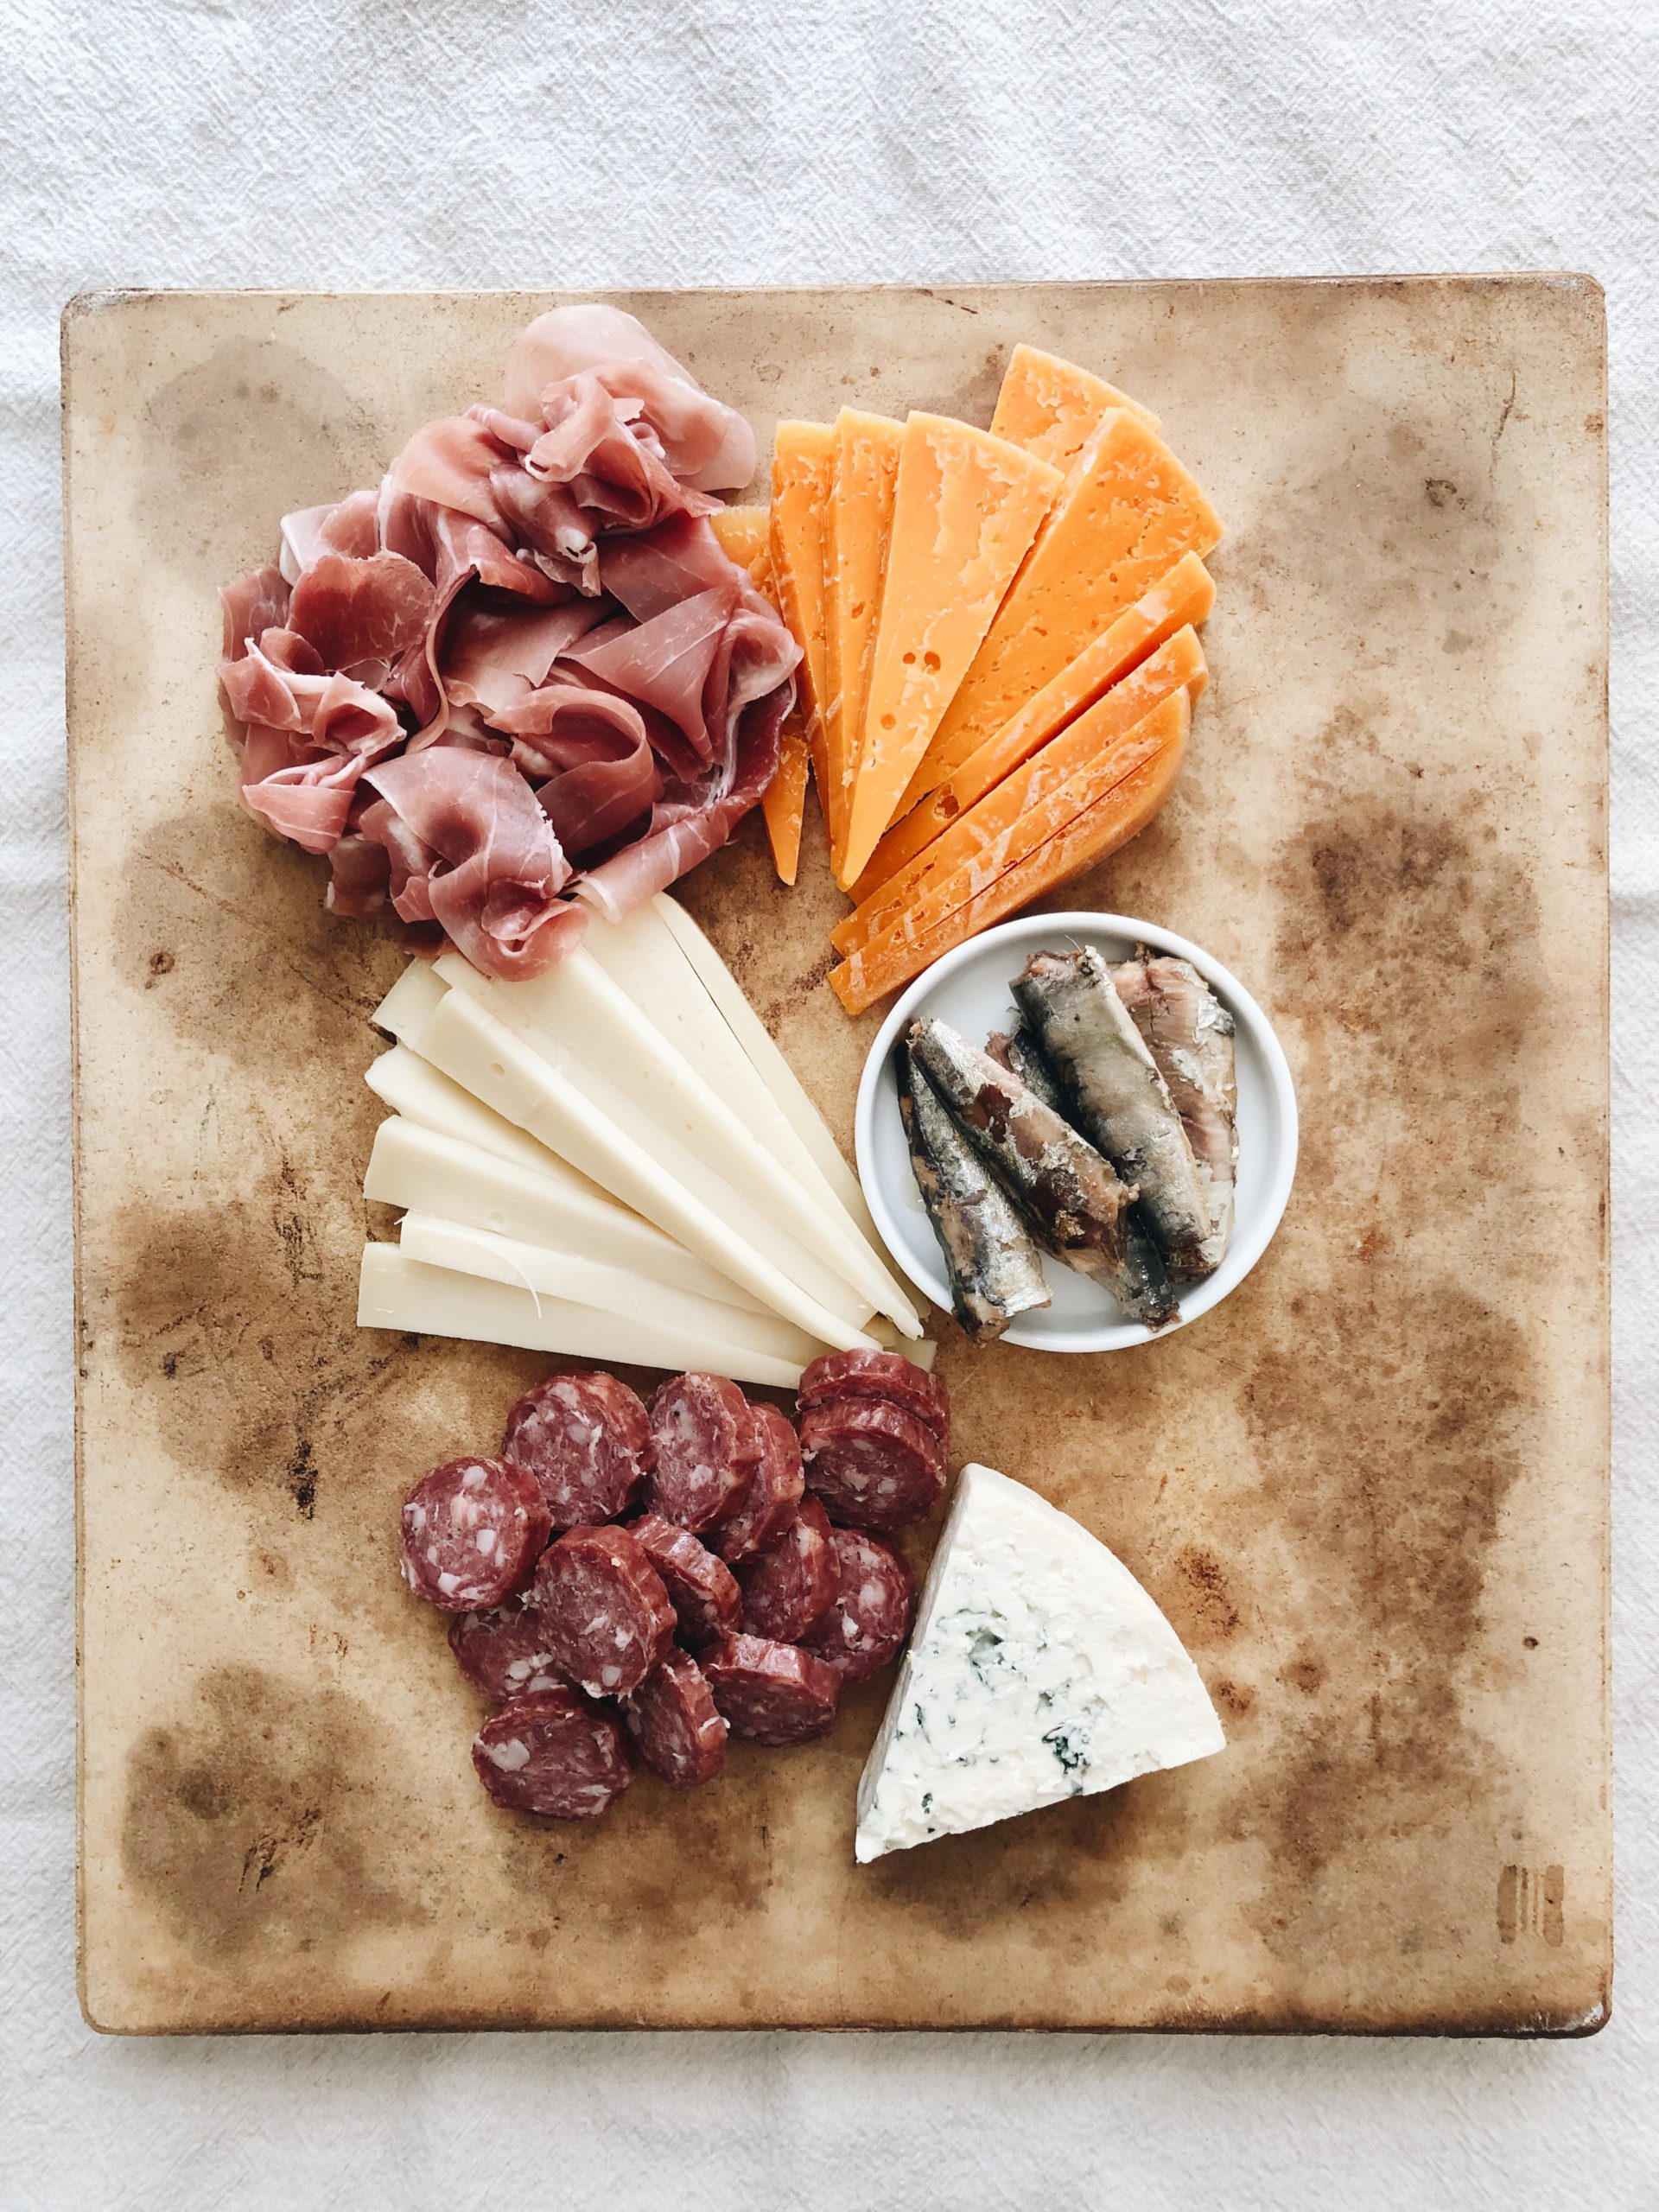
Next, I like to tuck in the meats. Also we’ll be starting a band called Tuck in the Meats.
For this I went with a hard salami, thinly sliced prosciutto, and smoked sardines. OF COURSE you don’t have to include sardines. But I’m telling you, soooomeone at your party will be like, “Oooooo sardiiiines!” (hint: that would be me.)
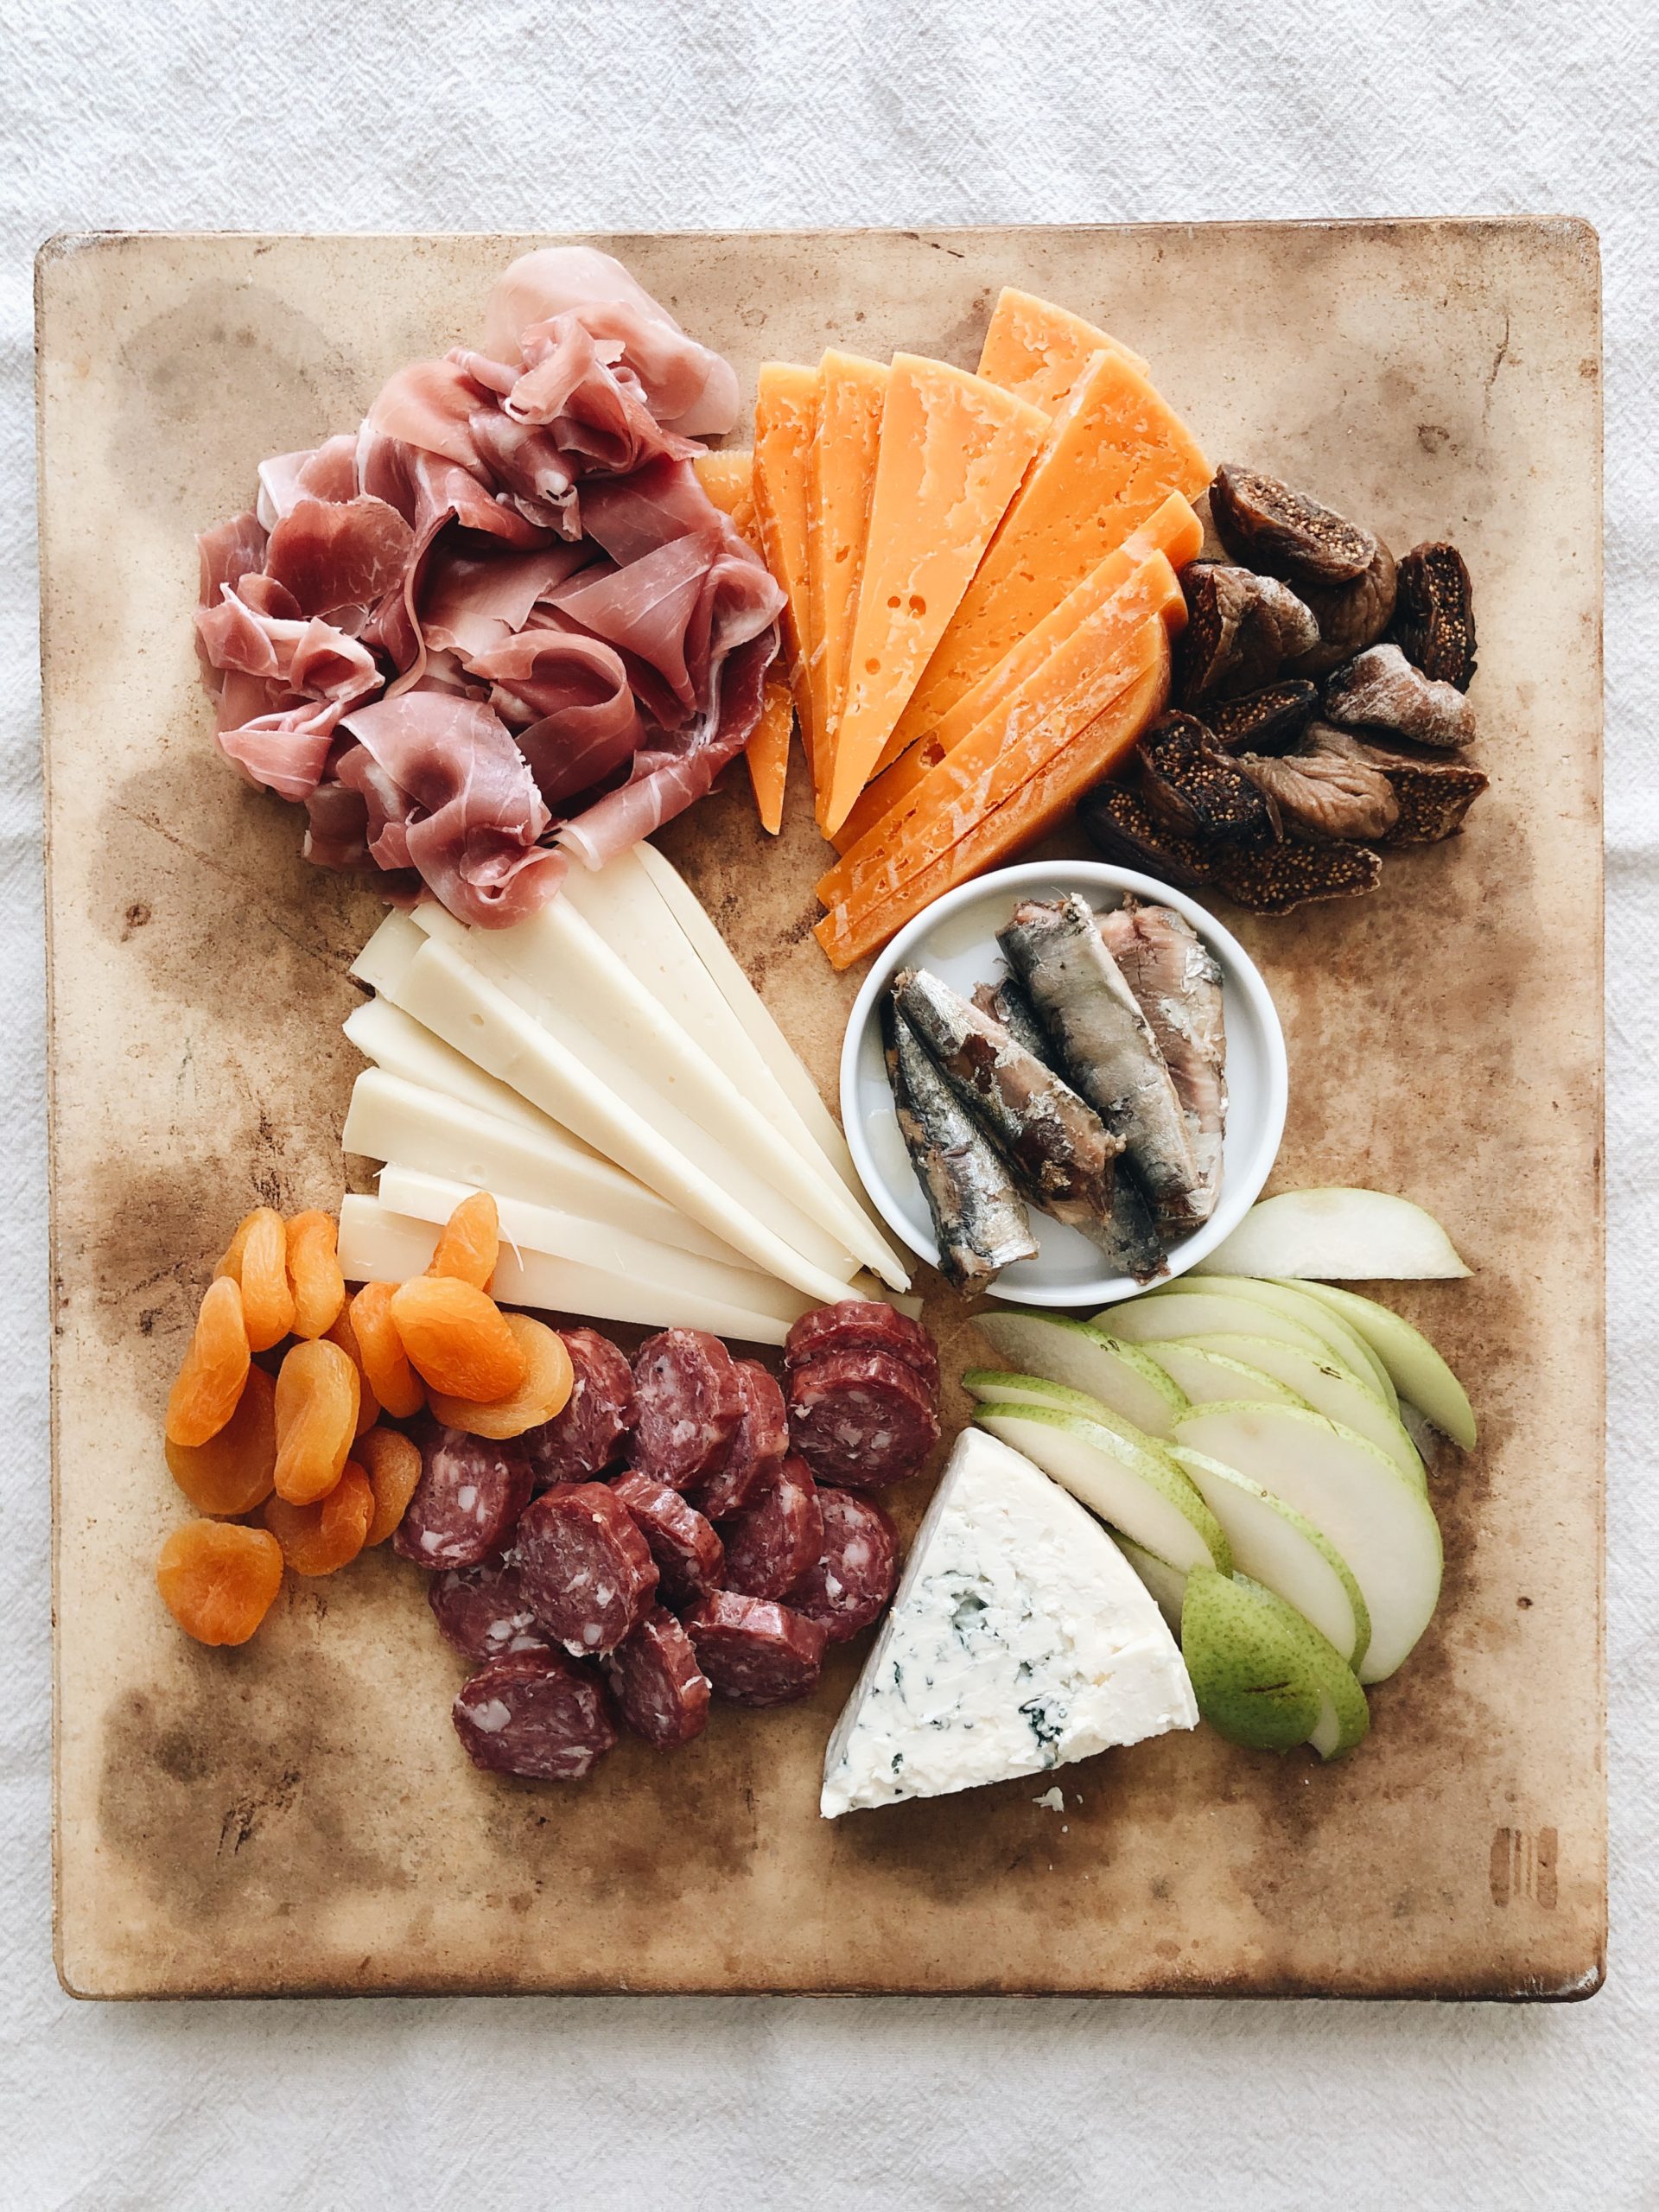
Next up, le fruits! Since it’s fall, I’m going with a thinly sliced pear, some dried mango and figs. If you can find fresh figs, JUMP ON IT. I could only find dried. But I’m still a good person.
Also, you might notice that I’m not placing two super similar colors next to each other. The orange tones should be across from each other, as well as the reds, yadda yadda.
And yes there are gaps and spaces but watch what happens in a sec! (I get irrationally excited about cheeseboards.)
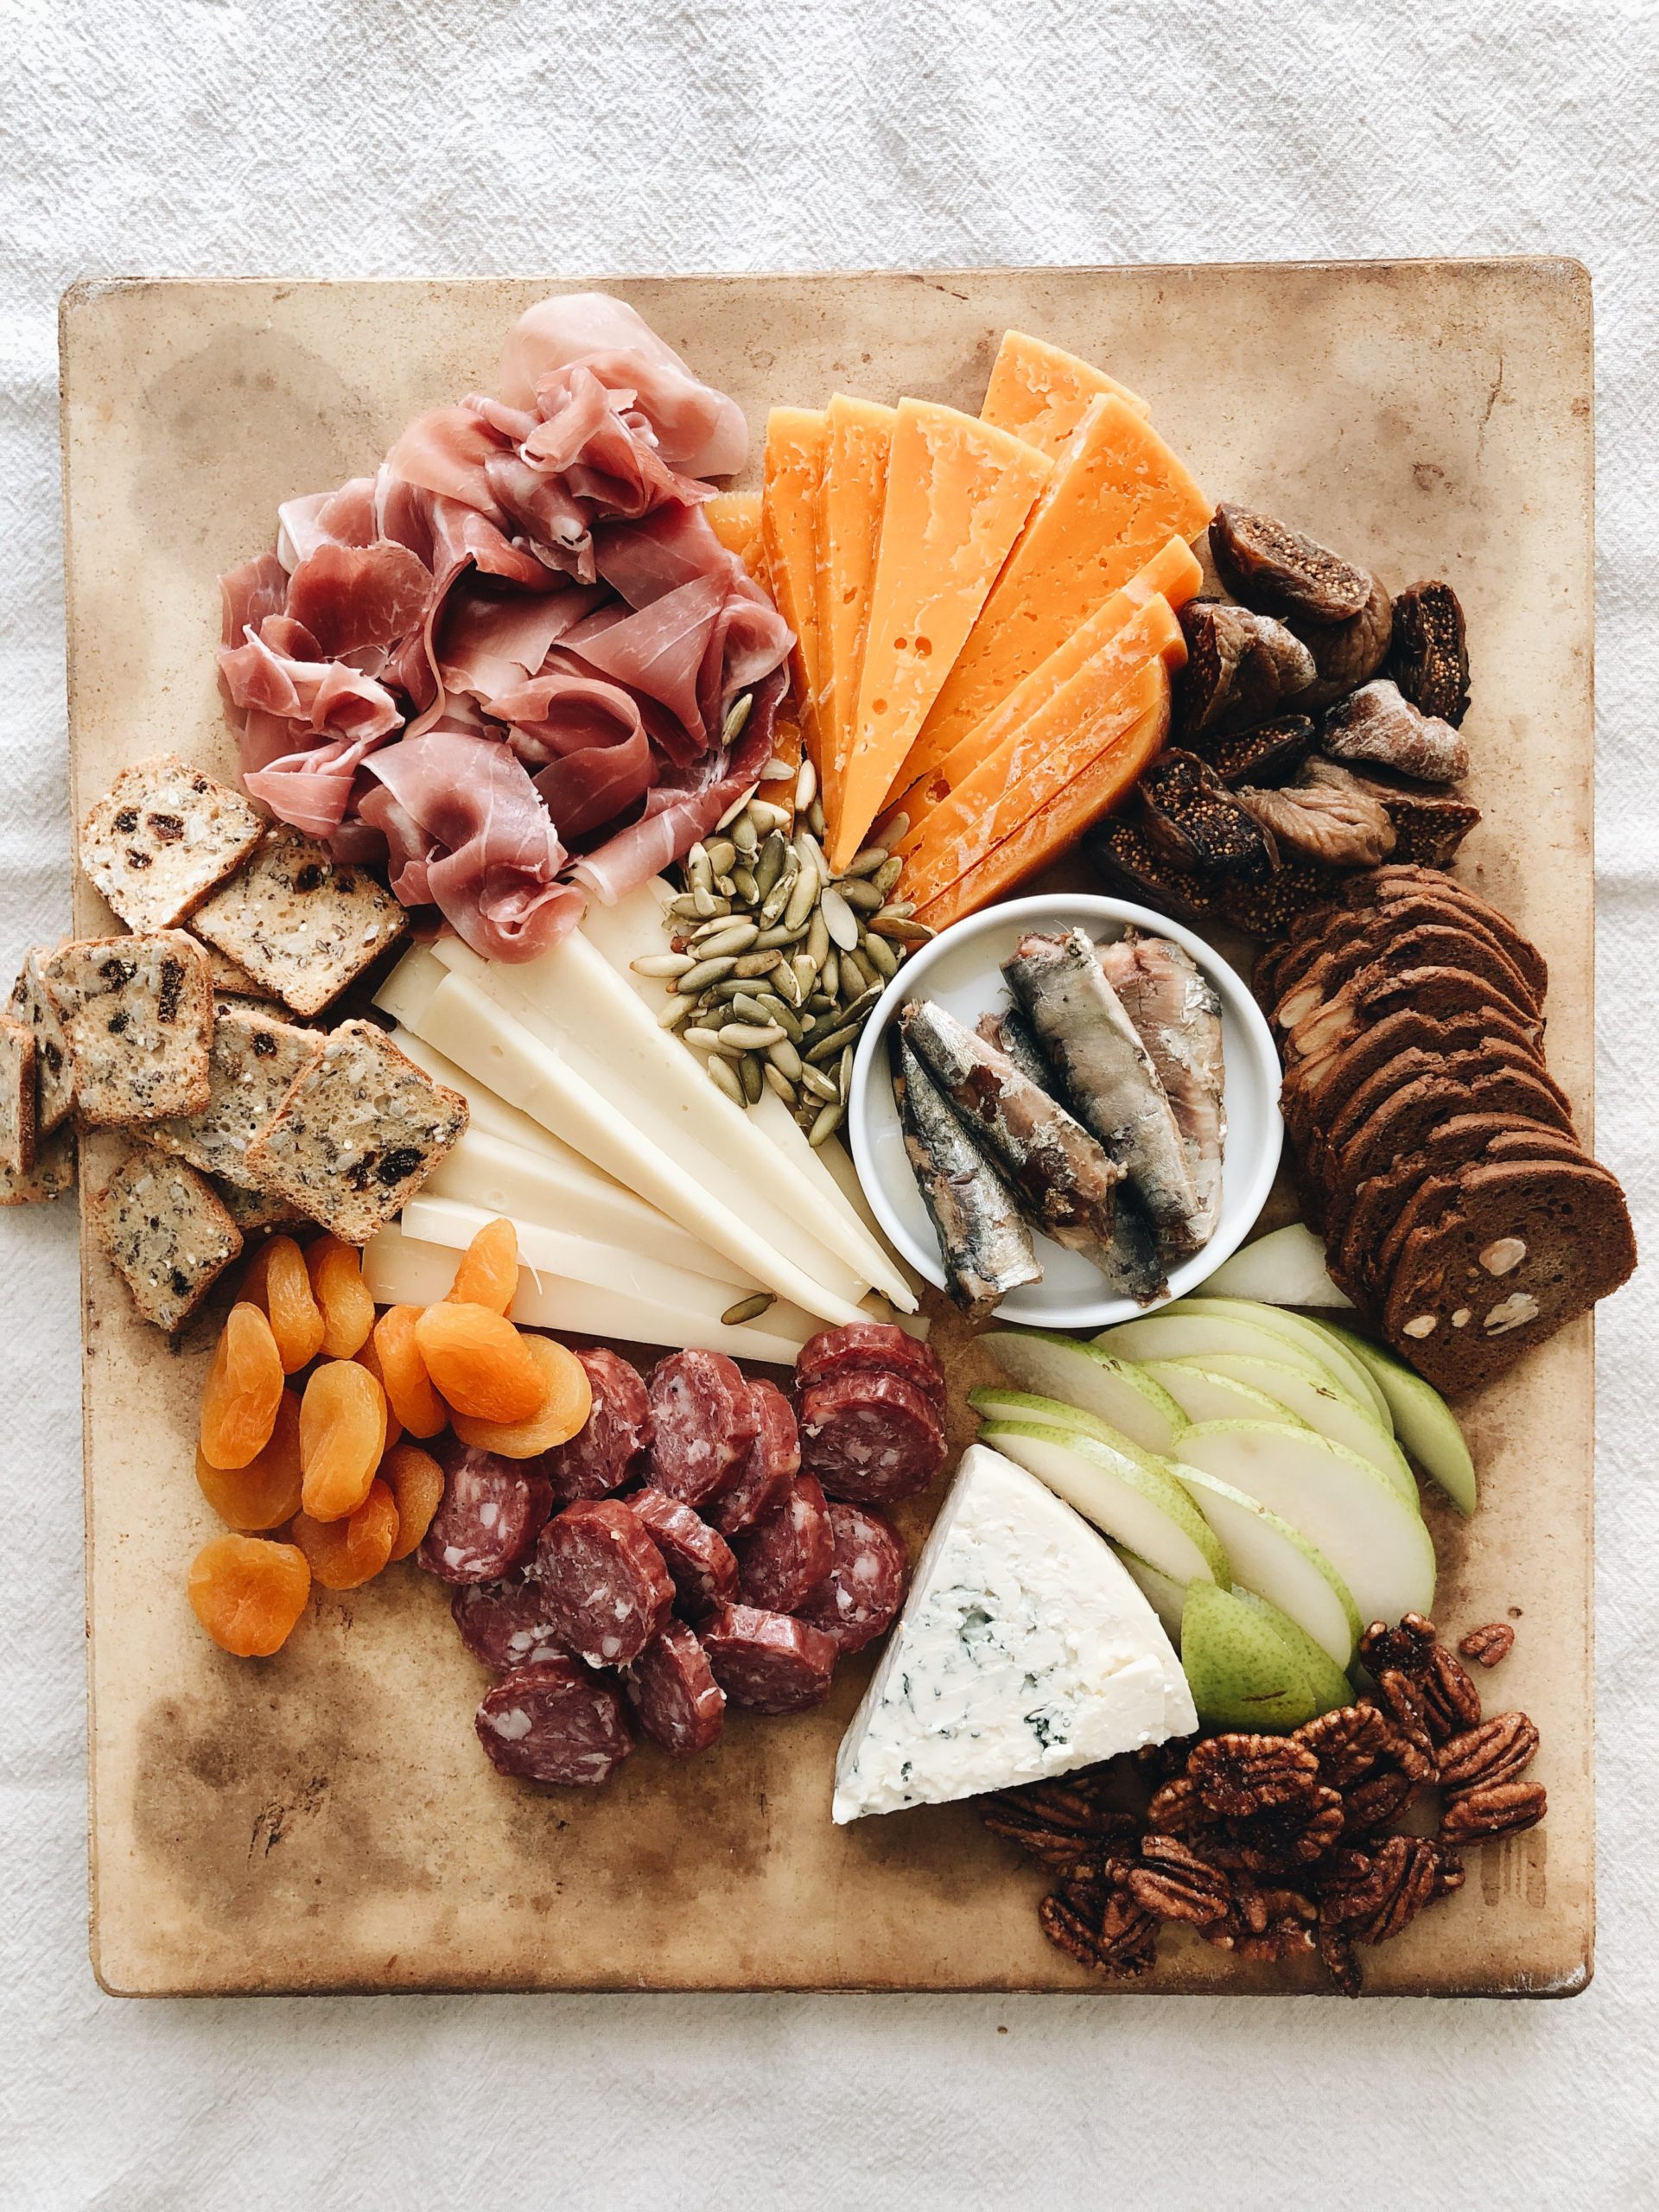
CRACKERS, BREADS AND NUTS, COME ON DOOOOOOOOOWN.
For this, use what you love. A sliced baguette for softness? YUZ. I found some savory crackers with fall flavors and violently threw a bunch on. And you can’t ever EVER go wrong with candied pecans. Nuts are perfect this time of year. (<–awkward much?)
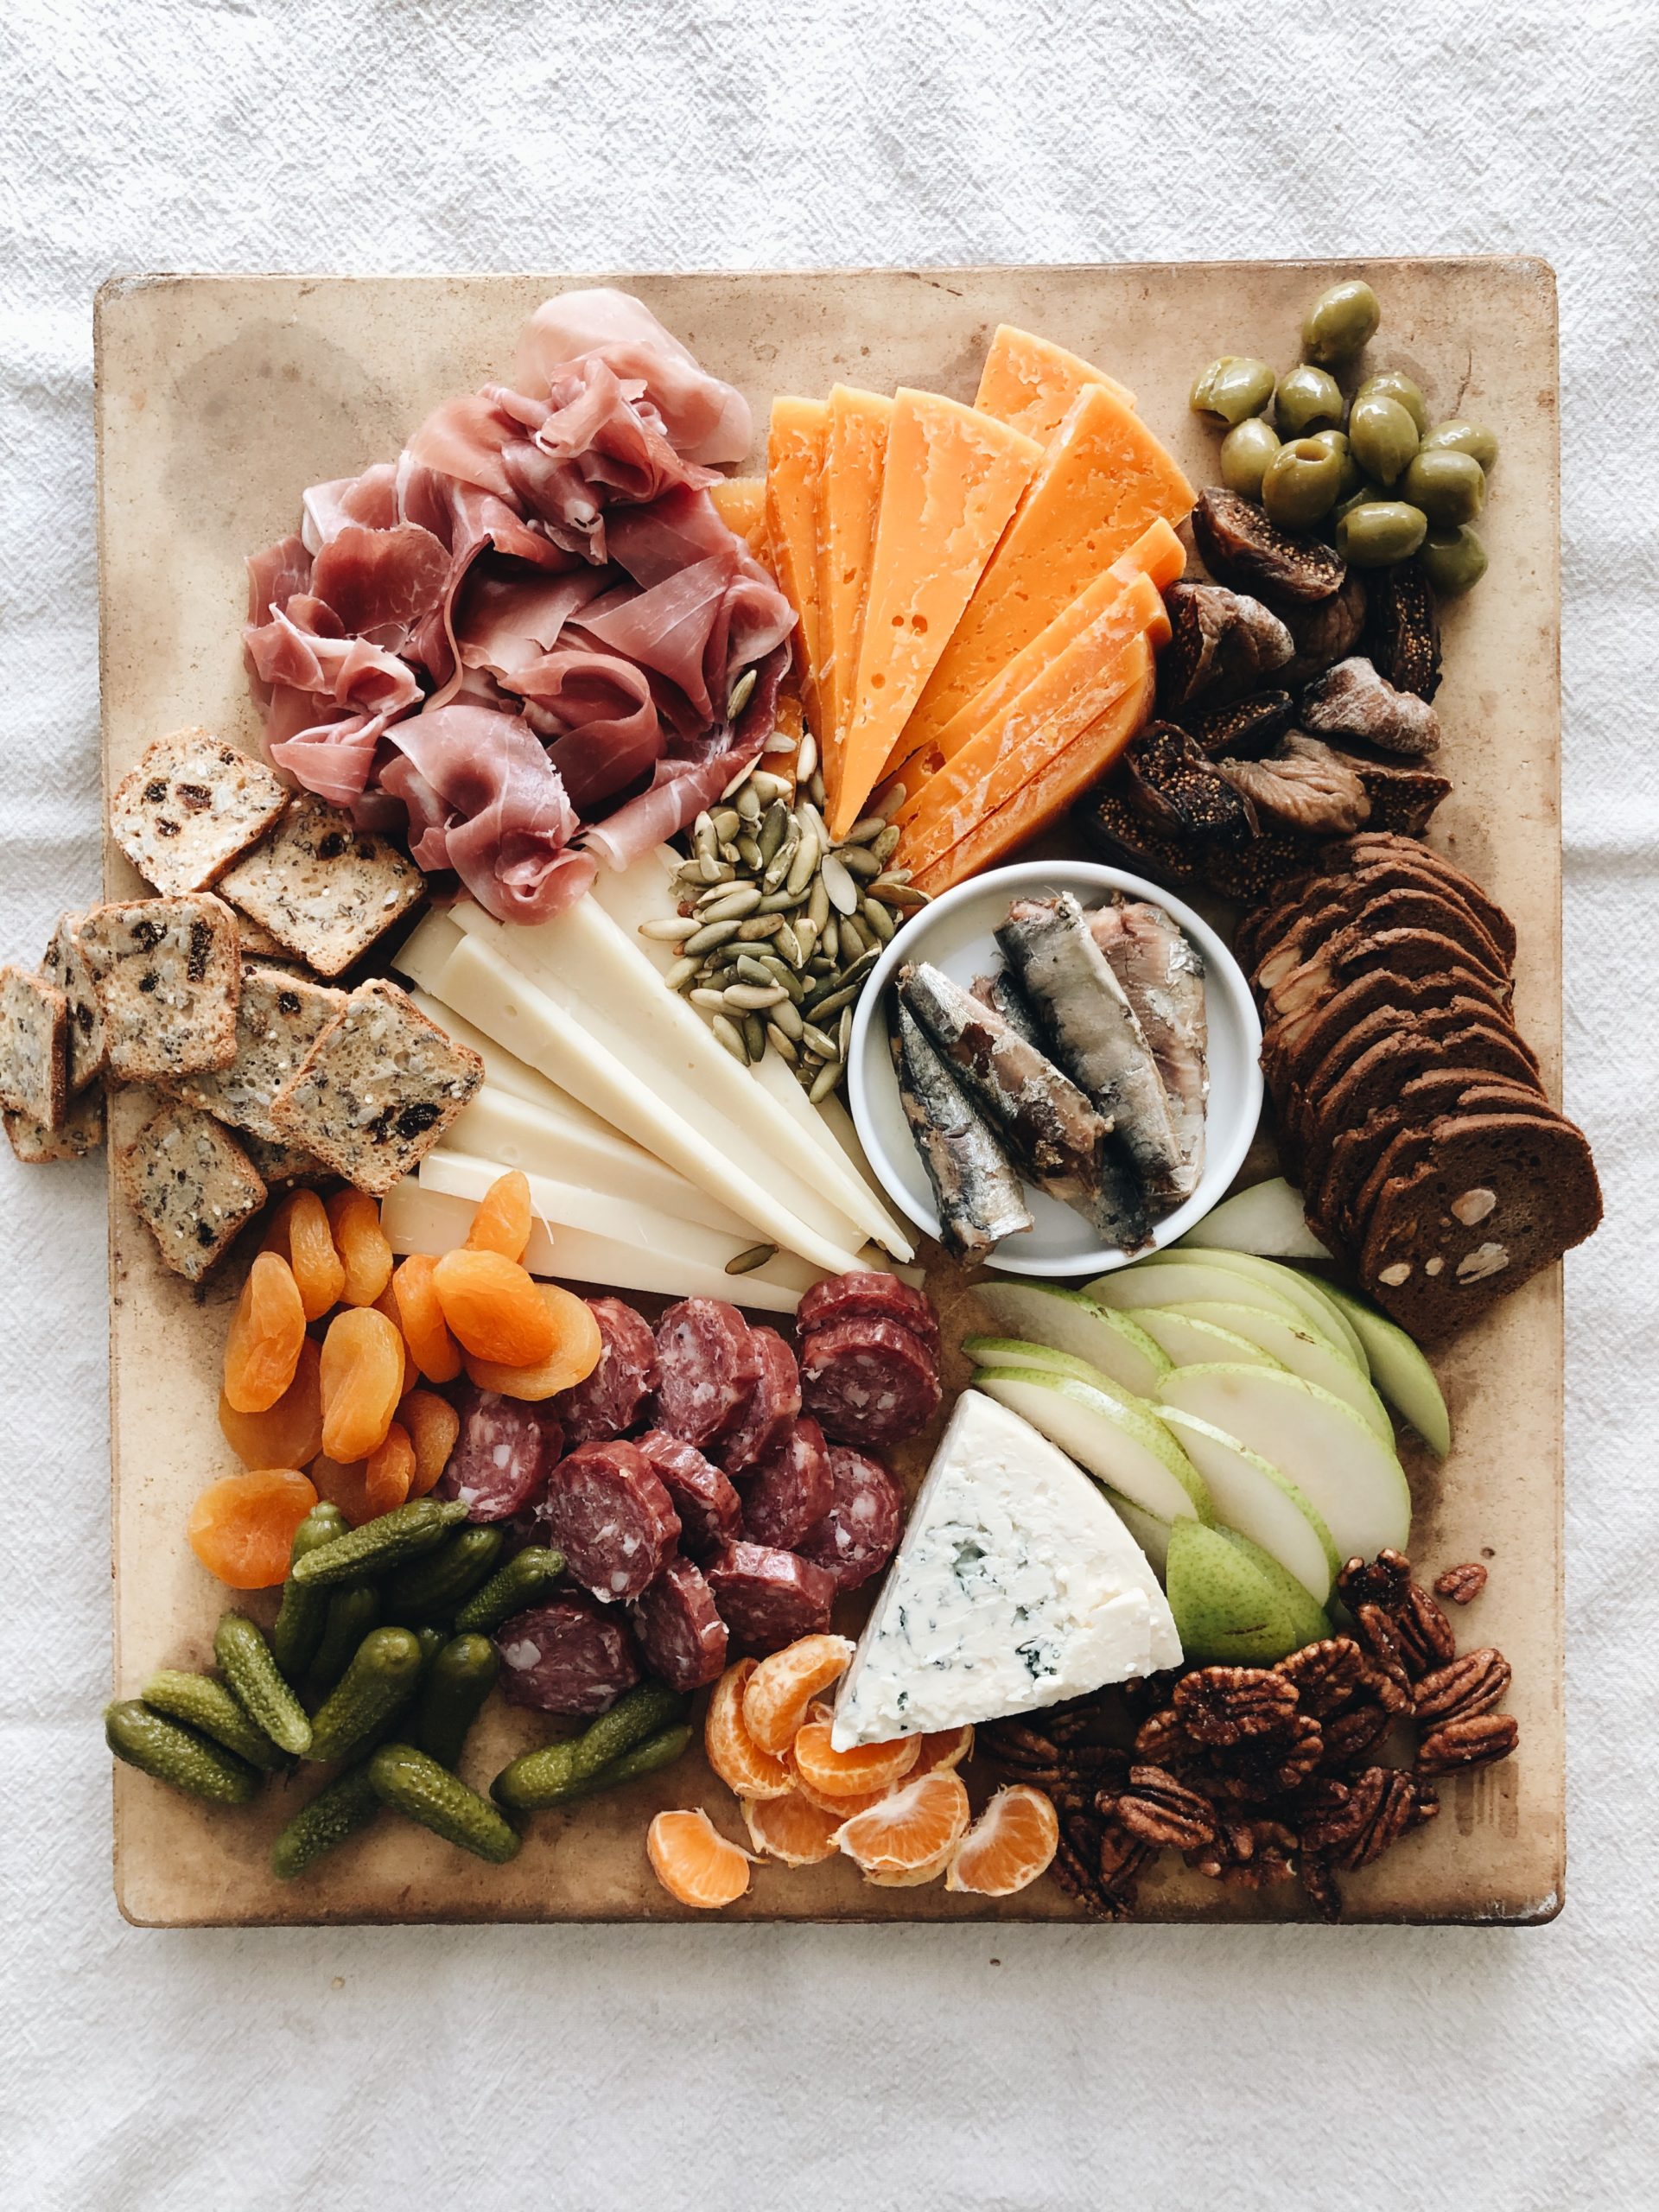
Next up, more salt! I like to sprinkle in some olives and cornichons at the opposite edges to add a pop of green. I feel like every cheeseboard needs green. But I live in a jungle so there’s that.
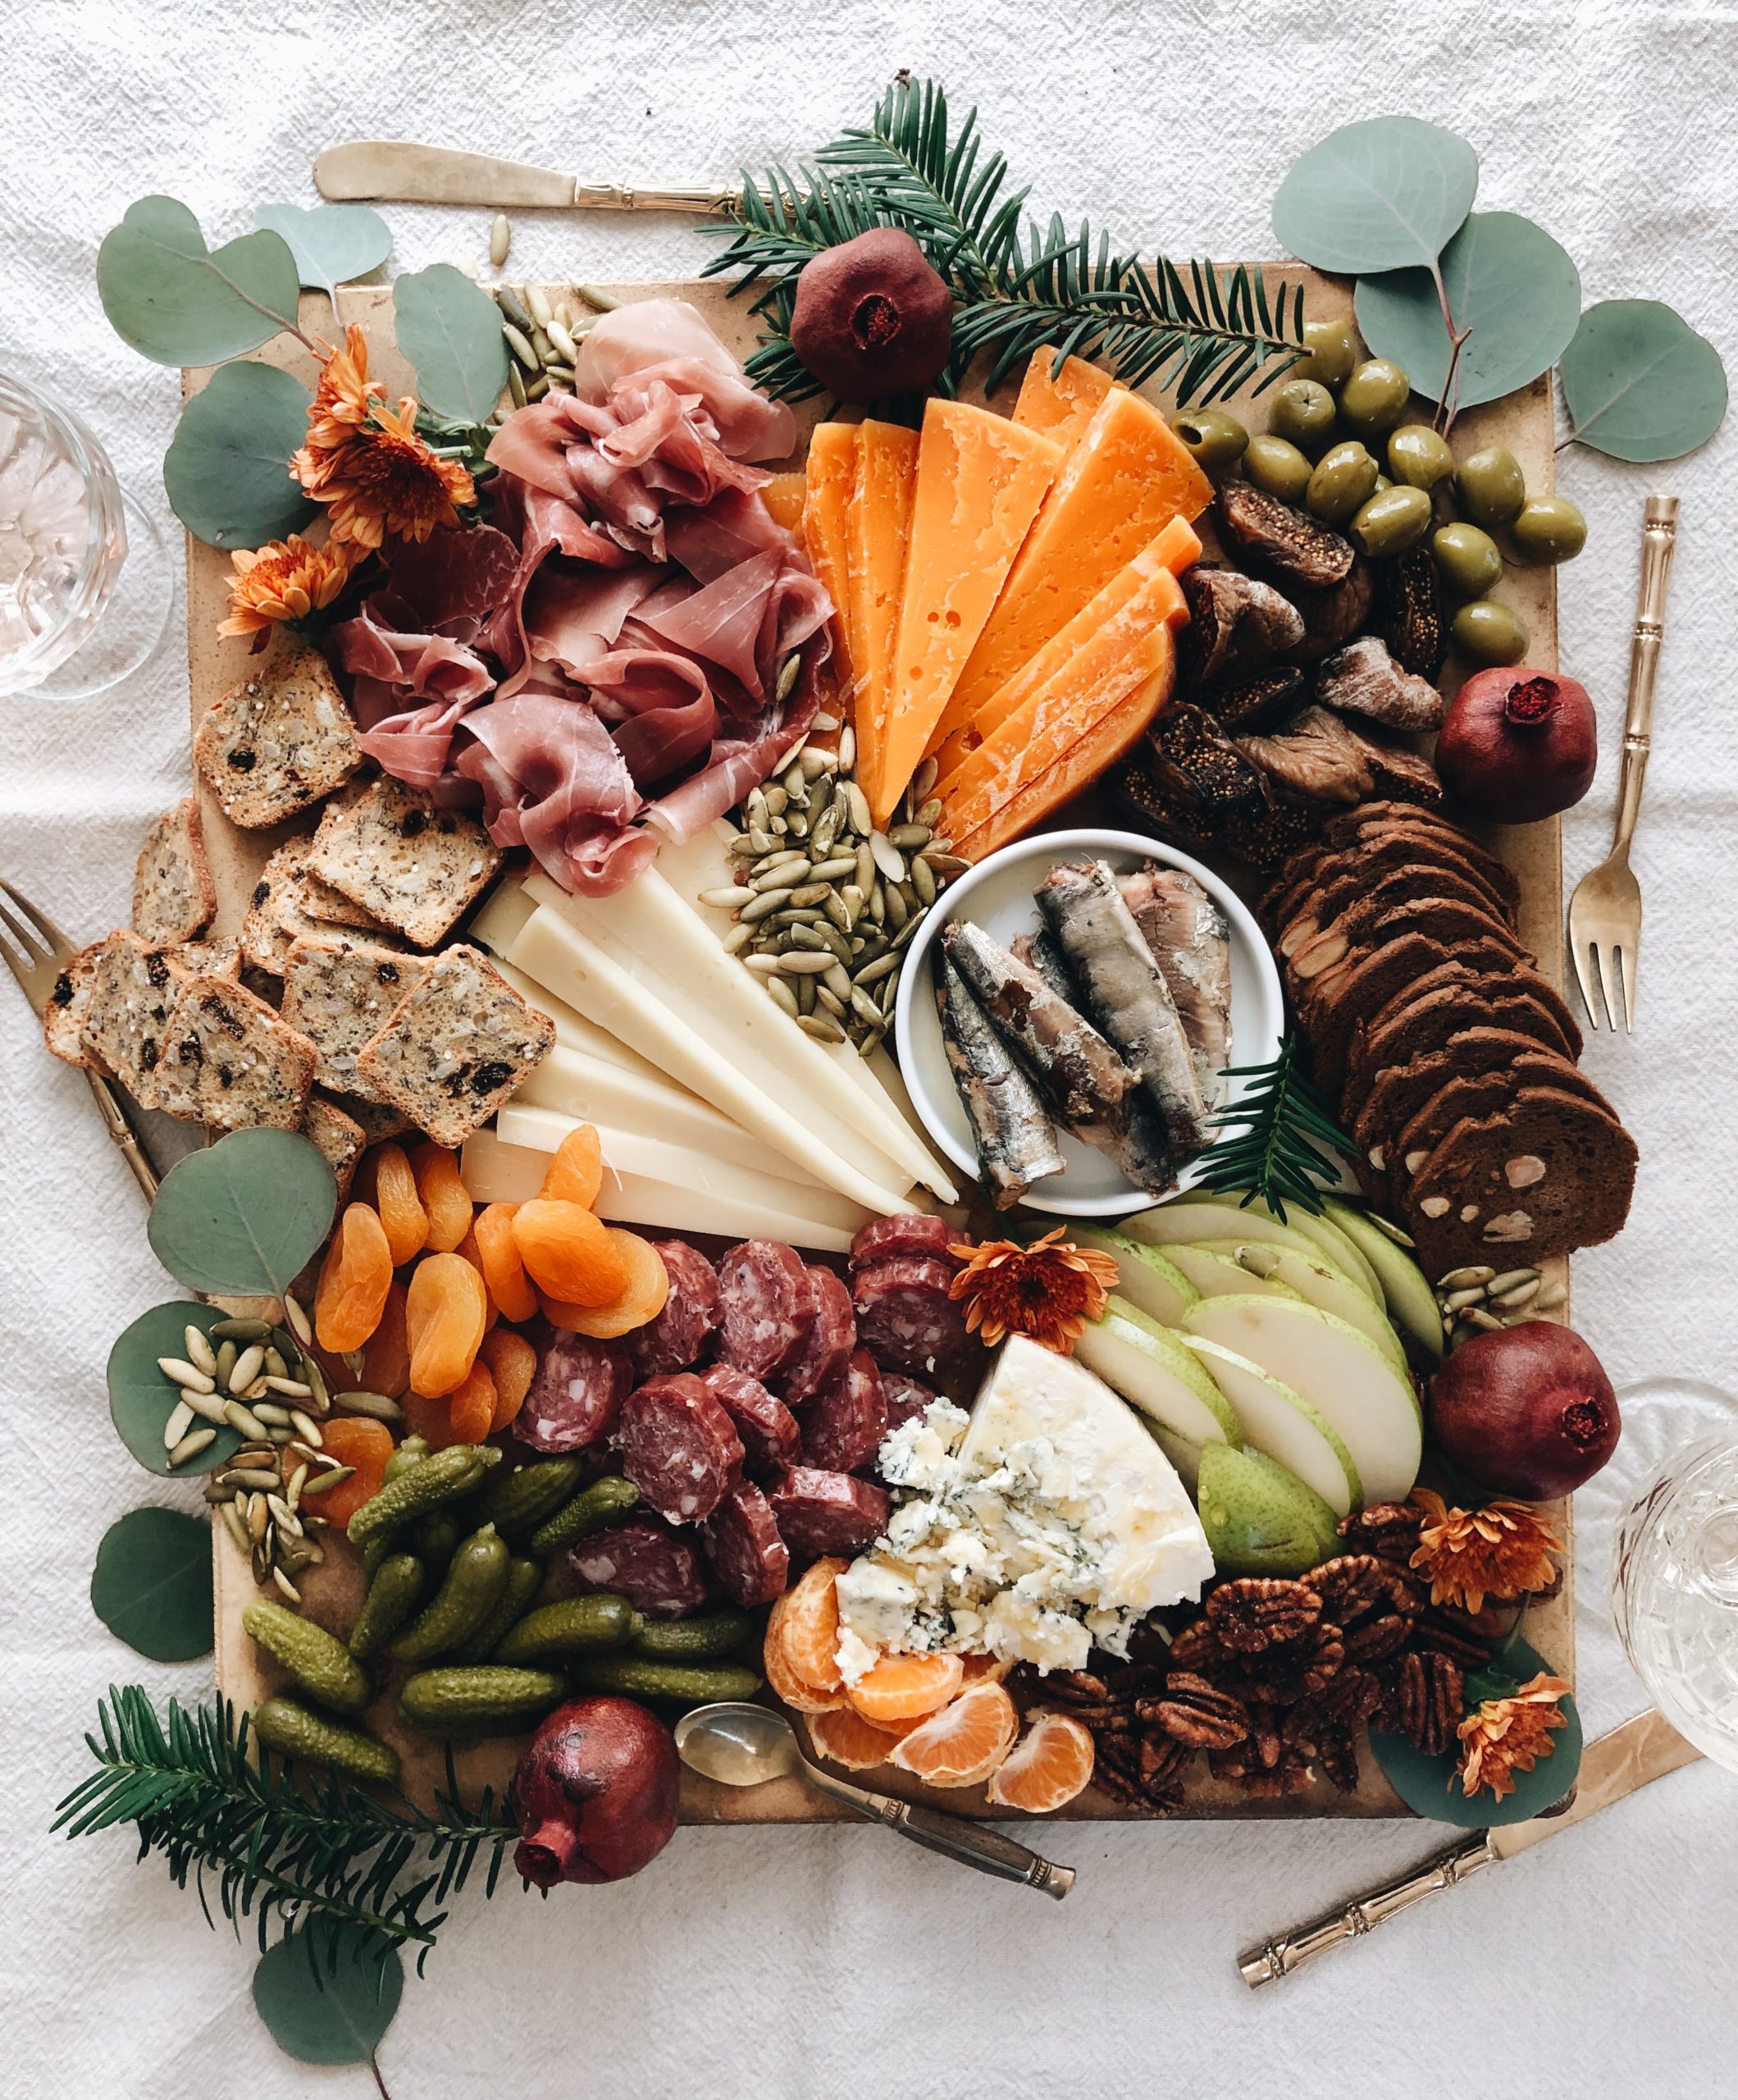
And lastly, the natural tuck-ins! And I do mean literal nature. Clip some hedges, trim a eucalyptus bunch, and snip some pretty autumnal flowers right at the neck to pimp the board right at the end. THAT is what makes it all come together. You could be serving rotted squirrel tails and gravel, but as long as you’ve got the natural embellishments, you’re good!
And let me tell you, minimal boards are stunning. Empty space is an art. I just happen to like a packed board with textures and colors spilling over into each other.
And as far as the amounts, eh – anything goes! A handful of this, a sprinkle of that.
I think going for a mix of savory and sweet is key. Add some dark chocolate pieces if you want. A honeycomb would be divine. A fig jam or butter also pimp.
Obviously since this was a Fall Harvest board, I went with warmer colors and accents. In the spring and summer I tend to go with paler tones like pinks and pale greens, baby’s breath or other delicate flowers. Honestly, just keep it simple, make it yours and you can’t screw it up. Don’t screw it up! Wait, did I just stress you out?
AND OH – last major tip – have the cheese already sliced on the board. If a guest has to slice their own cheese, they’re less likely to eat it and may shoot daggers into your skull with their eyeballs. I’ve made this mistake time and time again. Just cut the cheese for them, already. HA!
Cut the chee – ?
Never mind.
Ingredients
- 1 (6 oz) wedge Roth Grand Cru cheese, cut into slices (have more on hand, this will run out!)
- 1 (6 oz) wedge Roth Prairie Sunset cheese, cut into slices
- 1/2 wedge Roth Buttermilk Blue cheese, slightly crumbled on the board (have the other half for if you run out)
- Thinly sliced prosciutto
- A hard salami, sliced
- Sardines
- Dried or fresh figs
- A pear, thinly sliced
- Dried fruit like mango or apricots
- Savory crackers
- Candied pecans
- Pepitas
- Olives
- Cornichons
- Orange slices
- Any greenery to tie it together (pine clippings, eucalyptus leaves, flowers with autumnal colors)
Instructions
- Start with the cheeses in the center and build out! Finish with seasonal beverages like ciders, beers and wine! Have fun with it. Anything goes, man.
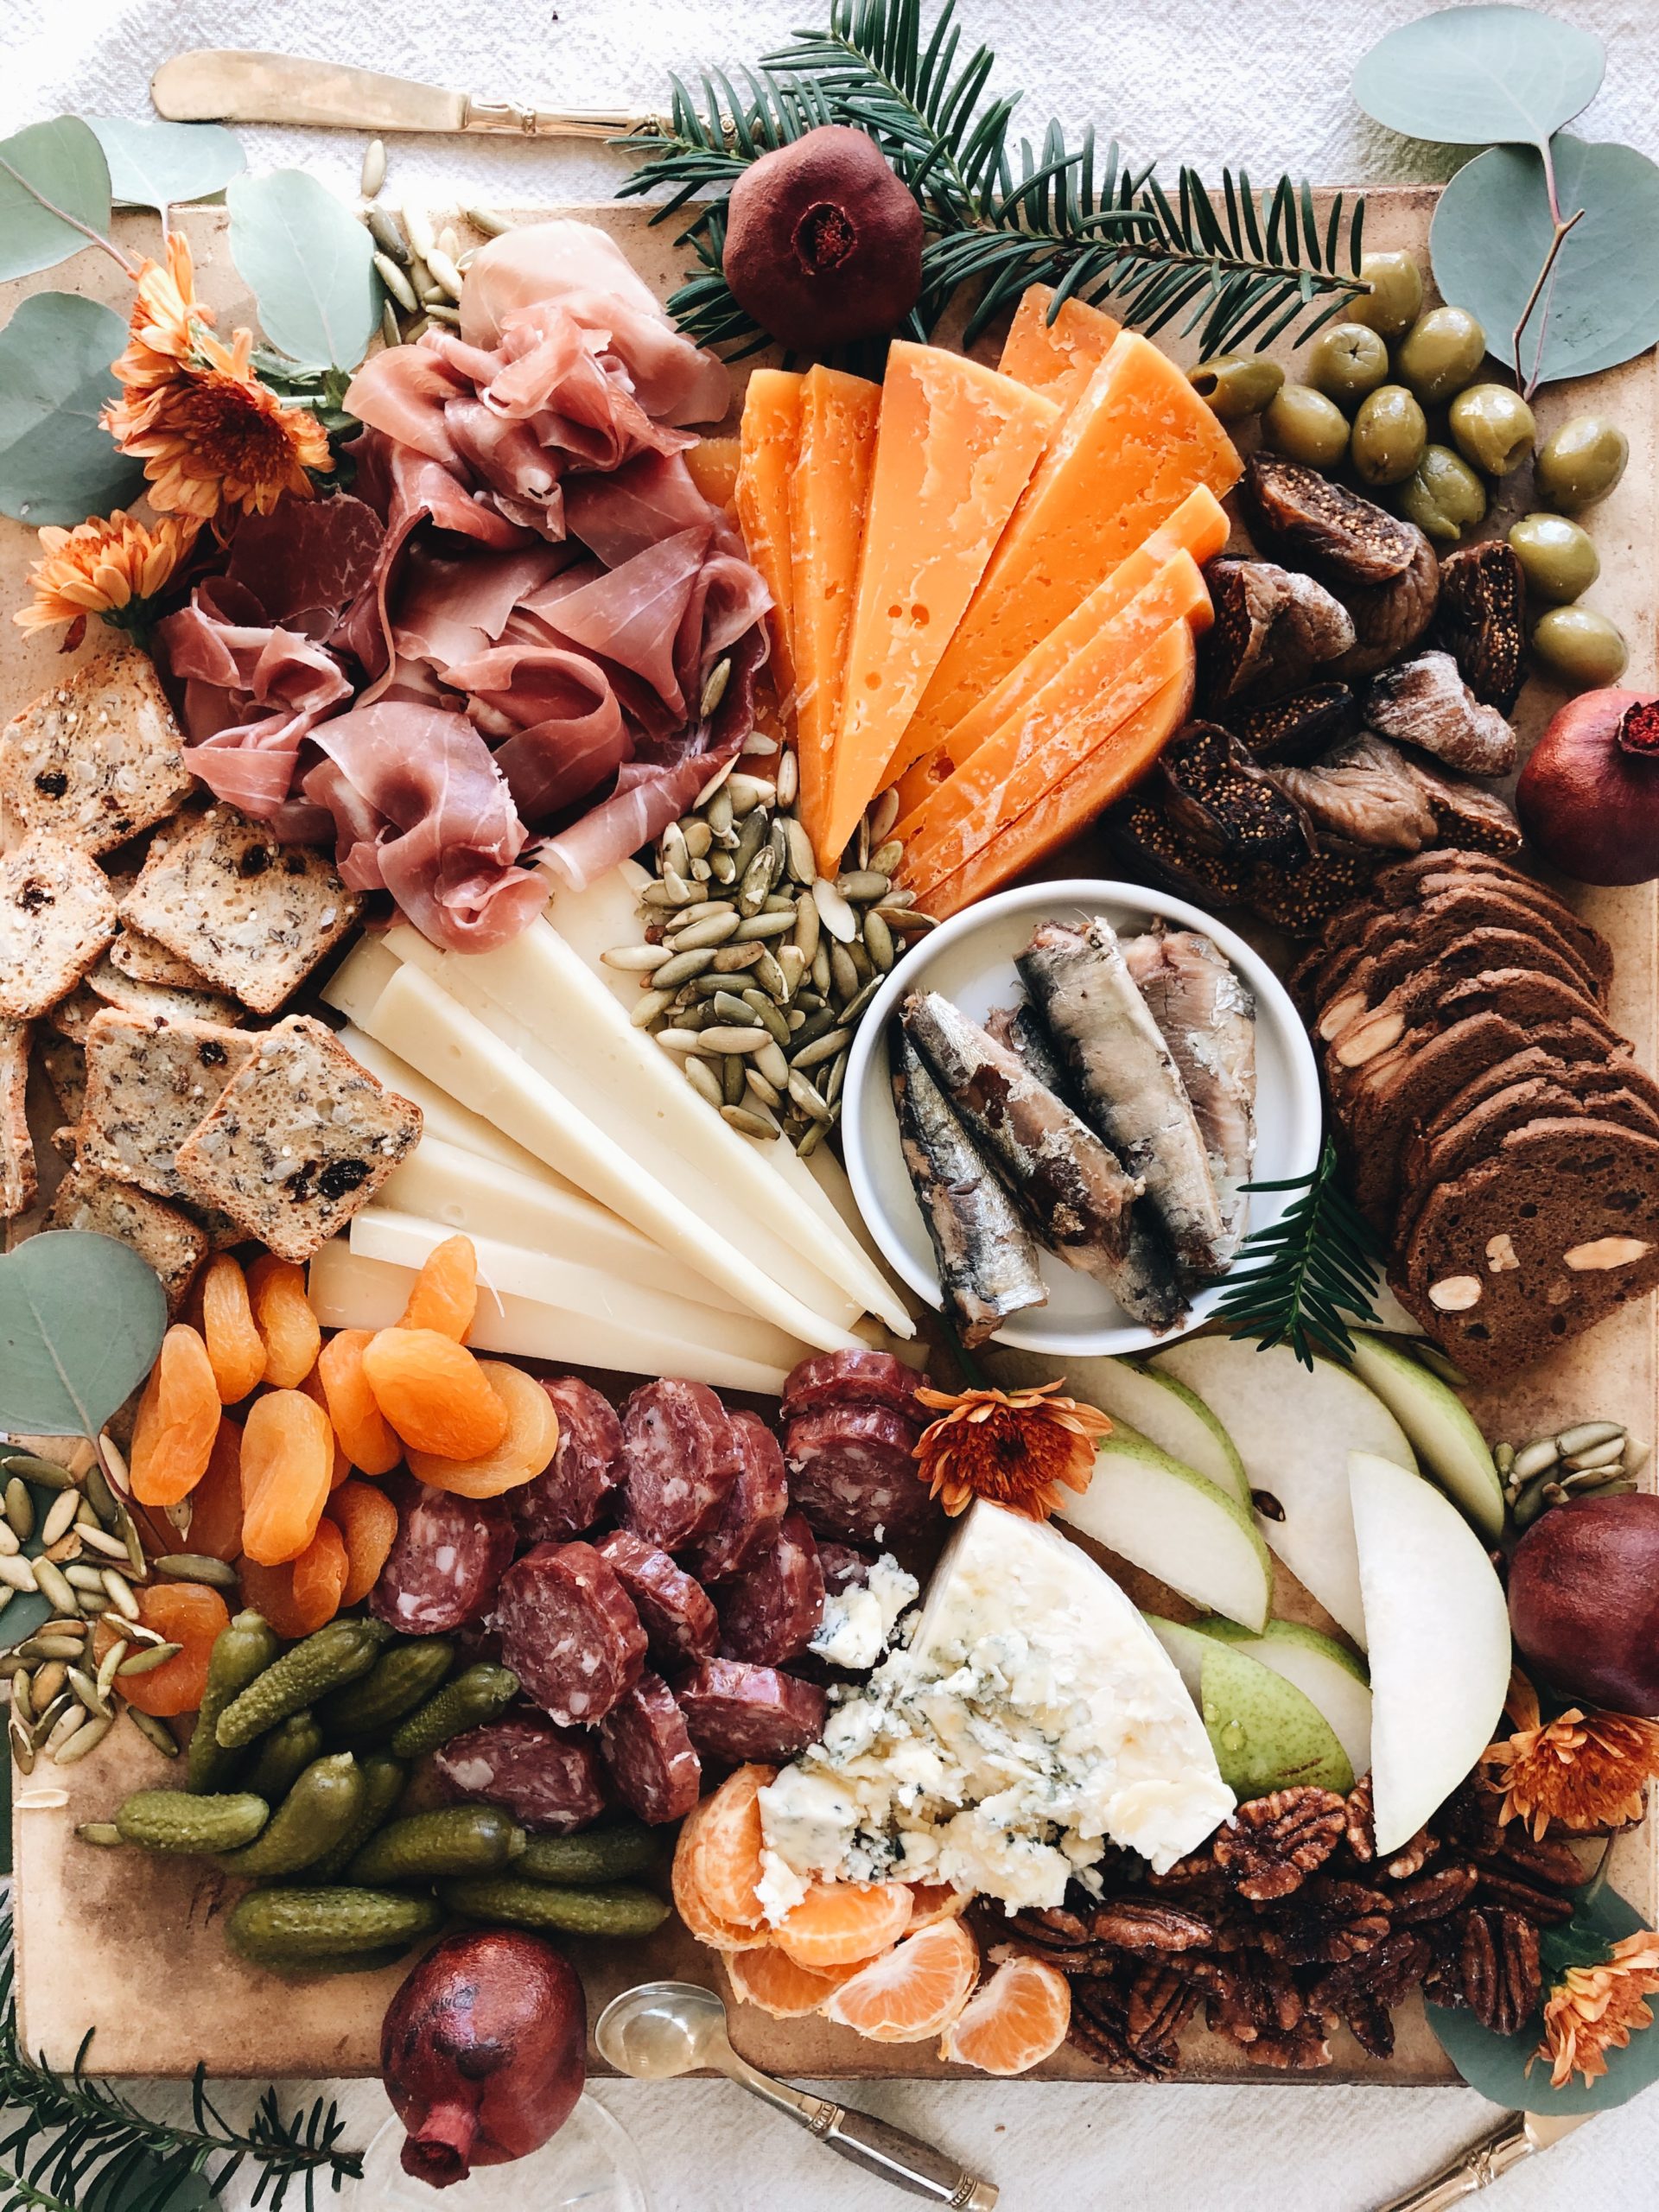
My little hedge clipping fell off the edge of the board before I noticed. Are we okay?
(This post is definitely in partnership with Roth Cheese, but all cheese cutting and ramblings are totally my own. We coo?)

 Save Recipe
10 Responses to Fall Harvest Cheeseboard
Trackbacks/Pingbacks